This guide provides a complete walkthrough of the I2C 1602 LCD module, covering its specifications, setup, common issues, and advanced applications. Learn how to integrate this versatile display into your projects, from basic text displays to more complex interfaces. We'll explore wiring diagrams, code examples, and troubleshooting techniques, ensuring you can effectively utilize this popular component in your electronics projects. Discover the capabilities and limitations of the I2C 1602 LCD module to achieve your embedded system goals.
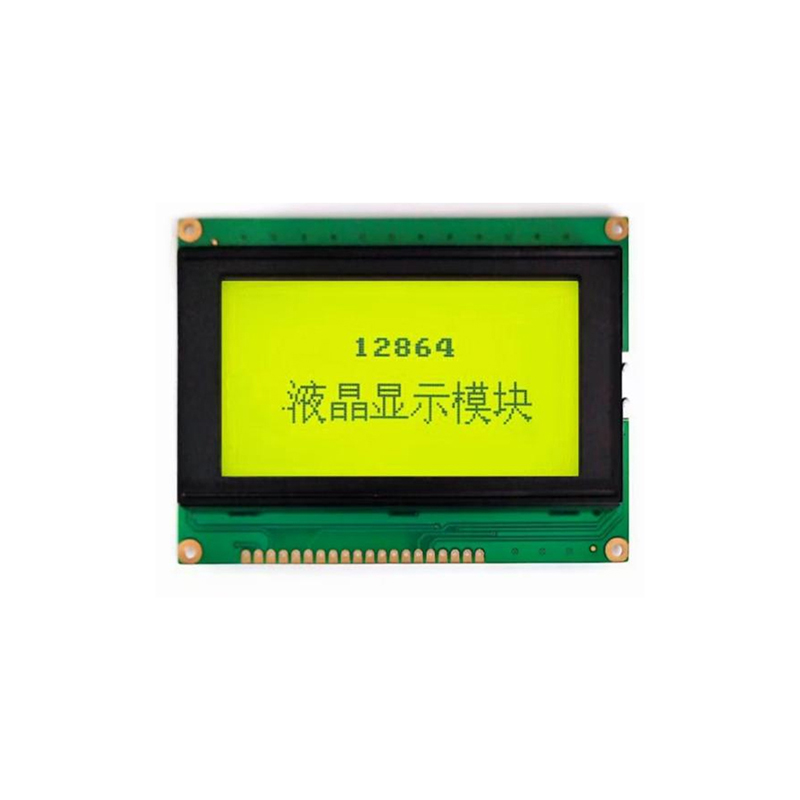
The I2C 1602 LCD module is a small, inexpensive liquid crystal display (LCD) screen commonly used in embedded systems and electronics projects. Its 16x2 character display provides a convenient way to output text information. The I2C designation indicates its communication protocol: I2C (Inter-Integrated Circuit) which simplifies wiring compared to parallel interfaces. This makes it particularly user-friendly for beginners and professionals alike.
A typical I2C 1602 LCD module features a 16-character wide by 2-line display. It usually operates at 5V, although some models support 3.3V. The I2C interface requires only two data lines (SDA and SCL) for communication, significantly reducing wiring complexity. Many modules incorporate a backlight, often adjustable in color and intensity. For precise details on specific modules, always consult the manufacturer's datasheet.
The wiring process is straightforward, requiring only connections for VCC (power), GND (ground), SDA (data), and SCL (clock). The specific pins will vary depending on your microcontroller and LCD module, so always check the respective datasheets. For example, if you are using an Arduino, you might connect the SDA and SCL lines to the Arduino's I2C pins (typically A4 and A5). A detailed wiring diagram can typically be found on the product page of the retailer you purchase from.
To utilize the I2C 1602 LCD module, you'll need appropriate software libraries for your chosen microcontroller. Popular platforms like Arduino offer pre-built libraries that simplify interaction with the LCD. These libraries handle low-level communication details, allowing you to focus on displaying information.
The following code snippet demonstrates how to initialize and write text to the I2C 1602 LCD module using the LiquidCrystal_I2C library in Arduino:
#include <LiquidCrystal_I2C.h>LiquidCrystal_I2C lcd(0x27, 16, 2); // Set the LCD address to 0x27 for a 16 chars and 2 line displayvoid setup() { lcd.init(); lcd.backlight(); lcd.print(Hello, World!);}void loop() { // Add your code here to display dynamic information}Remember to install the LiquidCrystal_I2C library through the Arduino IDE Library Manager.
Common issues include blank displays, incorrect character display, or flickering. These problems are often caused by incorrect wiring, power supply issues, or software errors. Double-check your wiring, ensuring proper connections and sufficient power. Verify that the I2C address is correctly set in your code. Consult your module's datasheet for further troubleshooting.
The I2C 1602 LCD module allows you to create and display custom characters beyond the standard alphanumeric set. This feature is particularly useful for displaying icons or symbols specific to your project. Explore the capabilities of your chosen library to learn how to create and implement custom characters.
For more in-depth information and support, consult these resources:
| Feature | I2C LCD Module | Parallel LCD Module |
|---|---|---|
| Wiring Complexity | Simple (2 wires) | Complex (Multiple wires) |
| Cost | Generally inexpensive | Can be more expensive |
| Ease of Use | Easier to use | More complex to setup |
| Microcontroller Resources | Less resource intensive | More resource intensive |
This comparison showcases the advantages of the I2C 1602 LCD module for its ease of use and reduced wiring complexity.

