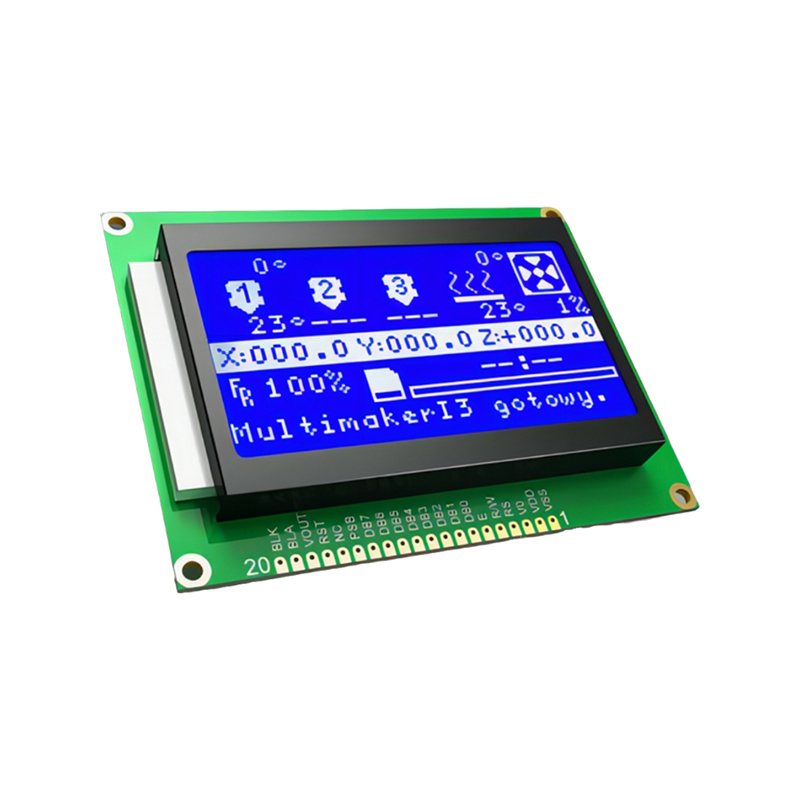
Learn how to interface and control a 0.96-inch OLED display with your Arduino microcontroller. This guide covers everything from hardware setup and library selection to code examples and troubleshooting tips, enabling you to seamlessly integrate this versatile display into your projects.
The first step is selecting the right components. Numerous 0.96 OLED displays are available, often differing in I2C or SPI communication protocols. For beginners, I2C is generally preferred for its simplicity. Ensure compatibility with your chosen Arduino board (Uno, Nano, Mega, etc.). Many online retailers, including reputable suppliers like [Dalian Eastern Display Co., Ltd.], offer a wide variety of options.
Before connecting, carefully check your display's datasheet. This crucial document details the display's pinout, communication protocol (I2C or SPI), power requirements (voltage and current), and addressing information. This information is essential for successful integration.
Once you've chosen your components, connect them according to the display's datasheet and your Arduino's pinout. Typically, this involves connecting VCC, GND, SDA (I2C data), and SCL (I2C clock) lines. Incorrect wiring can damage your components, so double-check before powering up.
Ensure your Arduino can supply enough current to power the 0.96 OLED display. If your project requires multiple power-hungry components, consider using a separate power supply for the display to avoid potential voltage drops that could affect its performance. Using a regulated power supply is always recommended.
The Arduino IDE requires a specific library to control the 0.96 OLED display. Popular choices include Adafruit_SSD1306 and U8g2. Install the chosen library through the Library Manager in the Arduino IDE. Search for the library by its name, select it, and install it. Once installed, you can include it in your Arduino sketches.
Here's a basic example using the Adafruit_SSD1306 library to display Hello, World! on a 0.96 OLED display connected via I2C:
#include <Wire.h>#include <Adafruit_SSD1306.h>#define SCREEN_WIDTH 128 // OLED display width, in pixels#define SCREEN_HEIGHT 64 // OLED display height, in pixels#define OLED_RESET 4 // Reset pin # (or -1 if sharing Arduino reset)Adafruit_SSD1306 display(SCREEN_WIDTH, SCREEN_HEIGHT, &Wire, OLED_RESET);void setup() { display.begin(SSD1306_SWITCHCAPVCC, 0x3C); // Initialize with the I2C address display.clearDisplay(); display.setTextSize(2); display.setTextColor(WHITE); display.setCursor(0,0); display.println(Hello, World!); display.display();}void loop() { // Add your code here to update the display}If your 0.96 OLED display isn't working, troubleshoot these common issues:
| Feature | Display A | Display B |
|---|---|---|
| Resolution | 128x64 | 128x64 |
| Interface | I2C | SPI |
| Brightness | 250 cd/m2 | 300 cd/m2 |
Note: This table is a simplified example. Specific specifications vary greatly depending on the manufacturer and model of the 0.96 OLED display. Always refer to the product datasheet for accurate information.
This comprehensive guide helps you successfully integrate a 0.96 OLED display into your Arduino projects. Remember to consult the datasheets for your specific components and libraries for detailed instructions.


