Integrating a small, high-resolution display into your Arduino projects significantly enhances user interaction and data visualization. The 1.3 inch OLED display is a popular choice due to its compact size, vibrant colors, and relatively low power consumption. This guide explores everything you need to know about using a 1.3 inch OLED display with your Arduino, from choosing the right display to writing the code to make it work.
While many 1.3 inch OLED displays are available, they aren't all created equal. Key factors to consider include resolution (typically 128x64 or 128x128 pixels), interface (I2C or SPI), and color depth (grayscale or color). I2C is generally simpler to implement, requiring fewer Arduino pins. For higher data transfer rates, consider an SPI interface. Check the datasheet carefully to ensure compatibility with your Arduino board.
Several manufacturers produce high-quality 1.3 inch OLED displays. Researching specific models based on your needs—resolution, interface type, and power requirements—is crucial. Always check reviews and specifications before purchasing.
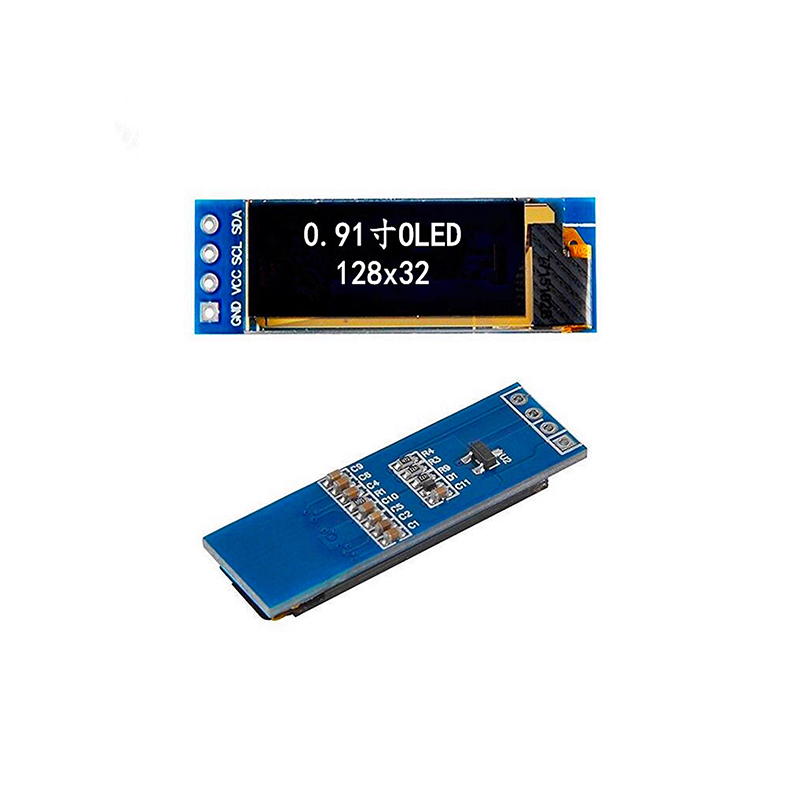
Connecting a 1.3 inch OLED display to your Arduino typically involves connecting the power (VCC), ground (GND), data (SDA/MOSI), clock (SCL/SCLK), and potentially a reset pin. Consult your display's datasheet for the precise pin assignments. Incorrect connections can damage the display or your Arduino. Pay close attention to the voltage requirements; some displays require 3.3V, while others might work with 5V. Using a logic level converter may be necessary for voltage level shifting.
A typical wiring diagram for an I2C-based 1.3 inch OLED display might look like this:
| Arduino | 1.3 Inch OLED Display |
|---|---|
| VCC (5V or 3.3V) | VCC |
| GND | GND |
| SDA | SDA |
| SCL | SCL |
Once connected, you'll need to install the appropriate library for your 1.3 inch OLED display in the Arduino IDE. Many libraries are available for different display models. After installing the library, you can use functions to display text, images, and other data on your screen.
This example demonstrates displaying text on a 1.3 inch OLED display using the Adafruit SSD1306 library (adjust the I2C address if necessary):
cpp#includeCommon issues include incorrect wiring, incorrect I2C address, or library compatibility problems. Double-check your connections, verify the I2C address in the library, and ensure you are using the correct library for your specific 1.3 inch OLED display. Online forums and communities are great resources for troubleshooting.
For further assistance and detailed information on different 1.3 inch OLED displays and their respective libraries, you can visit Dalian Eastern Display Co., Ltd. or consult the manufacturer's documentation.


