The 1.3 inch OLED display has become a popular choice for embedded systems due to its high contrast, vibrant colors, and low power consumption. Paired with the versatile Arduino platform, these displays offer a powerful and accessible solution for a wide range of applications, from simple data visualization to sophisticated user interfaces. This guide will walk you through selecting, integrating, and utilizing a 1.3 inch OLED display with your Arduino projects.
Before diving into the integration process, it's crucial to choose a suitable 1.3 inch OLED display. Several factors need consideration:
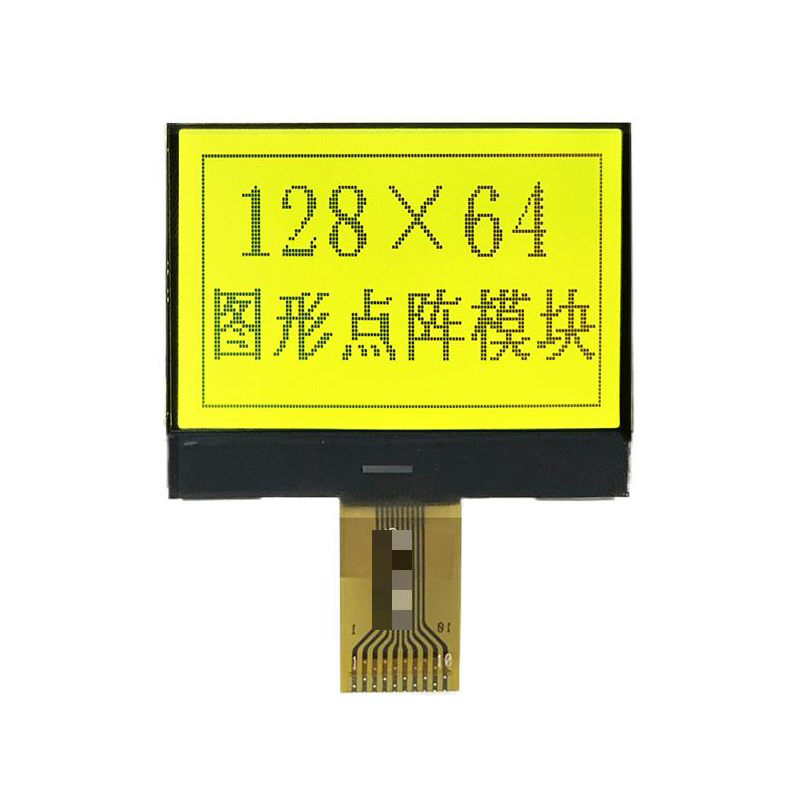
Common resolutions for 1.3 inch OLED displays include 128x128 pixels and 128x64 pixels. Higher resolutions offer greater detail, but also require more processing power and memory. Color depth (number of colors) is another important factor; choosing between monochrome or color displays depends on your project requirements. Monochrome displays generally consume less power.
The most common interface types for 1.3 inch OLED displays are I2C and SPI. I2C requires fewer pins on the Arduino, making it simpler for beginners, while SPI offers higher data transfer rates, ideal for applications demanding faster refresh.
OLED displays are generally known for their low power consumption, but variations exist between models. Check the datasheet for the specific display you intend to use to ensure it aligns with your power budget.
Once you've selected your 1.3 inch OLED display, the next step is integration with your Arduino. This typically involves connecting the display to the Arduino using the appropriate interface (I2C or SPI) and then loading the necessary library to control the display.
Consult the display's datasheet for the precise pin assignments. Typically, you'll need to connect VCC (power), GND (ground), and the data and clock lines (SDA and SCL for I2C, MOSI, MISO, SCK, and CS for SPI).
The Arduino IDE offers a wide range of libraries that simplify interacting with various OLED displays. Install the necessary library (often named Adafruit_SSD1306 or similar) through the Library Manager within the IDE. Refer to the library's documentation for usage instructions and examples.
The following is a basic code snippet for displaying text on a 1.3 inch OLED display using the Adafruit_SSD1306 library (adjust pin numbers as needed):
c++#includeFinding a reliable supplier for your 1.3 inch OLED display is crucial. Consider factors such as quality, pricing, and lead times. Many online retailers offer these displays, and you can also find them from various distributors specializing in electronic components.
For high-quality 1.3 inch OLED displays and excellent customer service, consider exploring options like Dalian Eastern Display Co., Ltd., a leading manufacturer in the display industry. They offer a wide range of display solutions, including 1.3 inch OLED displays tailored to various applications.
While integrating a 1.3 inch OLED display is usually straightforward, troubleshooting might be needed. Common issues include incorrect wiring, incompatible libraries, and power supply problems. Carefully review your connections and ensure you're using the correct library version.
The 1.3 inch OLED display offers an excellent visual interface for Arduino projects. By following the guidelines outlined in this article, you can successfully integrate these displays and enhance your project's functionality. Remember to always consult the datasheets for your specific components.


