Dalian Eastern Display Co., Ltd.
Dalian Eastern Display Co., Ltd.


The 16x2 LCD display is a staple component in countless Arduino projects, offering a straightforward way to display information. However, selecting the right display can seem daunting given the variety of options available. This comprehensive guide breaks down the key considerations to help you find the perfect fit for your specific needs.
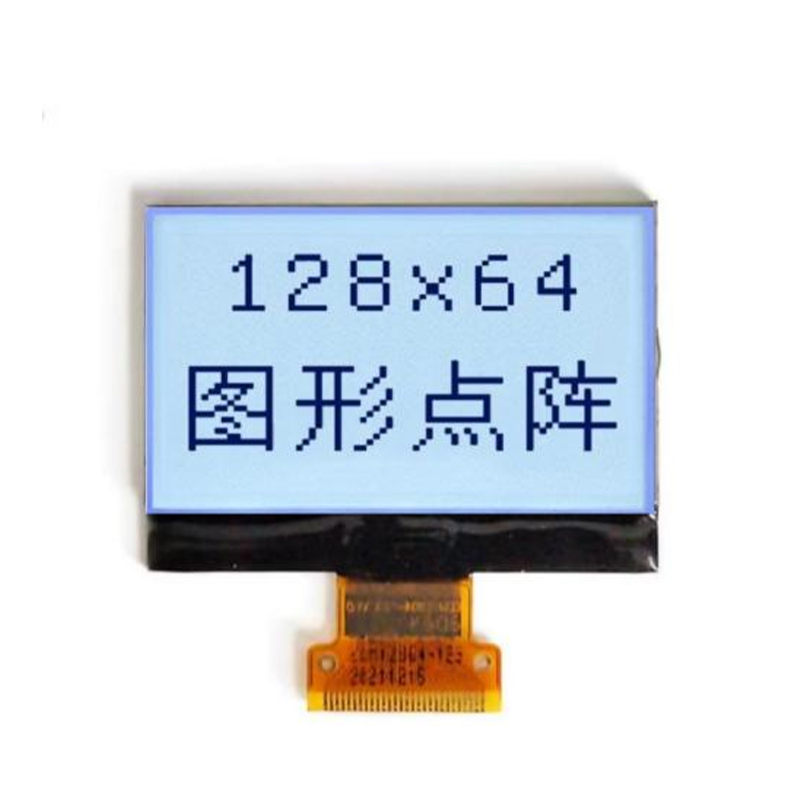
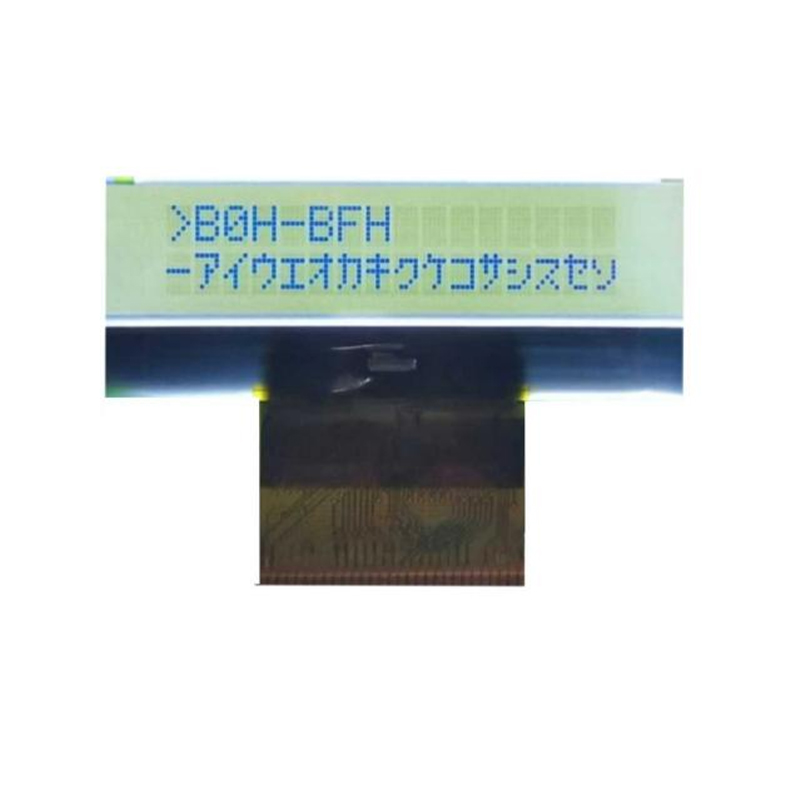
Before diving into specific models, let's clarify what the 16x2 designation means. It signifies a display with 16 characters per line and 2 lines in total. However, the specifications go beyond this basic description.
While all 16x2 LCD displays have the same character count, the character size varies. Larger characters provide better readability at a distance, but smaller characters allow for more compact designs. Check the datasheet for the exact dimensions of the characters and the overall display size.
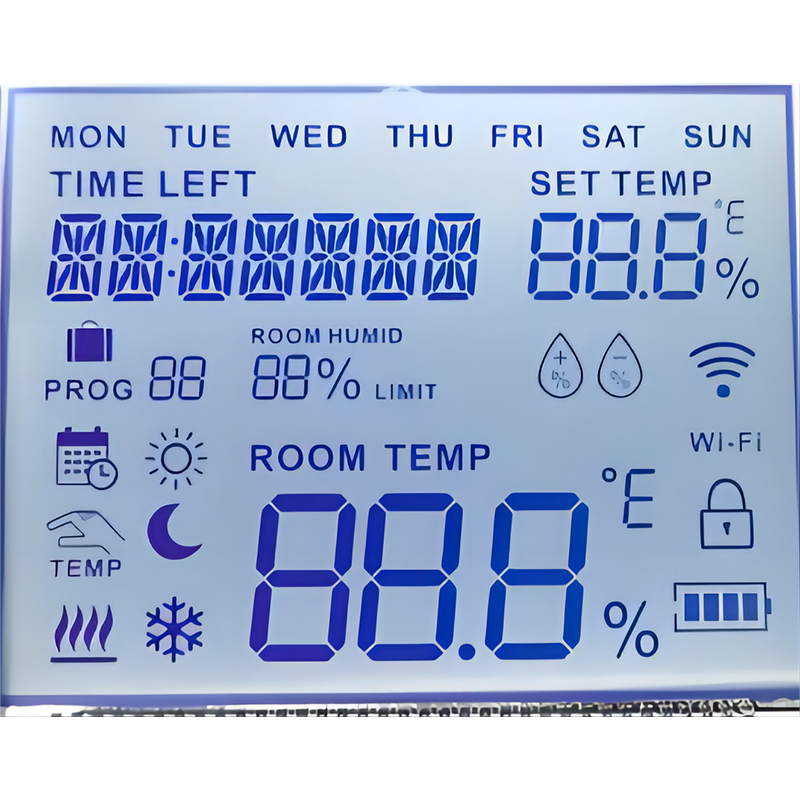
Many 16x2 LCD displays offer various backlight options, including white, blue, green, yellow, and even RGB (red, green, blue) for customizable colors. The backlight choice impacts the power consumption and visual appeal of your project. Consider the ambient light conditions where your project will be used.
Most common 16x2 LCD displays use either I2C or parallel interfaces. I2C requires fewer Arduino pins, making it ideal for space-constrained projects. Parallel interfaces, while needing more pins, may offer slightly faster communication speeds. Choose the interface compatible with your Arduino board and project requirements.
Numerous manufacturers produce 16x2 LCD displays. While specific models vary, most share common features. Consider factors like contrast, viewing angle, and power requirements when selecting.
| Model | Character Size | Backlight | Interface |
|---|---|---|---|
| (Example Model 1 - Replace with actual model and data) | 5x7 pixels | White LED | Parallel |
| (Example Model 2 - Replace with actual model and data) | 5x8 pixels | Blue LED | I2C |
This is sample data. Always refer to manufacturer specifications for accurate information.
Connecting a 16x2 LCD display to your Arduino involves wiring the display's pins to the corresponding pins on your Arduino board. Refer to the display's datasheet for detailed pinouts. The process typically involves using a library like LiquidCrystal for simplifying communication.
For a more in-depth tutorial and code examples, explore resources available online. Many tutorials specifically focus on interfacing various 16x2 LCD display models with different Arduino boards.
Sourcing high-quality components is crucial for the success of any project. When searching for your 16x2 LCD display, consider reputable suppliers with a proven track record. Dalian Eastern Display Co., Ltd. (https://www.ed-lcd.com/) offers a wide range of LCD displays. Their commitment to quality ensures your project utilizes reliable components.
Remember to always cross-reference specifications from multiple sources to ensure compatibility and quality before making a purchase.
This guide provides a starting point for selecting the perfect 16x2 LCD display for your Arduino project. Thorough research and careful component selection will ensure a successful and satisfying outcome.