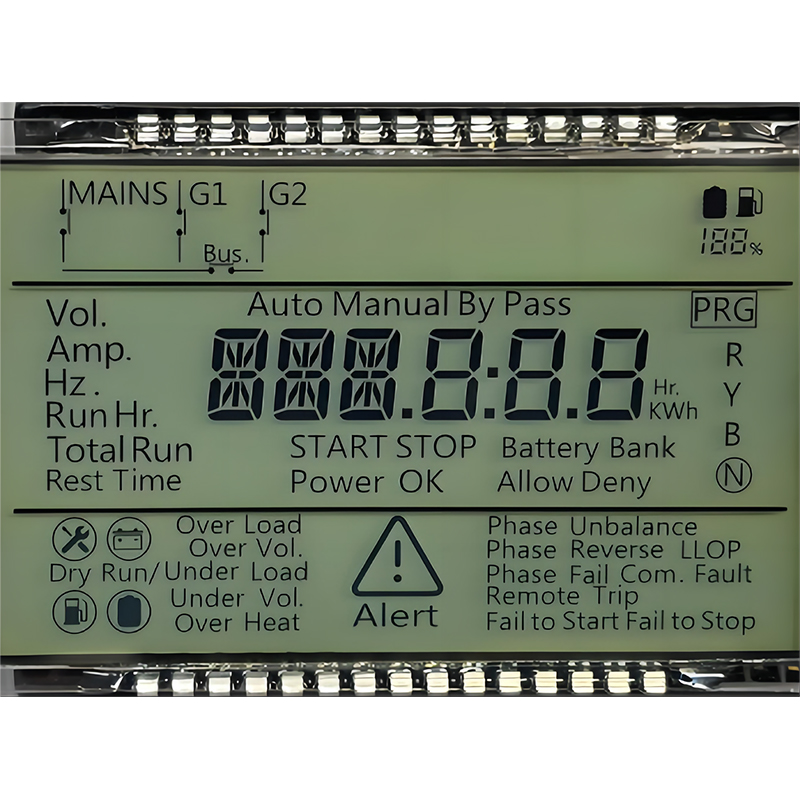
This guide provides a complete walkthrough on interfacing a 1602 LCD with an Arduino microcontroller. Learn how to connect the components, write the necessary code, and troubleshoot common issues. We'll cover everything from basic text display to more advanced techniques, ensuring you can successfully integrate this common display into your projects.
A 1602 LCD (Liquid Crystal Display) is a popular, inexpensive, and readily available display module used extensively with microcontrollers like the Arduino. It features a 16-character by 2-line display, offering enough space for displaying various information in your projects. These displays are commonly used in various applications due to their simplicity and ease of use. For high-quality displays and components, consider exploring suppliers like Dalian Eastern Display Co., Ltd. for your needs.
The 1602 LCD boasts several key features that contribute to its popularity:
Connecting a 1602 LCD to an Arduino requires connecting the respective pins. The pinout might vary slightly depending on the manufacturer. Always refer to your specific 1602 LCD's datasheet. A common configuration is as follows:
| Arduino Pin | 1602 LCD Pin | Description |
|---|---|---|
| 5V | VCC | Power Supply |
| GND | GND | Ground |
| 7 | RS | Register Select |
| 6 | RW | Read/Write |
| 5 | Enable | Enable |
| 4 | D4 | Data Pin 4 |
| 3 | D5 | Data Pin 5 |
| 2 | D6 | Data Pin 6 |
| 1 | D7 | Data Pin 7 |
| 10k Resistor | Contrast | Contrast adjustment (Potentiometer) |
Table 1: Common 1602 LCD to Arduino Wiring
This simple example demonstrates how to display Hello, World! on the 1602 LCD:
#include LiquidCrystal lcd(7, 6, 5, 4, 3, 2);void setup() { lcd.begin(16, 2); lcd.print(Hello, World!);}void loop() {} Beyond basic text display, you can achieve much more with the 1602 LCD, including:
Numerous tutorials and examples are available online to guide you through these advanced functionalities.
Common issues when working with a 1602 LCD include incorrect wiring, power supply problems, and software errors. Double-check your wiring diagram, ensure a stable power supply, and carefully review your code for any mistakes.
Integrating a 1602 LCD with an Arduino is a straightforward process that opens up numerous possibilities for your projects. By understanding the basic principles, wiring, and coding, you can successfully utilize this versatile display module for a wide range of applications.

