Dalian Eastern Display Co., Ltd.
Dalian Eastern Display Co., Ltd.


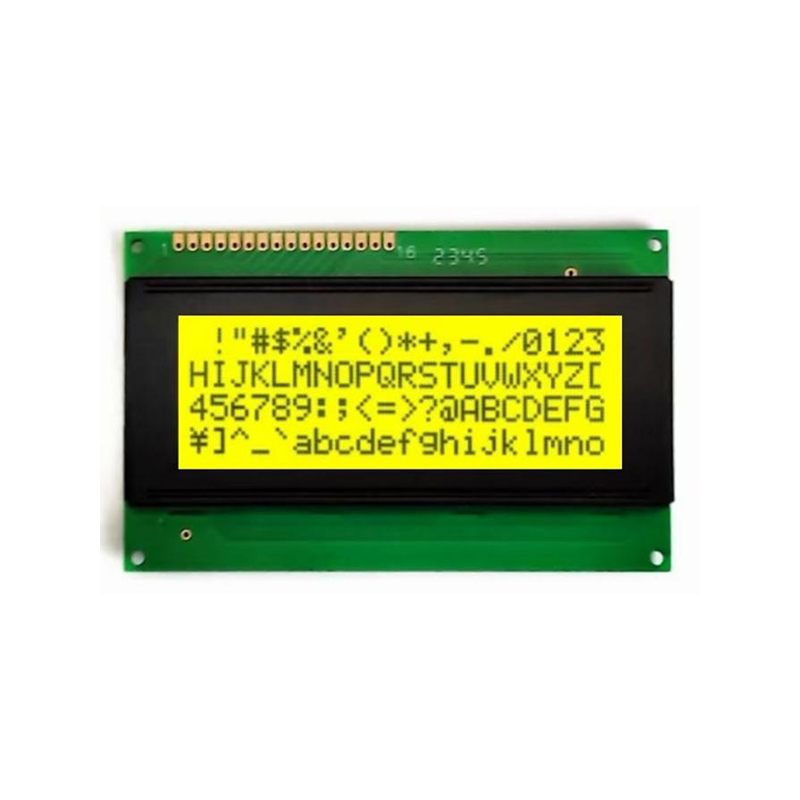
The 16x2 LCD display is a popular choice for many Arduino projects due to its affordability and ease of use. This versatile display allows you to present information clearly and concisely, making it perfect for displaying sensor readings, user prompts, or game scores. This guide will provide a step-by-step approach to successfully integrating a 1602 LCD display Arduino setup, encompassing hardware connections, software libraries, code examples, and potential troubleshooting solutions.
The HD44780-based 1602 LCD display is a character-based LCD module. It has 16 columns and 2 rows for text display. Its compact size and simple interface make it highly suitable for embedded systems. You'll need to consider several factors like contrast adjustment and backlight configuration for optimal readability.
Before beginning, gather the necessary components: an Arduino board (Uno, Nano, Mega, etc.), a 1602 LCD display, jumper wires, and potentially a potentiometer for contrast adjustment. The specific pin connections might vary slightly depending on the LCD module, so always refer to your LCD's datasheet for accurate information. Here’s a common wiring configuration:
| Arduino Pin | LCD Pin | Description |
|---|---|---|
| 5V | VCC | Power Supply |
| GND | GND | Ground |
| 7 | RS | Register Select |
| 6 | RW | Read/Write (connect to GND) |
| 5 | Enable | Enable Pin |
| 4 | D4 | Data Pin 4 |
| 3 | D5 | Data Pin 5 |
| 2 | D6 | Data Pin 6 |
| 1 | D7 | Data Pin 7 |
| A0 | VO (Contrast) | Contrast Adjustment (Potentiometer) |
Remember to connect the potentiometer to adjust the contrast of the 1602 LCD display. Incorrect wiring can damage your components, so double-check all connections before powering up.
You'll need the LiquidCrystal library to interact with the 1602 LCD display. This library simplifies the process of sending commands and data to the LCD. Here's a basic example to display Hello, World! on the first line:
#include LiquidCrystal lcd(7, 6, 5, 4, 3, 2); // Adjust pins as neededvoid setup() { lcd.begin(16, 2); lcd.print(Hello, World!);}void loop() { // Add your code here to update the LCD display} This code initializes the LCD and prints a simple message. You can modify this code to display various data, sensor readings, or create more complex interactions for your 1602 LCD display Arduino project. For more advanced functionalities, explore the LiquidCrystal library documentation here.
If your 1602 LCD display isn't working correctly, check the following:
For further assistance or to explore a wider range of LCD displays, you might consider checking out the high-quality LCD modules offered by Dalian Eastern Display Co., Ltd. They offer a variety of options for your specific project needs.
Integrating a 1602 LCD display with your Arduino is a straightforward process with rewarding results. By following this guide and leveraging the LiquidCrystal library, you can successfully display information and enhance your Arduino projects. Remember to always double-check your connections and refer to the datasheets for both the Arduino and your specific 1602 LCD display model for optimal results.