Dalian Eastern Display Co., Ltd.
Dalian Eastern Display Co., Ltd.


This guide provides a comprehensive overview of using 1602 LCD I2C displays with Arduino, covering setup, programming, troubleshooting, and common applications. We'll explore the benefits of I2C communication, delve into code examples, and address potential issues you might encounter. Whether you're a beginner or experienced with Arduino, this resource will equip you with the knowledge to effectively integrate these displays into your projects. Learn how to easily display text, numbers, and even custom characters on your 1602 LCD I2C screen.
A 1602 LCD I2C display is a small, alphanumeric liquid crystal display (LCD) module commonly used with microcontrollers like Arduino. The 1602 refers to its dimensions (16 characters wide, 2 lines high). The I2C indicates that it uses the I2C communication protocol, simplifying wiring compared to standard parallel LCDs. This makes it a popular choice for various embedded systems due to its ease of use and compact size.
The I2C protocol uses only two wires (SDA and SCL) for data and clock signals, reducing the number of pins required on your Arduino compared to parallel LCD interfaces. This simplifies wiring, saves pins for other components, and makes your project more manageable. Furthermore, I2C supports multiple devices on the same bus, allowing you to connect other I2C peripherals without significant complexity.
Connecting a 1602 LCD I2C to your Arduino is straightforward. Typically, you'll need to connect the following:
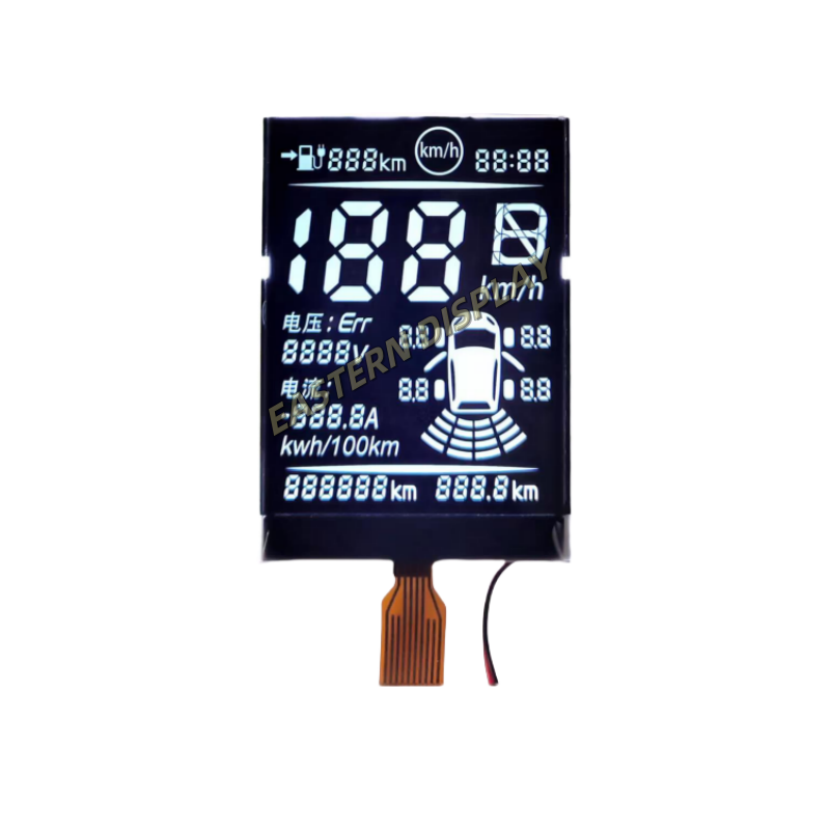
Always consult the specific datasheet for your 1602 LCD I2C module for accurate pin assignments, as minor variations can exist between manufacturers. You can find a wide range of high-quality LCD displays from reputable suppliers like Dalian Eastern Display Co., Ltd.
You'll need the LiquidCrystal_I2C library to control the 1602 LCD I2C display from your Arduino. This library provides functions for writing text, setting the cursor position, and controlling other aspects of the display. You can typically install it through the Arduino IDE's Library Manager.
#include LiquidCrystal_I2C lcd(0x27, 16, 2); // Set the LCD address to 0x27 for a 16 chars and 2 line displayvoid setup() { lcd.init(); lcd.backlight(); lcd.print(Hello, world!);}void loop() { // Add your code here to update the LCD display} Beyond displaying simple text, you can create and display custom characters on your 1602 LCD I2C. The LiquidCrystal_I2C library provides functions to define and use these custom characters, adding flexibility to your projects. You can also control the cursor position, backlight, and other aspects of the display for more complex visual outputs.
If your 1602 LCD I2C doesn't respond, double-check the I2C address (often 0x27, but may vary). Incorrect addressing is a common cause of issues. Refer to your display's datasheet to confirm the correct I2C address.
Insufficient power can lead to erratic behavior or non-functionality. Ensure you're providing a stable 5V power supply to the LCD module.
Carefully inspect all wiring connections to rule out loose or incorrect connections. A simple wiring mistake can prevent your LCD from working correctly.
1602 LCD I2C displays are versatile and find applications in various projects, including:
Their ease of use and compact size make them ideal for projects where a simple and clear visual display is required.
Remember to always consult the datasheets provided by your 1602 LCD I2C module's manufacturer for precise specifications and details. Happy coding!