Dalian Eastern Display Co., Ltd.
Dalian Eastern Display Co., Ltd.


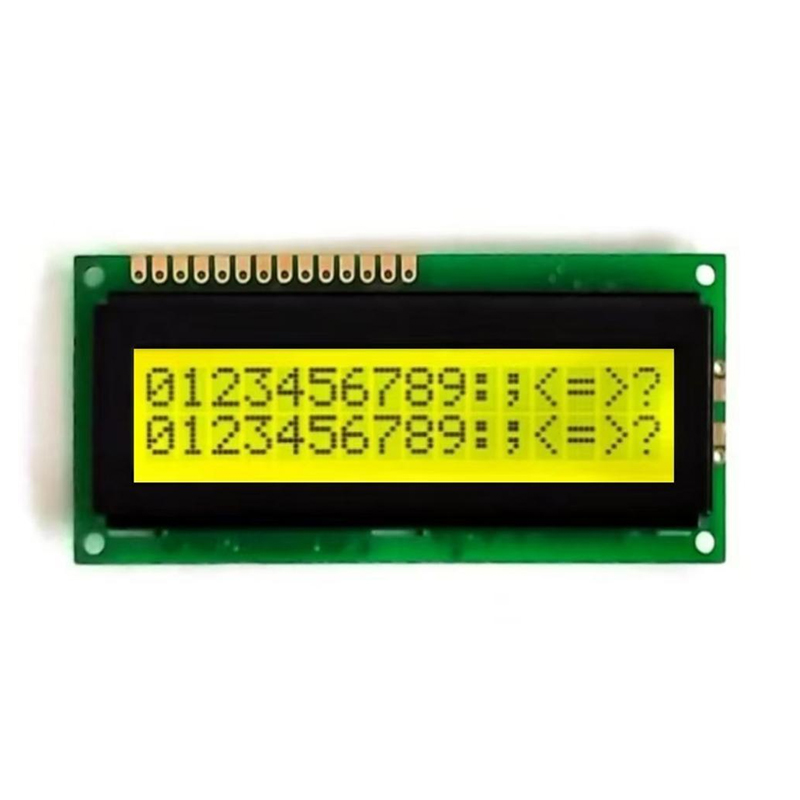
The 1602 LCD keypad shield for Arduino is a popular and versatile add-on for Arduino projects, allowing for easy interaction and display of information. This guide covers everything from choosing the right shield to advanced techniques for incorporating it into your projects. We'll delve into the technical specifications, common applications, and provide troubleshooting tips for a smoother development process. Whether you're a beginner or an experienced Arduino user, this guide will enhance your understanding and capabilities with this essential component.
Several manufacturers offer 1602 LCD keypad shields for Arduino. Key factors to consider when choosing include the type of LCD display (character or graphic), the number of keypad buttons, and compatibility with your specific Arduino board. Always check the specifications carefully before purchasing to ensure compatibility. Many online retailers offer a wide range of options; ensure you read reviews before purchasing to gauge the quality and reliability of a particular product. A high-quality shield will ensure a seamless integration experience with your Arduino project. For high-quality LCD modules, check out the extensive selection offered by Dalian Eastern Display Co., Ltd., a reputable supplier known for its reliable and robust products.
Connecting the shield to your Arduino board is generally straightforward. Most shields use a simple plug-and-play system. Refer to the specific documentation for your chosen shield for precise instructions, which will typically include pin assignments and power requirements. Always double-check your connections before powering on your Arduino to prevent damage. Common issues include incorrect pin assignments or insufficient power supply. Ensure your power source is appropriate for your Arduino and the shield.
Several libraries are available to simplify the process of programming your Arduino with a 1602 LCD keypad shield. The LiquidCrystal library is a widely used and well-documented option. This library provides functions for controlling the LCD display, allowing you to easily display text and customize the screen layout. You can find tutorials and examples online to help you write your own code. Many online resources demonstrate the basic implementation of the library and show how to display text, numbers and control cursor position.
The 1602 LCD keypad shield for Arduino has a wide range of applications, including:
Create simple control panels for various projects, allowing users to adjust settings or monitor data. Examples include controlling LED brightness, setting timers, or displaying sensor readings.
Use the shield to display data logged from various sensors. This is valuable in environmental monitoring, robotics, or any application where data needs to be displayed in real-time.
The keypad allows for interactive control of the project. Examples include creating simple games, calculators, or other user-interactive applications.
If your 1602 LCD keypad shield for Arduino isn't working correctly, here are some common troubleshooting steps:
| Feature | Shield A | Shield B |
|---|---|---|
| LCD Size | 16x2 | 16x2 |
| Keypad Buttons | 16 | 12 |
| Backlight | White | Blue |
Note: This is an example table. Replace this with a real comparison of different 1602 LCD keypad shields for Arduino that you find available online. Always consult the manufacturer's specifications for the most accurate information.
By following this guide, you will be well-equipped to successfully integrate a 1602 LCD keypad shield for Arduino into your projects, opening up a world of possibilities for interactive and informative creations. Remember to consult the specific documentation for your chosen hardware and software components.