Dalian Eastern Display Co., Ltd.
Dalian Eastern Display Co., Ltd.


This guide provides a comprehensive walkthrough on how to successfully connect and utilize a 1602 LCD with your Raspberry Pi. We'll cover everything from the necessary hardware and software to troubleshooting common issues, ensuring you can display information on your 1602 LCD screen quickly and efficiently. Whether you're a beginner or an experienced Raspberry Pi user, this guide offers practical steps and valuable insights.
To begin, you'll need the following components:
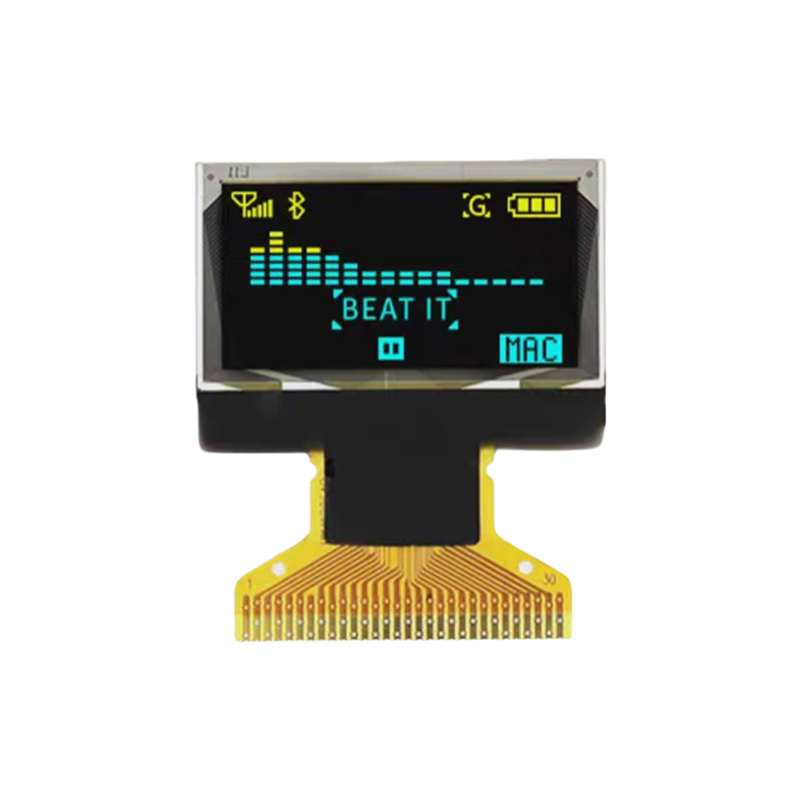
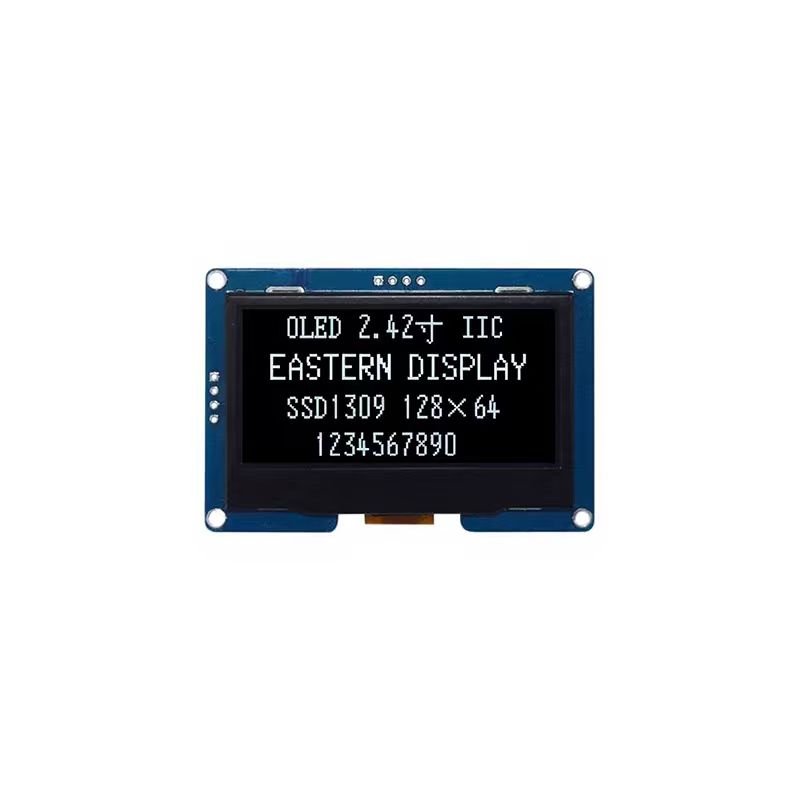
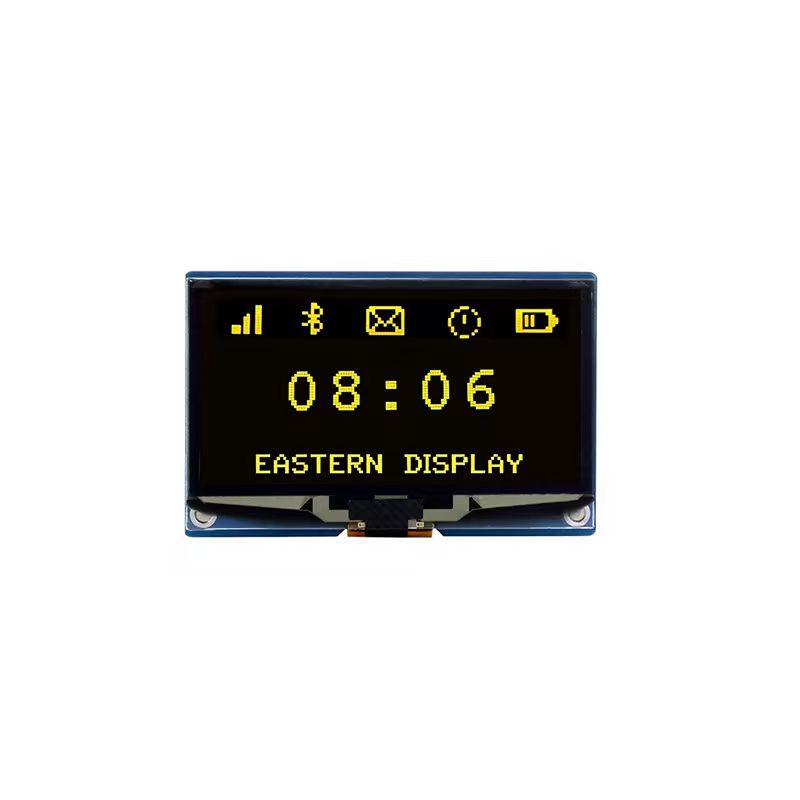
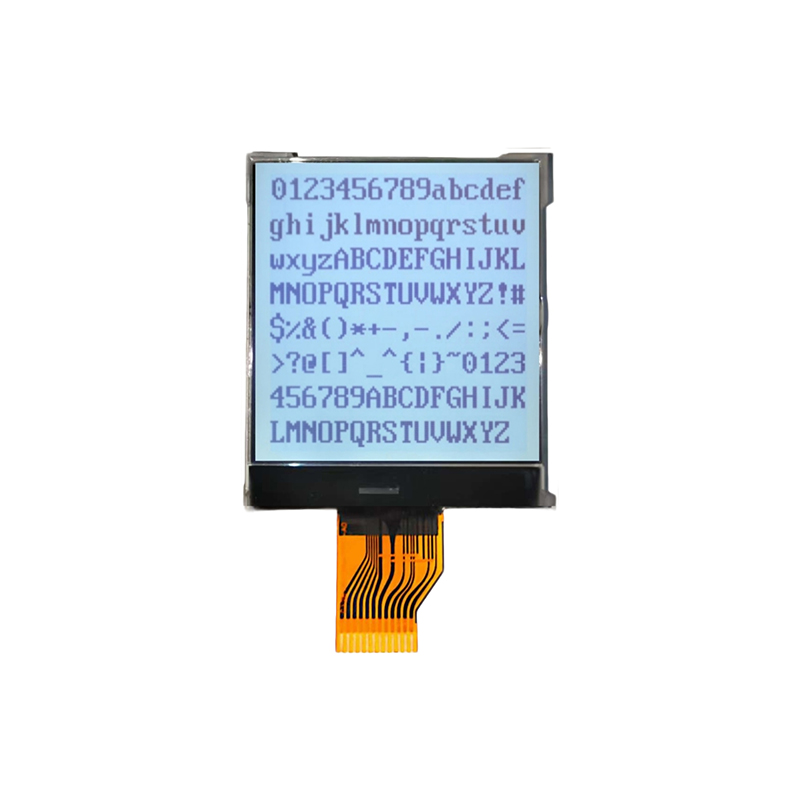
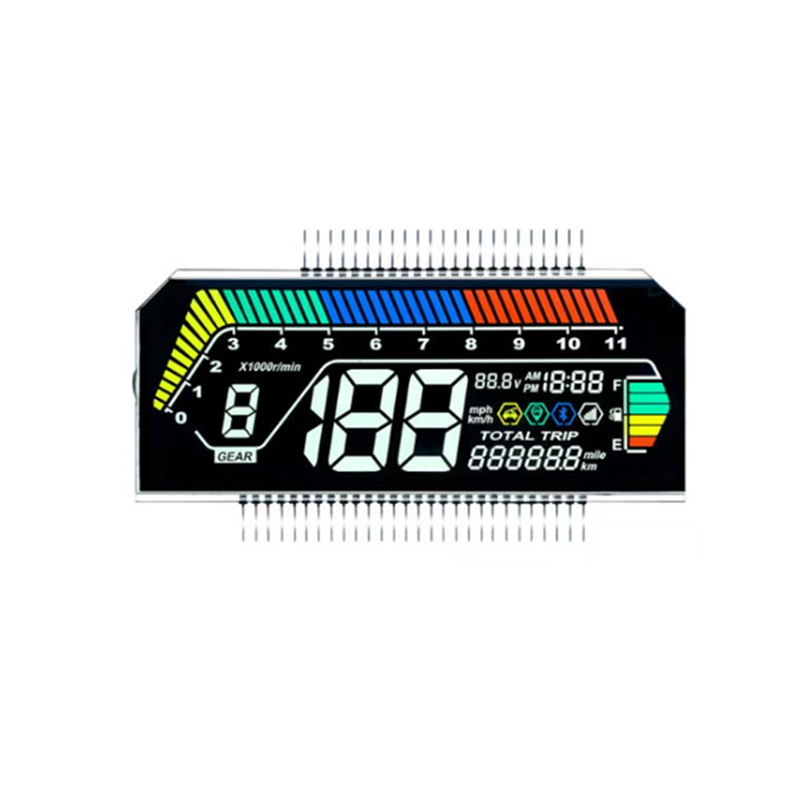
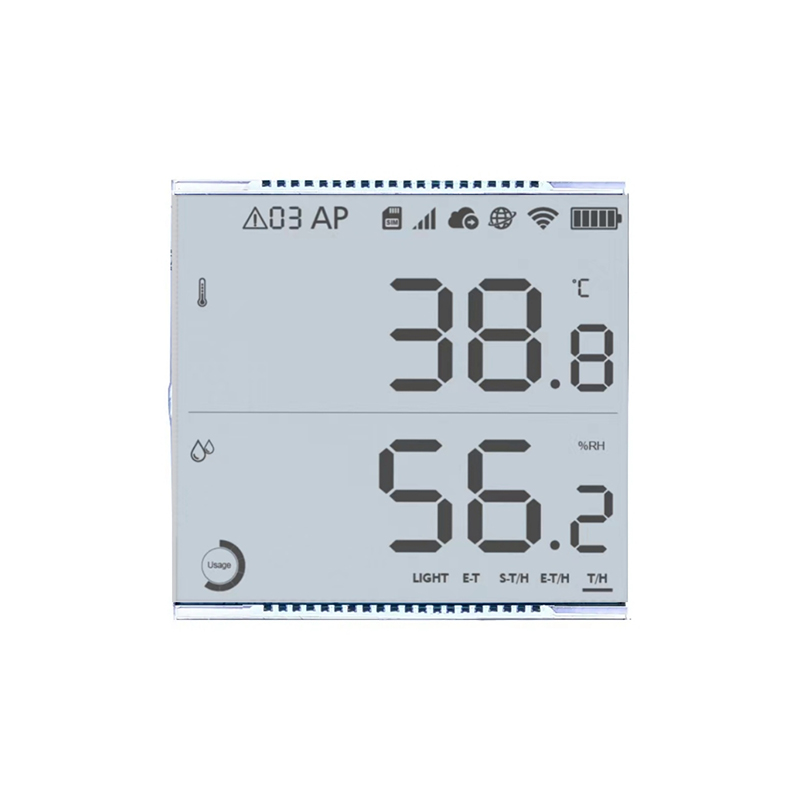
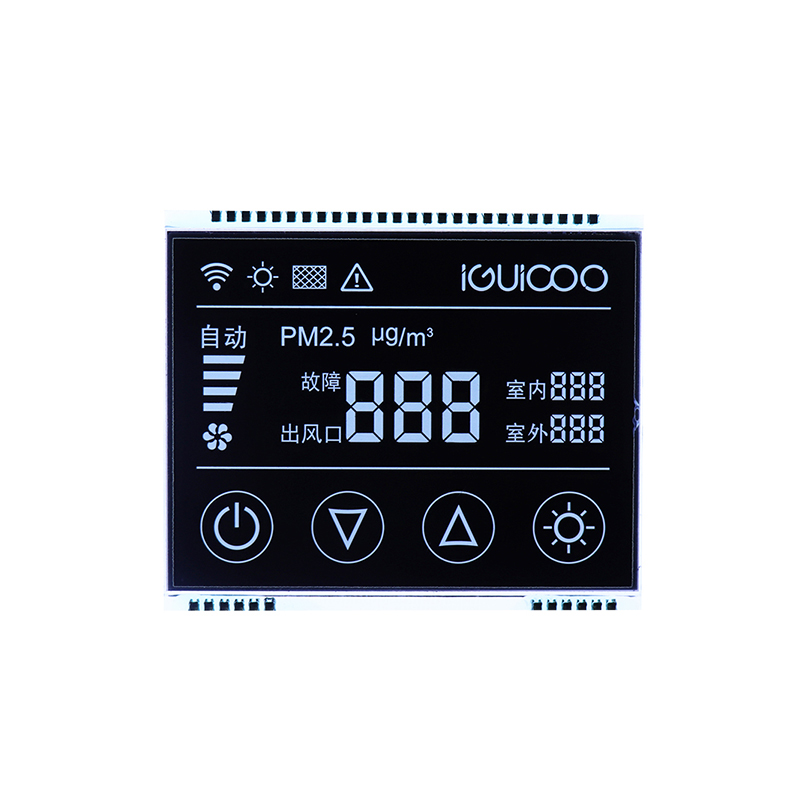
You can source these components from various online retailers. If you need a high-quality LCD display, consider checking out Dalian Eastern Display Co., Ltd. at https://www.ed-lcd.com/ for a wide selection of LCD options. They offer a range of displays suitable for various applications, including Raspberry Pi projects.
On your Raspberry Pi, you'll need to install the necessary Python libraries. The most common library used for interacting with 1602 LCDs is RPi.GPIO. You can install it via the command line using:
sudo apt-get updatesudo apt-get install python3-rpi.gpioThe wiring process may vary slightly depending on your specific 1602 LCD module. Consult the included documentation or find a wiring diagram online specific to your model. However, a common wiring scheme is as follows:
| LCD Pin | Raspberry Pi Pin | Description |
|---|---|---|
| VSS | GND | Ground |
| VDD | 5V | Power |
| V0 | Variable Resistor (10kΩ) to GND | Contrast Adjustment |
| RS | GPIO 27 | Register Select |
| RW | GND | Read/Write (GND for write) |
| E | GPIO 22 | Enable |
| DB4-DB7 | GPIO 25, GPIO 24, GPIO 23, GPIO 18 | Data Pins |
Once wired correctly, you can write a Python script to control the 1602 LCD. This example demonstrates displaying Hello, World! on the screen:
import RPi.GPIO as GPIOimport time# ... (GPIO setup code according to your wiring) ...try: lcd.message(Hello, World!) time.sleep(5) # Wait for 5 secondsexcept KeyboardInterrupt: passfinally: lcd.cleanup()Remember to replace the placeholder comment with the correct GPIO setup code based on your wiring. Numerous online resources offer detailed examples and code snippets for various 1602 LCD functionalities.
If you encounter issues, double-check your wiring, ensure power is supplied correctly, and verify the Python libraries are installed properly. Online forums and communities dedicated to Raspberry Pi are excellent resources for troubleshooting specific problems.
This guide offers a solid foundation for using a 1602 LCD with your Raspberry Pi. Experiment with different code examples and explore the diverse possibilities this versatile display offers.