Dalian Eastern Display Co., Ltd.
Dalian Eastern Display Co., Ltd.


The combination of an Arduino microcontroller and a 2.4 inch LCD TFT display offers incredible versatility for a wide range of projects. From simple data displays to complex graphical interfaces, this powerful pairing opens up a world of possibilities. This guide will equip you with the knowledge and practical steps to successfully integrate these two components.
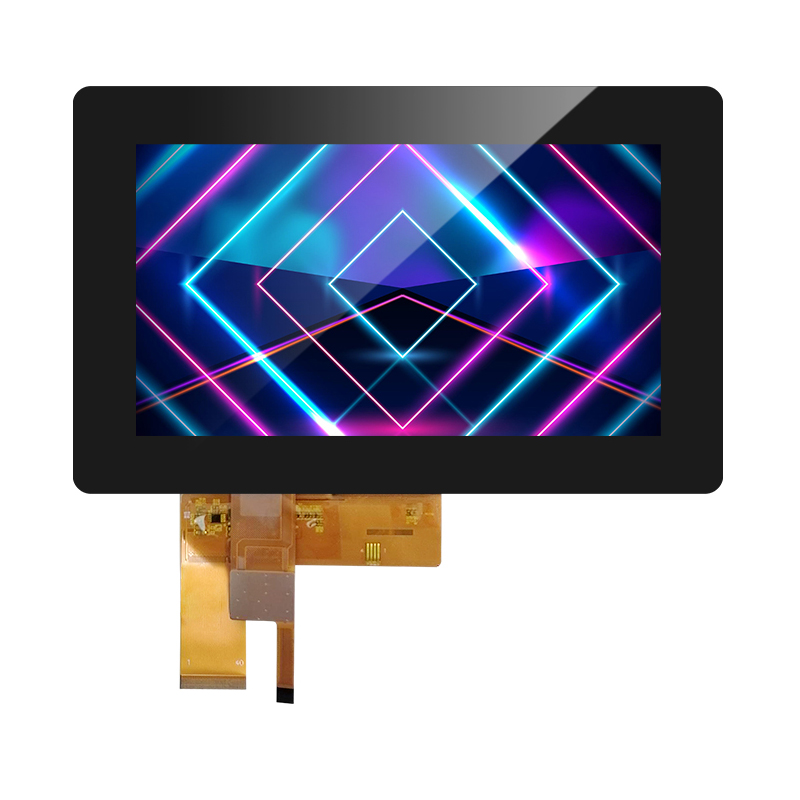
Several 2.4 inch LCD TFT displays are compatible with Arduino. Key factors to consider when selecting a display include resolution (higher resolution means sharper images), backlight type (LED backlights are common and offer good brightness), interface type (SPI is generally preferred for its speed and efficiency), and controller chip (different controllers require different libraries). Many reputable suppliers offer high-quality 2.4 inch LCD TFT displays, such as Dalian Eastern Display Co., Ltd., providing various options to suit your specific needs. Always check the display's datasheet for detailed specifications and ensure compatibility with your Arduino board.
The wiring process can vary slightly depending on the specific 2.4 inch LCD TFT display model. However, the general principles remain consistent. You'll need to connect the display's power, ground, data lines (MOSI, MISO, SCK), chip select (CS), reset (RST), and potentially other control pins to the corresponding pins on your Arduino board. Refer to your display's datasheet for the exact pin configuration. Clear and accurate wiring is crucial to avoid damage and ensure proper functionality. Take extra care when soldering the connections.
| Arduino Pin | Display Pin | Function |
|---|---|---|
| 5V | VCC | Power |
| GND | GND | Ground |
| 13 | CS | Chip Select |
| 11 | DC | Data/Command |
| 10 | RST | Reset |
| MOSI, MISO, SCK (See Datasheet) | MOSI, MISO, SCK | SPI Communication |
You'll need to install the appropriate library for your specific 2.4 inch LCD TFT display's controller chip. This library provides the functions needed to interact with the display. The Arduino IDE's Library Manager makes this process straightforward. Search for the library corresponding to your display's controller (e.g., ST7735, ILI9341) and install it.
The following code snippet provides a basic example of displaying text on a 2.4 inch LCD TFT display using the ST7735 library. Remember to adjust the pin assignments to match your wiring.
#include #include // Or your specific libraryTFT_eSPI tft = TFT_eSPI();void setup() { tft.init(); tft.setRotation(1); // Adjust rotation as needed tft.fillScreen(TFT_BLACK); tft.setCursor(0, 0); tft.setTextColor(TFT_WHITE); tft.setTextSize(2); tft.println(Hello, World!);}void loop() { // Your code here} Common issues include incorrect wiring, improper library installation, or power supply problems. Carefully review your wiring, ensure the library is correctly installed, and check that your Arduino and display are receiving sufficient power. Consult the display's datasheet and the library's documentation for further assistance.
Successfully integrating a 2.4 inch LCD TFT display with your Arduino project opens doors to a vast array of creative possibilities. By following the steps outlined in this guide, you can confidently bring your project ideas to life. Remember to always consult your specific display's datasheet for accurate details and specifications. Happy making!