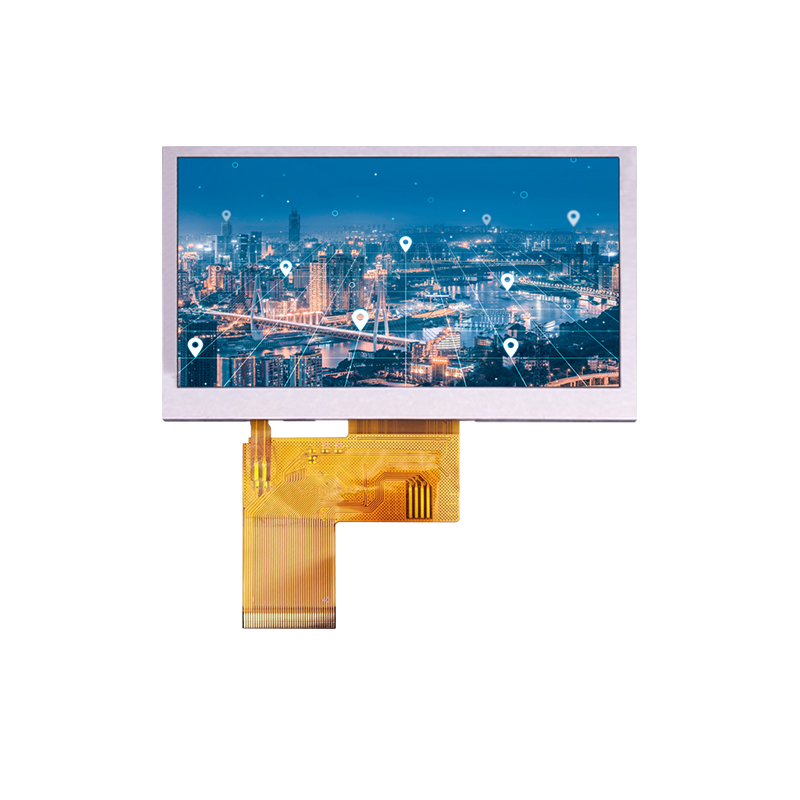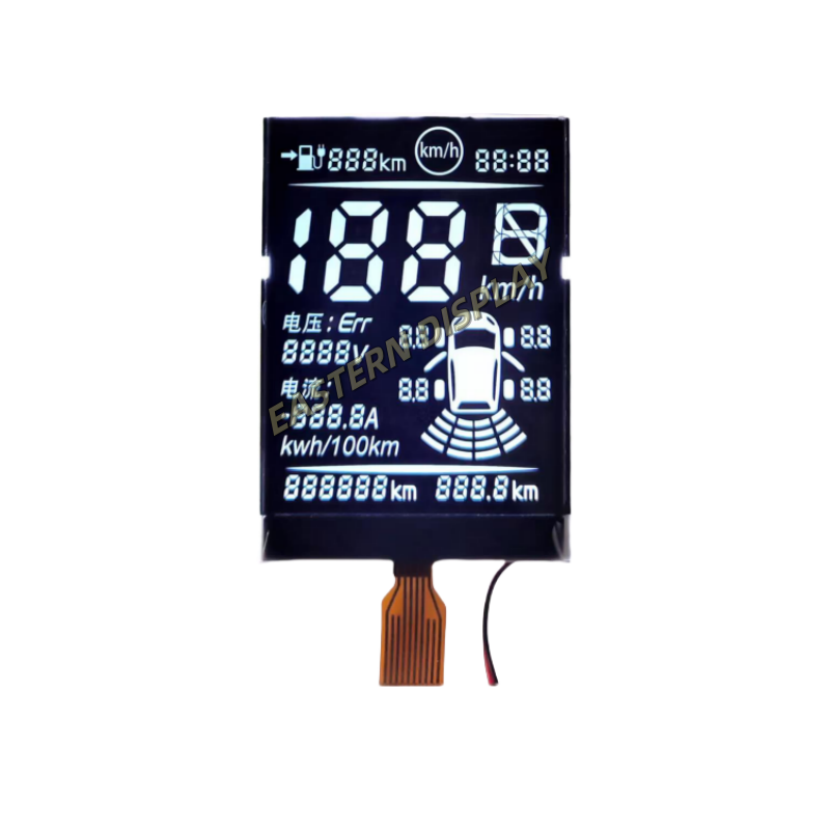
This guide provides a comprehensive walkthrough on connecting and utilizing a 3.5 inch TFT display with an Arduino microcontroller. We'll cover selecting the right display, necessary hardware, library installation, coding examples, and troubleshooting common issues. Learn how to display text, images, and even create custom graphical user interfaces (GUIs) for your Arduino projects.
The market offers various 3.5 inch TFT displays with differing specifications. Key factors to consider include resolution (e.g., 320x480 pixels), interface type (SPI or parallel), backlight color (white or RGB), and touch functionality. Consider your project's requirements before making a selection. Higher resolutions provide sharper images, but may require more processing power from your Arduino. SPI interfaces are generally preferred for their simplicity and efficiency. For projects needing user input, a touch-enabled display is essential. When choosing your display, consider sourcing it from reputable suppliers such as Dalian Eastern Display Co., Ltd. for quality assurance.
The connection process varies depending on the specific display model. Consult your display's datasheet for the exact pinout. Generally, you will need to connect the display's data lines (MOSI, MISO, SCK), control lines (CS, RST, DC), and power lines (VCC, GND) to the corresponding pins on your Arduino. A detailed wiring diagram is usually included with the display's documentation. Pay close attention to power supply requirements, ensuring the display receives the correct voltage. Incorrect wiring can damage both the display and the Arduino.
Install the necessary TFT library within the Arduino IDE. This library provides the functions needed to control and interact with your specific 3.5 inch TFT display. The process usually involves using the Library Manager within the Arduino IDE to search for and install the library. Follow the instructions provided with the library for installation.
The following is a simplified example. You'll need to adjust pin assignments and library specifics to match your setup.
c++#includeOnce you have the basics working, you can explore more advanced applications such as displaying images, creating custom GUIs, and integrating with sensors. Common issues include incorrect wiring, incorrect library selection, power supply problems, and initialization errors. Refer to the display's documentation and online forums for troubleshooting assistance.
| Feature | Display A | Display B |
|---|---|---|
| Resolution | 320x480 | 480x320 |
| Interface | SPI | SPI |
| Backlight | White LED | RGB LED |
| Touch | No | Yes |
Note: This table provides illustrative data. Actual specifications will vary depending on the chosen display. Always refer to the manufacturer's datasheet for accurate information.
Remember to always consult the datasheets of your chosen 3.5 inch TFT display and Arduino board for specific pinouts and instructions. This guide serves as a general introduction and may require adjustments based on your components.

