This guide provides a step-by-step walkthrough on how to interface and control a 3.5 TFT display with an Arduino microcontroller. We will cover the necessary hardware, software libraries, and coding techniques, offering practical examples and troubleshooting tips. Whether you're a beginner or an experienced maker, this guide will empower you to create engaging projects using this versatile combination.
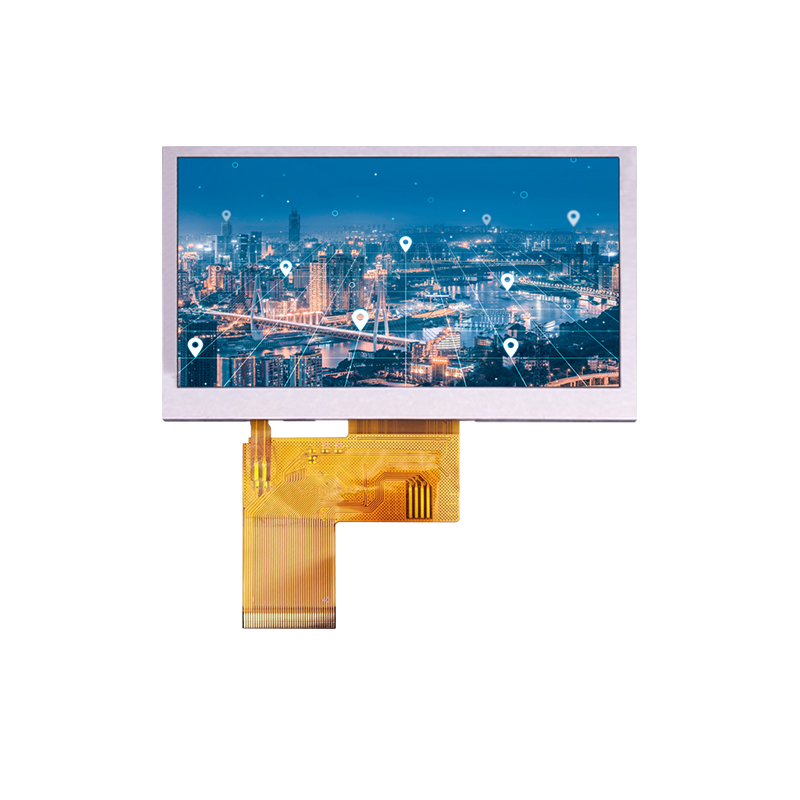
The first step is selecting the appropriate 3.5 TFT display and Arduino board for your project. Many different 3.5 TFT displays are available, varying in resolution, color depth, and interface type (e.g., SPI, parallel). Commonly used Arduino boards include the Arduino Uno, Nano, and Mega. The choice depends on your project's complexity and resource requirements. Consider the display's resolution (higher resolution means more detail but potentially higher power consumption) and the Arduino's memory capacity (for storing the display's graphics and control code).
Several manufacturers offer excellent 3.5 TFT displays compatible with Arduino. Research and compare specifications (resolution, color depth, backlight type) before making a purchase. Remember to check the display's data sheet for pinouts and communication protocols.
In addition to the 3.5 TFT display and Arduino board, you'll need several other components:
This section details the wiring process. Refer to the specific datasheets of your chosen 3.5 TFT display and Arduino board for precise pin assignments. Generally, you'll need to connect the following:
You'll need the Arduino IDE installed on your computer. Many libraries simplify the interaction with 3.5 TFT displays. A popular library is the UTFT library, which supports a wide range of displays. Install the library through the Arduino IDE's Library Manager.
This example demonstrates a basic setup and screen display using the UTFT library (remember to adapt this code to your specific 3.5 TFT display and its associated library):
cpp#includeTroubleshooting problems when working with 3.5 TFT displays and Arduino often involves checking the connections, ensuring correct library installation, and verifying power supply stability. Consult the display's datasheet and online forums for solutions to specific issues.
Integrating a 3.5 TFT display with an Arduino opens up exciting possibilities for interactive projects. This guide has provided a foundation for getting started. Remember to consult the datasheets of your specific hardware components for detailed information and to adapt the code accordingly. Experiment and explore the capabilities of this powerful combination to bring your creative projects to life!


