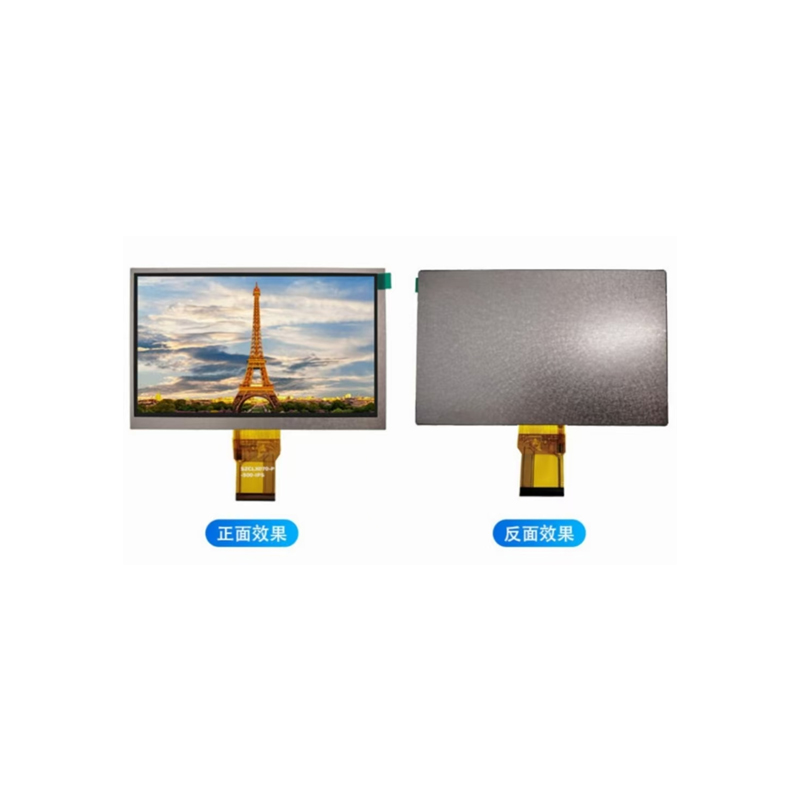
Integrating a 3.5 TFT display with an Arduino is a common project for hobbyists and professionals alike. This detailed guide covers everything from initial setup and library selection to advanced techniques for optimizing performance and managing power consumption. We'll address frequently encountered issues and provide practical solutions to ensure a smooth integration process for your project. Whether you're building a custom dashboard, a data visualization tool, or a simple graphical user interface (GUI), this guide will equip you with the knowledge and resources you need. Remember to choose a high-quality 3.5 TFT display for optimal results. For instance, you can explore the diverse range of displays offered by companies such as Dalian Eastern Display Co., Ltd., known for their reliability and performance.
The first step in this process involves selecting compatible hardware. The choice of 3.5 TFT display will depend on your specific project requirements, including resolution, color depth, and interface type (e.g., SPI, parallel). Similarly, the Arduino board you choose (e.g., Uno, Mega, Nano) will influence your project's capabilities based on its memory, processing power, and available pins. Ensure your chosen Arduino has sufficient memory and I/O pins to handle the display's communication protocol. Consider the power requirements of both the Arduino and the 3.5 TFT display, and select a suitable power supply.
Several libraries simplify the interaction between the Arduino and the 3.5 TFT display. Popular options include the Adafruit_TFTLCD library and the UTFT library. The choice often depends on the specific 3.5 TFT display model and its controller chip. Carefully consult your 3.5 TFT display's datasheet to identify the correct library and its associated configuration settings. Incorrect library selection can lead to display issues or even damage to your hardware.
Proper wiring is crucial for a successful setup. Consult your 3.5 TFT display's datasheet for the pinout diagram. Pay close attention to the connections for power (VCC, GND), data lines (MOSI, MISO, SCK, CS), and control signals (RST, DC, LED). Incorrect wiring can lead to malfunction or damage. Always double-check your connections before powering on the circuit. A breadboard can be invaluable for prototyping and easy modifications.
After establishing the hardware connections, you'll need to write the Arduino code to control the display. This will involve initializing the library, setting up the display, and then writing functions to draw text, shapes, and images. Common troubleshooting issues include incorrect wiring, library conflicts, insufficient power, and incorrect pin assignments. Careful debugging, utilizing the serial monitor for diagnostic messages, and checking the datasheet are vital for resolving these problems. If you encounter a '3.5 tft display arduino exit' error message, review your code for potential syntax errors, memory allocation problems, or improper library usage.
Efficient power management is essential, especially for battery-powered projects. Consider using techniques like sleep modes for the Arduino and controlling the backlight intensity of the 3.5 TFT display. Implementing a clean 3.5 tft display arduino exit strategy, such as turning off the backlight or powering down the display entirely when it's not needed, is vital for prolonging battery life. Proper code will allow the 3.5 TFT display to be gracefully shut down, preventing potential issues.
Beyond the basic setup, you can explore advanced techniques like implementing touch input, using DMA for faster data transfer, and optimizing your code for efficiency. These improvements will enhance your project's performance and user experience. Remember to always refer to the relevant datasheets and library documentation for detailed information and best practices.
| Feature | Adafruit_TFTLCD | UTFT |
|---|---|---|
| Ease of Use | Excellent documentation and support | Steeper learning curve |
| Hardware Support | Wide range of displays | Limited to specific controllers |
| Community Support | Large and active community | Smaller, less active community |
By following these steps and leveraging the available resources, you can successfully integrate a 3.5 TFT display into your Arduino project. Remember to always prioritize safety and consult the datasheets for both your Arduino and 3.5 TFT display for detailed specifications and recommendations.

