Dalian Eastern Display Co., Ltd.
Dalian Eastern Display Co., Ltd.


This comprehensive guide explores the world of 3.5 TFT displays and their seamless integration with Arduino projects. We'll delve into the key features, selection criteria, and practical applications, empowering you to choose the ideal display for your next creation. Learn how to overcome common challenges and unlock the full potential of this versatile technology.
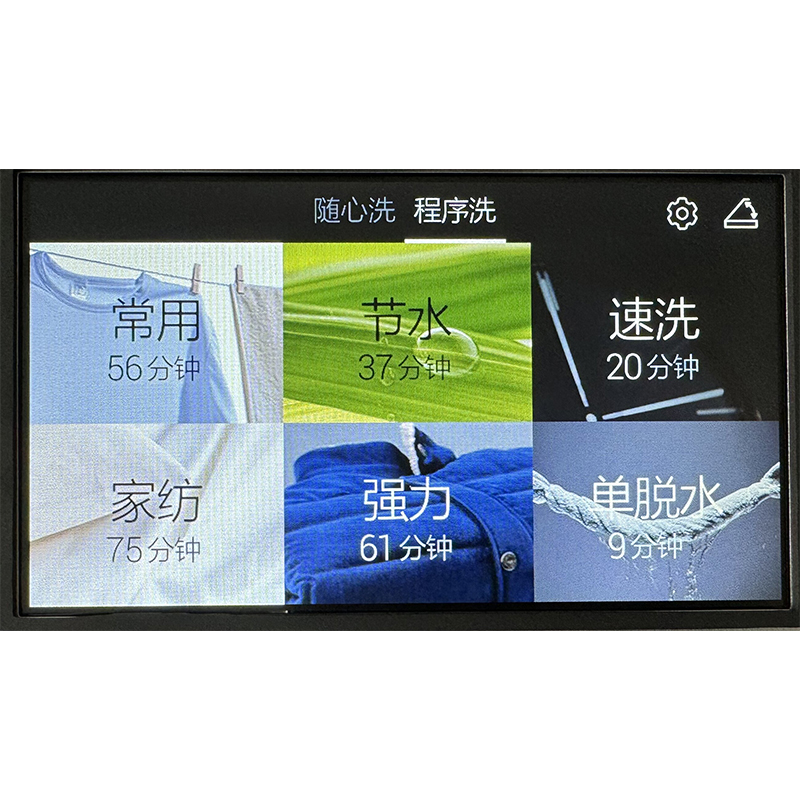
A 3.5 TFT display is a crucial component for many Arduino projects, providing a vibrant visual interface for displaying information, controlling devices, and enhancing user interaction. These displays offer a significant upgrade from smaller LCD screens, providing ample space for intricate graphics and detailed data visualization. Their relatively compact size makes them suitable for a wide range of applications, from portable instruments to home automation systems. Choosing the right 3.5 TFT display for your Arduino project depends on various factors, which we'll discuss below.
Resolution dictates the sharpness and clarity of the image. Higher resolution means more pixels, resulting in crisper text and graphics. Color depth refers to the number of colors the display can render; higher bit depths (e.g., 16-bit) offer richer and more vibrant colors. Consider your project's visual requirements when making this choice. A higher resolution will generally mean a higher cost.
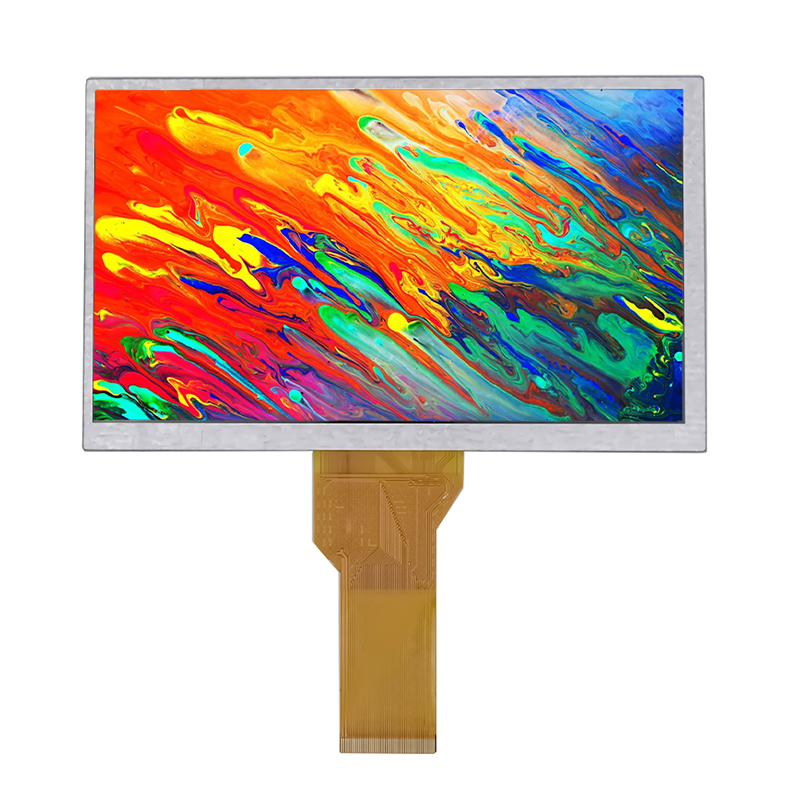
Most 3.5 TFT displays for Arduino use SPI or parallel interfaces for communication. SPI is generally preferred for its efficiency and simplicity. Understanding your Arduino's capabilities and the display's interface is crucial for successful integration. Check the datasheet carefully!
Many 3.5 TFT displays are available with integrated touchscreen capabilities, significantly enhancing user interaction. These touchscreens can be resistive or capacitive, each with its own pros and cons. Resistive touchscreens are generally cheaper but less responsive and durable than capacitive touchscreens.
Power consumption is a vital consideration, especially for portable projects. Lower power consumption means longer battery life. Always check the display's datasheet for its typical operating current and voltage.
Selecting the appropriate display hinges on a careful evaluation of your project's specific needs. Consider the factors outlined above, along with your budget and the overall design constraints. Don't hesitate to consult datasheets and online forums for detailed specifications and user experiences.
The connection process varies slightly depending on the specific display model. Refer to the display's datasheet for detailed pinouts and connection diagrams. Generally, you'll need to connect the display's data, clock, chip select, and reset pins to the appropriate Arduino pins. You'll also need to connect the power and ground lines. Libraries such as UTFT and Adafruit_TFTLCD simplify the process of controlling the display from your Arduino code.
3.5 TFT displays find widespread use in various Arduino projects, including:
High-quality 3.5 TFT displays are available from various reputable suppliers. For a wide selection of LCD displays and modules, including those compatible with Arduino, consider exploring Dalian Eastern Display Co., Ltd.. They offer competitive pricing and reliable customer support.
Integrating a 3.5 TFT display into your Arduino project can significantly enhance its functionality and user experience. By carefully considering the key features and selection criteria discussed in this guide, you can choose the perfect display to bring your innovative ideas to life. Remember to always consult the product datasheets for detailed specifications and connection instructions.