This guide provides a step-by-step walkthrough on successfully interfacing a 5-inch TFT display with your Arduino. We'll cover selecting the right display, necessary hardware, library installation, and code examples for various applications. Learn how to overcome common challenges and troubleshoot potential issues to achieve a seamless integration.
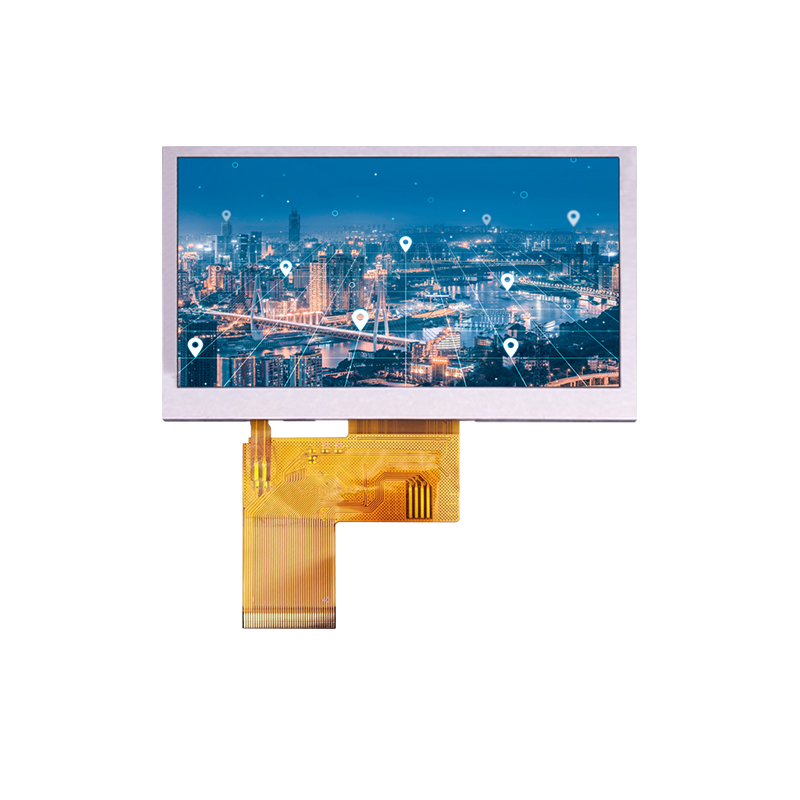
Before you begin, understanding the specifications of your 5 inch TFT display is crucial. Key factors include resolution (e.g., 800x480), interface type (e.g., SPI, parallel), and power requirements. Many 5 inch TFT displays utilize the SPI interface, which is well-suited for Arduino projects due to its efficiency and ease of implementation. Check your chosen display's datasheet for precise details on its interface, pinout, and power needs. A reputable supplier like Dalian Eastern Display Co., Ltd. can provide high-quality displays and comprehensive documentation.
Several manufacturers offer 5 inch TFT displays compatible with Arduino. Consider factors like resolution, color depth, backlight type, and touch screen functionality when making your selection. Research user reviews and compare specifications to find the best fit for your project.
Besides your Arduino board (e.g., Arduino Uno, Mega, Nano) and your chosen 5 inch TFT display, you'll need additional components:
The Arduino IDE is the primary software required. You'll also need a compatible graphics library for your specific 5 inch TFT display. Popular libraries include Adafruit_TFTLCD, UTFT, and ST7735. Refer to your display's documentation for the correct library and installation instructions. Ensure to install the library correctly; incorrect installation is a frequent source of problems when using a 5 inch TFT display with an Arduino.
Carefully connect the 5 inch TFT display to your Arduino according to the display's pinout diagram. Double-check the connections before powering on to prevent damage. Pay close attention to the voltage levels; incorrect wiring can lead to issues.
Provide the appropriate power supply to both the Arduino and the 5 inch TFT display. Ensure the voltage and current ratings match the device's specifications. Insufficient power can result in erratic behavior or failure of the display.
#include // Replace with your display's libraryTFT_eSPI tft = TFT_eSPI(); // Initialize the displayvoid setup() { tft.begin(); tft.fillScreen(TFT_BLACK); // Fill screen with black tft.setCursor(0, 0); tft.setTextColor(TFT_WHITE); tft.setTextSize(2); tft.println(Hello, 5 inch TFT!);}void loop() {} The provided basic code serves as a starting point. You can explore more advanced functionalities, such as drawing shapes, displaying images, and implementing touch screen interaction, by referring to the documentation of your chosen library. Many examples are available online. Remember to adapt the code to your specific 5 inch TFT display model and library.
Troubleshooting is an essential part of any project. Common issues with 5 inch TFT displays on Arduino include incorrect wiring, power supply problems, and library incompatibility. Carefully review your connections, verify power supply, and ensure you're using the correct library for your display. If problems persist, refer to your display's datasheet and the library's documentation for troubleshooting guidance.
Successfully integrating a 5 inch TFT display with your Arduino opens up possibilities for creating sophisticated and visually appealing projects. By following these steps, choosing the right components, and understanding the troubleshooting process, you can efficiently and effectively bring your projects to life.


