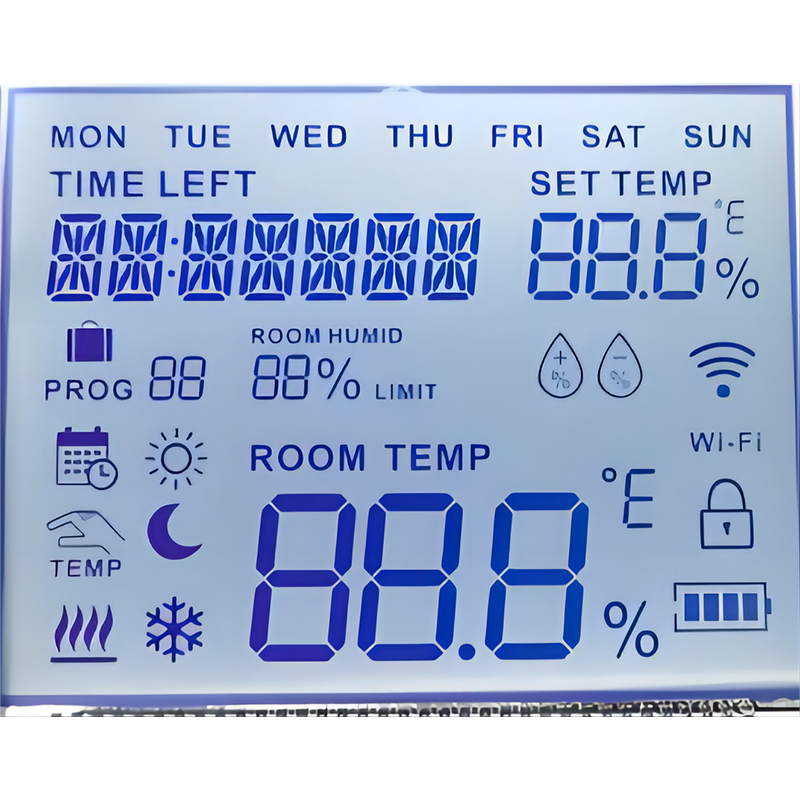
Dalian Eastern Display Co., Ltd.
Dalian Eastern Display Co., Ltd.


This comprehensive guide provides a step-by-step tutorial on how to interface and control a 5x7 dot matrix display with an Arduino microcontroller. We'll cover everything from the necessary hardware and software to programming techniques and troubleshooting tips, ensuring you can successfully display custom text and graphics on your 5x7 dot matrix display. Learn how to create dynamic and engaging projects with this versatile display technology.
A 5x7 dot matrix display is a common type of LED display that uses a grid of 5 rows and 7 columns of LEDs to create characters and simple graphics. Each LED acts as a single pixel, allowing you to control the illumination of individual points to form images. The small size and relatively low cost make them popular for various projects, including simple displays, scrolling messages, and basic game interfaces. Many variations exist; some require common-anode, others common-cathode configurations. Always check the datasheet for your specific 5x7 dot matrix display module to determine this critical information.
Selecting the appropriate 5x7 dot matrix display depends on your project's requirements. Factors to consider include the display's power supply requirements (voltage and current), the type of connection (parallel or serial), and the desired brightness. You can find various displays from numerous suppliers online. For high-quality displays and comprehensive support, consider checking out suppliers specializing in electronic components.
The wiring process varies slightly depending on the specific 5x7 dot matrix display module. Consult your module's datasheet for precise pinouts. However, generally, you'll need to connect the display's data pins to Arduino digital pins, and the common pins (anode or cathode, depending on the module) to the appropriate power and ground pins on your Arduino. Proper grounding is crucial to avoid unexpected behavior. A well-organized breadboard setup can drastically improve the wiring process and reduce the chance of errors.
Install the Arduino IDE software from the official website. No additional libraries are typically required for basic 5x7 dot matrix display control, as you can directly manipulate the individual LED pins using the Arduino language.
The following code provides a basic example of how to display a character 'A' on a 5x7 dot matrix display. Remember to adjust the pin numbers according to your wiring scheme:
// Define pin numbers for data lines (adjust to your wiring)const int dataPins[] = {2, 3, 4, 5, 6, 7, 8};void setup() { // Set data pins as outputs for (int i = 0; i < 7; i++) { pinMode(dataPins[i], OUTPUT); }}void loop() { // Display 'A' (example pattern) displayChar('A'); delay(1000); }void displayChar(char c) { //Implement your character display logic here based on the character 'c'}Explore more advanced techniques like displaying scrolling text, custom graphics, and animations. These often involve using arrays to store character patterns or bitmap images. The possibilities expand significantly with a deeper understanding of bit manipulation.
Common issues include incorrect wiring, power supply problems, or code errors. Double-check your connections and ensure your power supply provides sufficient current. Systematic debugging, using the Arduino serial monitor to print diagnostic information, is invaluable. If you're facing issues, consult online forums or the documentation for your specific 5x7 dot matrix display module.
Controlling a 5x7 dot matrix display with Arduino opens up many exciting possibilities for creative projects. By understanding the hardware and software principles outlined in this guide, you can build a variety of innovative applications. Remember to consult your specific 5x7 dot matrix display's datasheet for detailed specifications and pinouts. Happy making!
For a wide range of high-quality displays, including 5x7 dot matrix displays and other LCD options, consider exploring Dalian Eastern Display Co., Ltd. They offer excellent customer support and a diverse selection of products to fit various project needs.