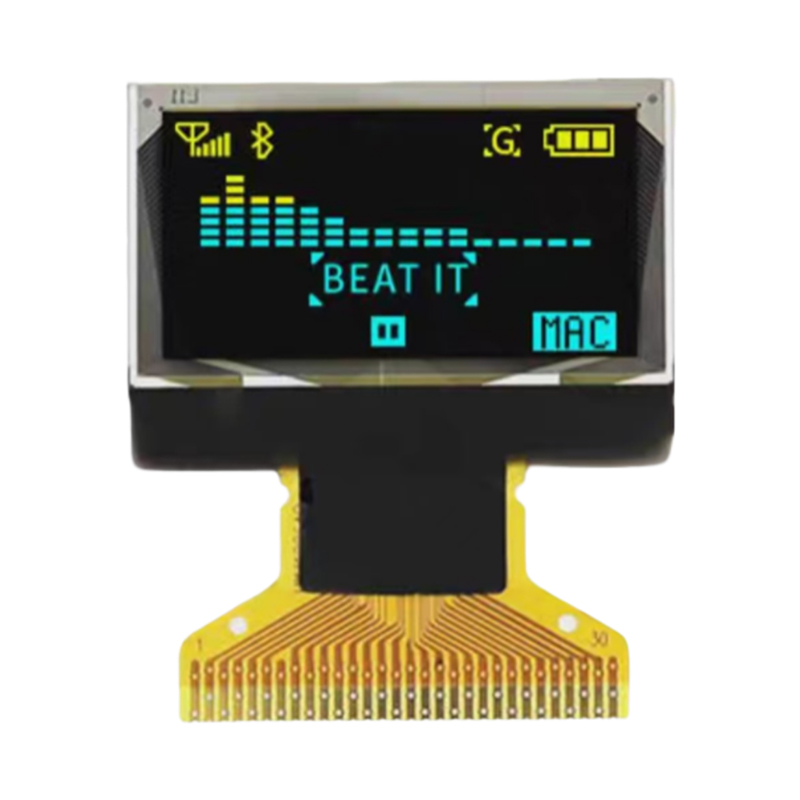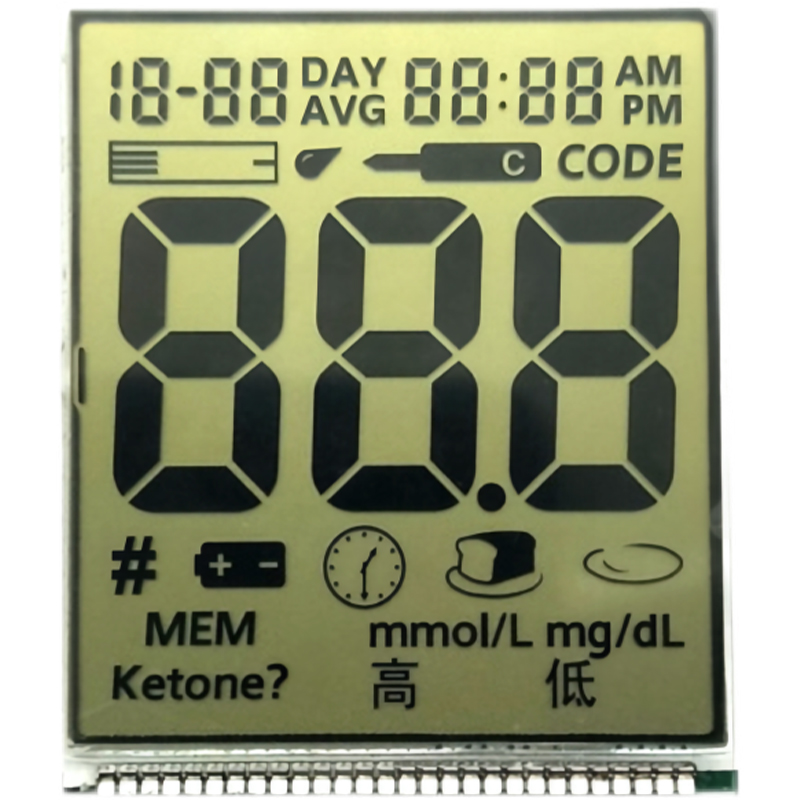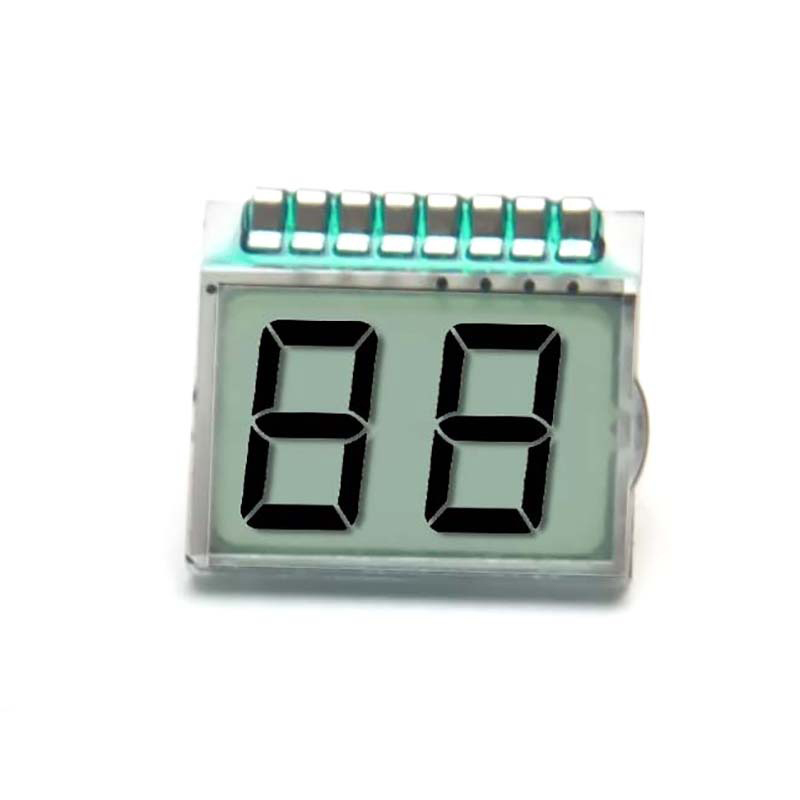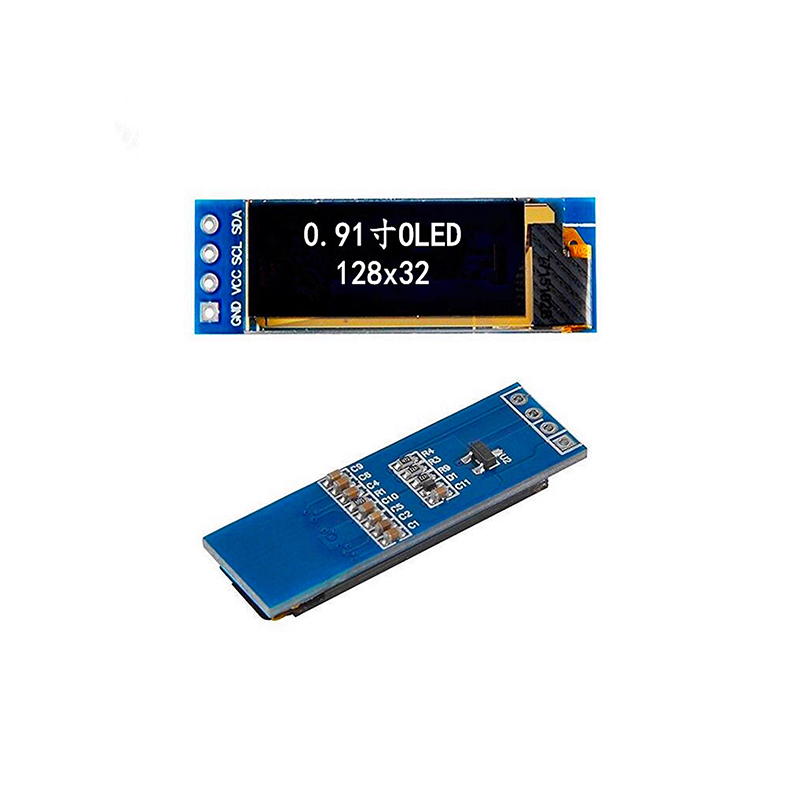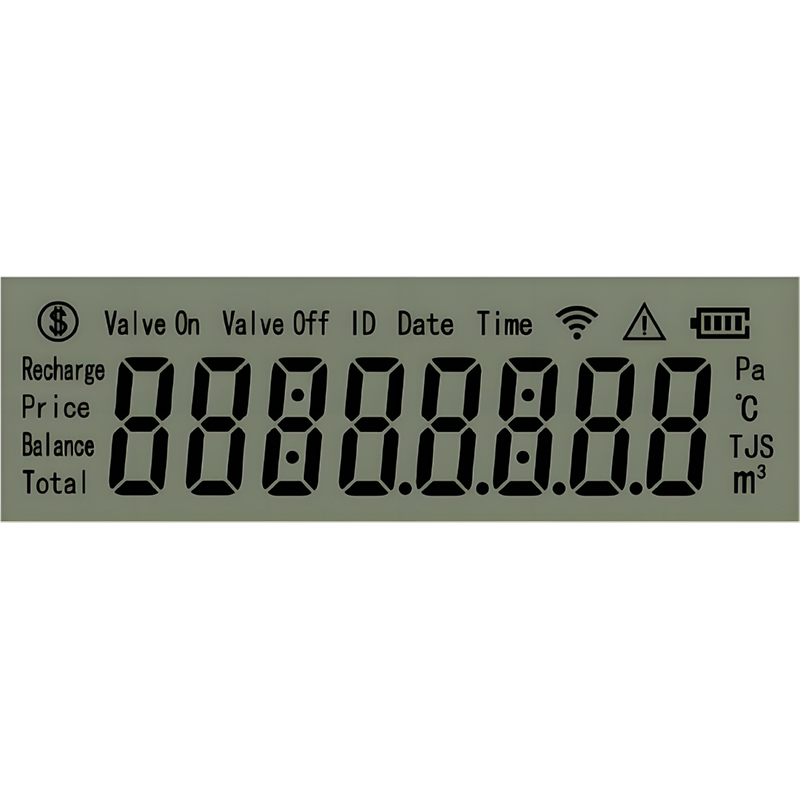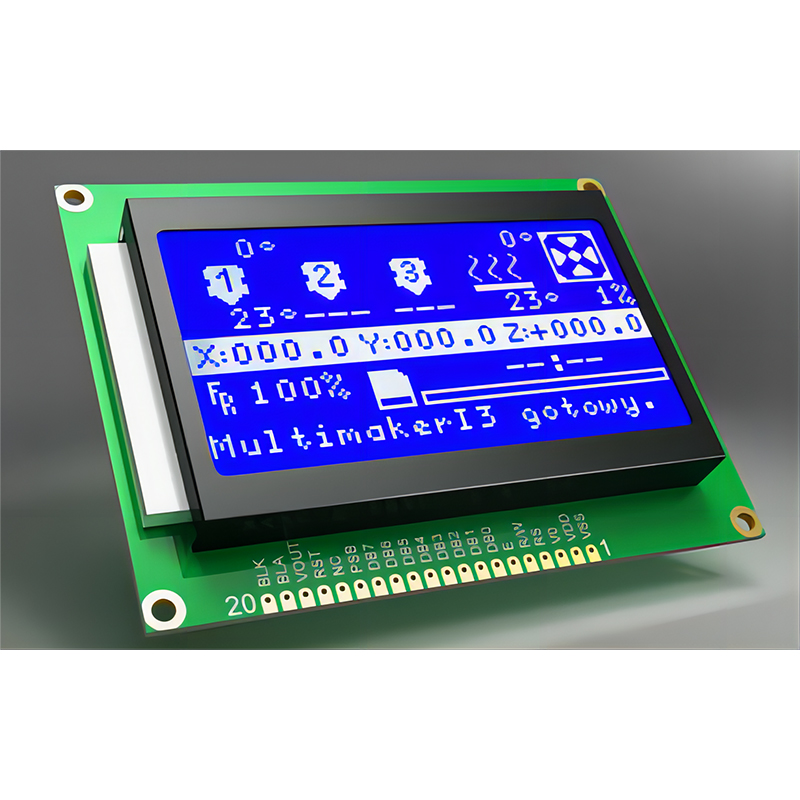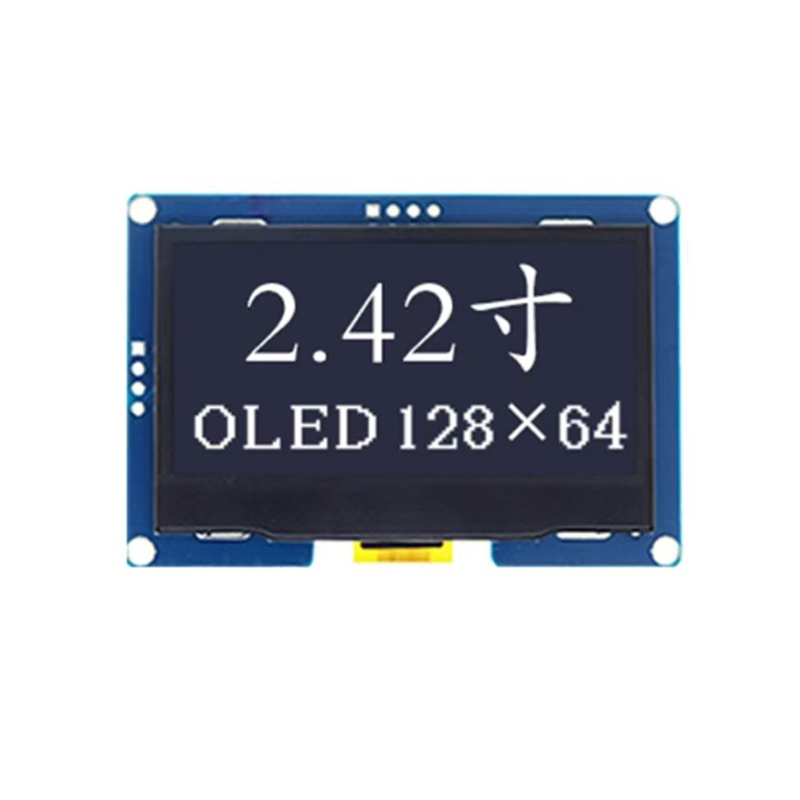
This guide provides a detailed walkthrough on integrating a 5x7 dot matrix display with your Arduino, covering everything from hardware selection to code implementation. We'll explore different display modules, address common challenges, and offer practical examples to help you successfully build your project.
The market offers various 5x7 dot matrix display modules. Selecting the appropriate one hinges on your specific project requirements. Key factors to consider include:
Many modules use the MAX7219 controller chip. This chip simplifies the interface process between the Arduino and the display, making it a popular choice for beginners. Others might use different controllers, so pay close attention to the datasheet.
Once you've selected your 5x7 dot matrix display, carefully examine its datasheet for pinouts. Typical connections include VCC, GND, DIN (data in), CLK (clock), and CS (chip select).
This is a general example, adapt as per your specific display's datasheet:
| Arduino Pin | 5x7 Dot Matrix Display Pin | Description |
|---|---|---|
| 5V | VCC | Power |
| GND | GND | Ground |
| 7 | DIN | Data Input |
| 8 | CLK | Clock |
| 9 | CS | Chip Select |
(Table may need adjustment based on your specific display and Arduino model.)
After connecting the hardware, you’ll need to write Arduino code to control the display. Libraries like the Max7219 library simplify the process.
This example demonstrates displaying Hello! on the 5x7 dot matrix display. Remember to install the Max7219 library first via the Arduino IDE Library Manager.
#include <SPI.h>#include <Mirf.h>#include <Max7219.h>// Define the number of MAX7219 chips chained together#define NUM_OF_DISPLAYS 1// Define the pins connected to the display#define CS_PIN 9Max7219 matrix = Max7219(CS_PIN, NUM_OF_DISPLAYS);void setup() { matrix.begin(); matrix.setIntensity(8); //Set Brightness matrix.clearDisplay(); // clear screen}void loop() { matrix.setCursor(0,0); matrix.print(Hello!); delay(2000); matrix.clearDisplay(); delay(1000);}If your 5x7 dot matrix display doesn’t work, double-check your wiring, power supply, and code. Ensure the library is correctly installed and the pin assignments match your setup. If using multiple displays, verify the cascading configuration is correct. Consult the display's and library’s documentation for detailed troubleshooting steps.
This guide provides a foundational understanding of integrating 5x7 dot matrix displays with Arduino. You can further expand your project by exploring animations, scrolling text, and even custom character sets. Numerous resources and tutorials are available online to assist you in this endeavor. Explore the capabilities of the Max7219 controller chip to unlock more advanced functionalities. For high-quality LCD and LED displays, consider exploring the products offered by Dalian Eastern Display Co., Ltd. They offer a wide range of options for various applications.
Remember to always consult the datasheets of your specific components for accurate information and precise instructions.

