Dalian Eastern Display Co., Ltd.
Dalian Eastern Display Co., Ltd.


This guide provides a detailed overview of Adafruit Adafruit OLED displays, covering their features, applications, and how to get started with them. We'll explore different models, provide troubleshooting tips, and delve into practical examples to help you integrate these displays into your projects.
Adafruit offers a wide variety of Adafruit OLED displays, each with its own set of specifications. Selecting the right display depends on your project's specific requirements. Key factors to consider include size (measured diagonally in inches), resolution (pixels), color (monochrome or color), and interface type (I2C or SPI).
Some of the most popular Adafruit OLED displays include:
Each display's datasheet provides detailed specifications, including power consumption, operating voltage, and pinouts. Always consult the datasheet before starting your project. You can find these datasheets on the official Adafruit website.
Integrating Adafruit OLED displays into your projects typically involves connecting the display to a microcontroller, such as an Arduino or Raspberry Pi, and then using appropriate libraries to control the display's output. This section will guide you through the basic steps.
The connection process varies slightly depending on the display model and the microcontroller you are using. However, common connections include VCC (power), GND (ground), SCL (clock), SDA (data) for I2C interfaces, or MOSI, MISO, SCK, and CS for SPI interfaces. Refer to the specific datasheet for your chosen display and microcontroller for precise wiring instructions.
Adafruit provides user-friendly libraries for various microcontrollers, simplifying the process of controlling the display. These libraries offer functions for writing text, displaying images, and customizing the display's settings.
#include <Adafruit_GFX.h>#include <Adafruit_SSD1306.h>#define SCREEN_WIDTH 128 // OLED display width, in pixels#define SCREEN_HEIGHT 64 // OLED display height, in pixels#define OLED_RESET 4 // Reset pin # (or -1 if sharing Arduino reset pin)Adafruit_SSD1306 display(SCREEN_WIDTH, SCREEN_HEIGHT, &Wire, OLED_RESET);void setup() { display.begin(SSD1306_SWITCHCAPVCC, 0x3C); // Initialize with the I2C Address display.clearDisplay(); display.setCursor(0,0); display.println(Hello, World!); display.display();}void loop() { // Your code here...}Troubleshooting problems with Adafruit OLED displays often involves checking connections, verifying power supply, confirming the correct I2C address, and ensuring that the necessary libraries are installed and configured correctly.
Once you've mastered the fundamentals, you can explore more advanced techniques such as creating custom fonts, generating graphical elements, and integrating the display with sensors and other peripherals. Adafruit's extensive documentation and community forums are invaluable resources for tackling these advanced applications.
For larger scale projects or high-volume needs, consider contacting Dalian Eastern Display Co., Ltd. for custom OLED solutions. They offer a wide range of displays and customization options.
| Display Model | Resolution | Color | Interface |
|---|---|---|---|
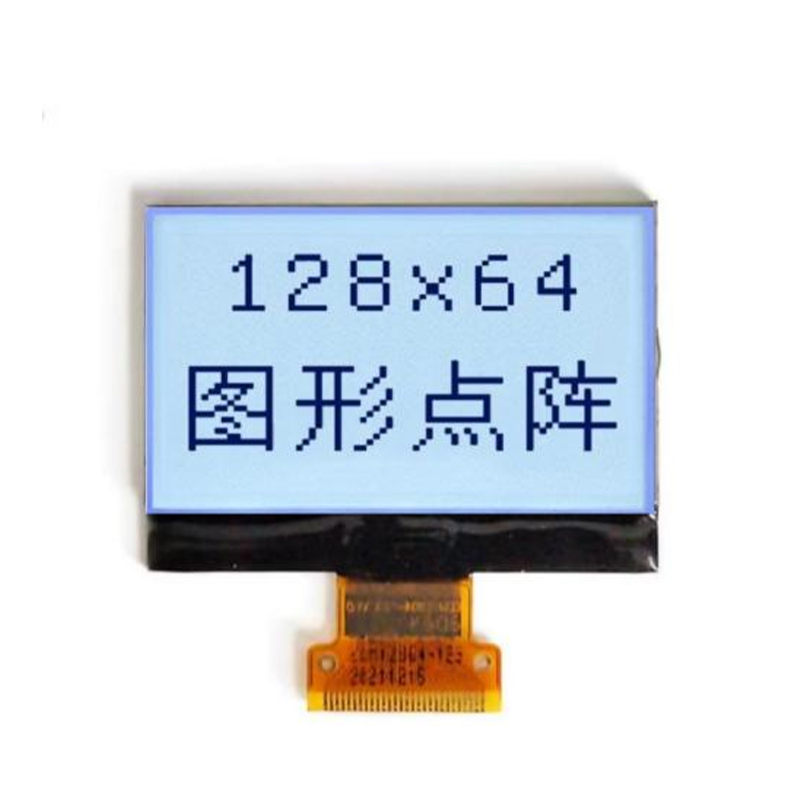
| 1.3 OLED | 128 x 64 | Monochrome | I2C |
| 1.28 128x64 OLED | 128 x 64 | Monochrome | I2C |
| 1.44 128x128 Color OLED | 128 x 128 | Color | SPI |