Dalian Eastern Display Co., Ltd.
Dalian Eastern Display Co., Ltd.


This guide provides a detailed walkthrough on connecting Adafruit TFT displays to Arduino microcontrollers, covering everything from selecting the right display to troubleshooting common issues. We'll explore various display models, wiring configurations, library usage, and sample code to get your project up and running smoothly. Learn how to display text, images, and even create custom graphical interfaces with your Adafruit TFT display Arduino setup.
Adafruit offers a wide range of TFT displays compatible with Arduino. The ideal choice depends on your project's specific requirements. Factors to consider include screen size (e.g., 1.8, 2.4, 3.2, 3.5, 4.3, etc.), resolution, color depth (e.g., 16-bit, 18-bit), and interface type (e.g., SPI, I2C). Larger displays generally offer more detail but require more processing power and potentially more complex wiring. Smaller, lower-resolution displays might be sufficient for simpler applications. Carefully reviewing the specifications on the Adafruit website is crucial for a successful project.
Some of the most popular choices include the Adafruit 2.4 TFT Touch Screen, the Adafruit 3.5 TFT Touch Screen, and the Adafruit 1.8 TFT LCD Display. Each offers a unique set of features and capabilities. For example, the touchscreen options add interactive capabilities, while the smaller displays are ideal for space-constrained projects.
Connecting the Adafruit TFT display to your Arduino requires careful attention to wiring. Incorrect wiring can lead to damage to your components or prevent the display from working correctly. Always consult the specific wiring diagram for your chosen display model in the Adafruit product documentation. Generally, you'll need to connect the display's VCC, GND, CS (Chip Select), MOSI (Master Out Slave In), MISO (Master In Slave Out), SCK (Serial Clock), and potentially other pins (like RST, DC, and backlight control) to corresponding pins on your Arduino board. The use of jumper wires and a breadboard is recommended for easier prototyping and experimentation.
This is a simplified example and may vary depending on your specific display model. Always refer to the official Adafruit documentation.
| Arduino Pin | Adafruit 2.4 TFT Pin | Signal |
|---|---|---|
| 5V | VCC | Power |
| GND | GND | Ground |
| 10 | CS | Chip Select |
| 11 | DC | Data/Command |
| 12 | MOSI | MOSI |
| 13 | SCK | SCK |
| 8 | RST | Reset |
Adafruit provides excellent libraries to simplify the interaction with their TFT displays. You'll need to install the appropriate library via the Arduino IDE Library Manager. Once installed, you can include the library in your Arduino sketch and use the library's functions to control the display. The library typically provides functions for displaying text, drawing shapes, displaying images, and managing the touchscreen (if applicable).
This is a basic example and may require modification depending on your display model and the Adafruit library version. Remember to adjust pin assignments according to your wiring.
#include // Include the Adafruit TFT libraryTFT_eSPI tft = TFT_eSPI(); // Create TFT objectvoid setup() { tft.begin(); // Initialize the display tft.fillScreen(TFT_BLACK); // Fill the screen with black tft.setTextColor(TFT_WHITE); // Set text color to white tft.setCursor(0, 0); // Set cursor position tft.println(Hello, Adafruit TFT!); // Print text to the display}void loop() {} If your Adafruit TFT display isn't working correctly, several troubleshooting steps can help identify and resolve the problem. Common issues include incorrect wiring, improper library installation, power supply problems, and damaged components. Check your wiring meticulously, ensure the library is correctly installed and updated, and verify that your Arduino and display are receiving adequate power. If the problem persists, consult the Adafruit forums or support documentation for further assistance.
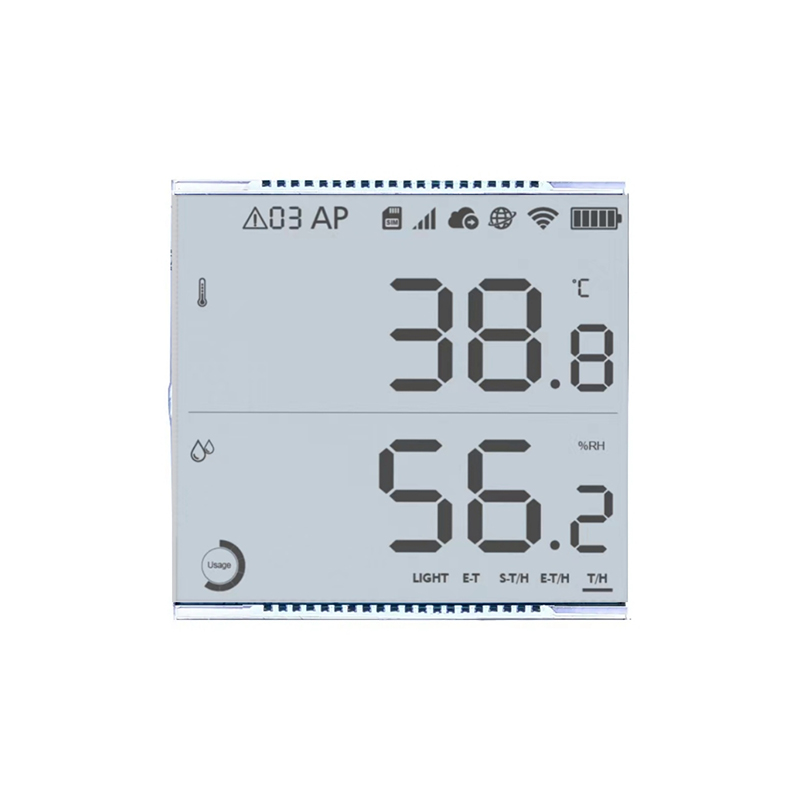
Integrating an Adafruit TFT display with your Arduino projects opens up a world of possibilities for creating interactive and visually engaging applications. By carefully selecting the appropriate display, understanding the wiring, and utilizing the provided libraries, you can successfully build innovative projects that leverage the power of both platforms. Remember to always refer to the official Adafruit documentation for the most accurate and up-to-date information on specific display models and library usage. For high-quality LCD displays, consider exploring the options available at Dalian Eastern Display Co., Ltd.
1 Adafruit Product Pages: Various product pages on the Adafruit website provide specifications and wiring diagrams for their TFT displays. Consult the specific documentation for your chosen model.