Dalian Eastern Display Co., Ltd.
Dalian Eastern Display Co., Ltd.


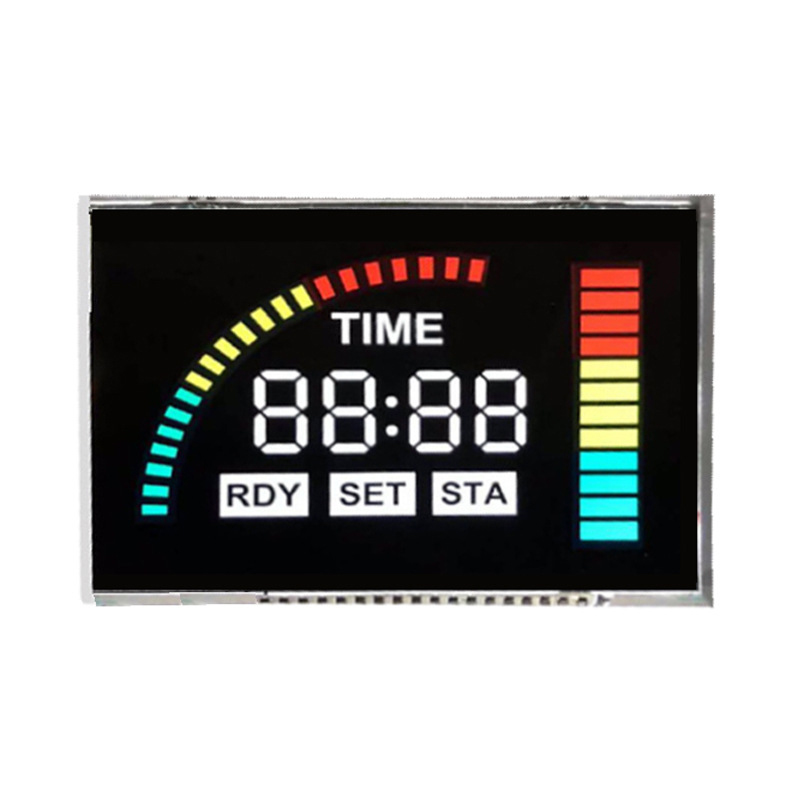
The Arduino 3.5 TFT display offers a vibrant and versatile platform for various projects. This comprehensive guide will walk you through the process of connecting and utilizing this display with your Arduino microcontroller. We'll cover the necessary hardware and software, along with detailed examples to help you get started quickly. Whether you're a beginner or experienced with Arduino, this guide will provide valuable insights and practical applications.
The first step is selecting the right components. You'll need an Arduino board (Uno, Nano, Mega, etc.), a 3.5 TFT display module (various models are available; check the specifications for compatibility), and the necessary connecting wires (typically jumper wires). Ensure your chosen display module is compatible with your Arduino board's capabilities. Many modules use SPI communication, which is generally straightforward to implement.
Several manufacturers produce Arduino 3.5 TFT displays. Key specifications to consider include resolution (e.g., 320x480 pixels), touchscreen functionality (resistive or capacitive), backlight type (LED), and interface type (SPI, parallel). Check your specific display's datasheet for detailed pinouts and communication protocols.
Before writing any code, you need to install the appropriate libraries for your Arduino 3.5 TFT display. The most common libraries used are Adafruit_TFTLCD and UTFT. The specific library depends on your display module's controller (e.g., ILI9341, ST7735). These libraries are typically available through the Arduino IDE Library Manager. Simply search for the library name, select it, and click install.
Carefully connect the display to your Arduino board according to the pinout diagram provided in the display's datasheet. This typically involves connecting the following signals: VCC (power), GND (ground), CS (chip select), MOSI (data output), MISO (data input), SCK (clock), RESET (reset), and potentially DC (data/command). Pay close attention to the correct pin assignments to prevent damage to your components. Incorrect wiring can lead to malfunctions or even damage to your hardware.
This simple example demonstrates displaying text on the Arduino 3.5 TFT display using the Adafruit_TFTLCD library. Remember to adapt the pin numbers to match your wiring scheme.
#include #define CS 9#define CD 8#define WR 7#define RD 6#define RST 5Adafruit_TFTLCD tft(CS, CD, WR, RD, RST);void setup() { tft.begin(0x9341); // This may vary depending on your display controller tft.fillScreen(ST7735_BLACK); tft.setTextColor(ST7735_WHITE); tft.setCursor(0, 0); tft.println(Hello, world!);}void loop() {} Beyond simple text display, the Arduino 3.5 TFT display can be utilized for a range of projects. You can create graphical user interfaces (GUIs) for controlling various aspects of your project, such as sensors, actuators, or other peripherals. The possibilities are vast and limited only by your imagination and coding skills.
If you encounter problems, double-check your wiring, ensure the correct library is installed, and verify your power supply. Consult the display's datasheet and the library's documentation for further assistance. Online forums and communities can also be valuable resources for troubleshooting specific issues.
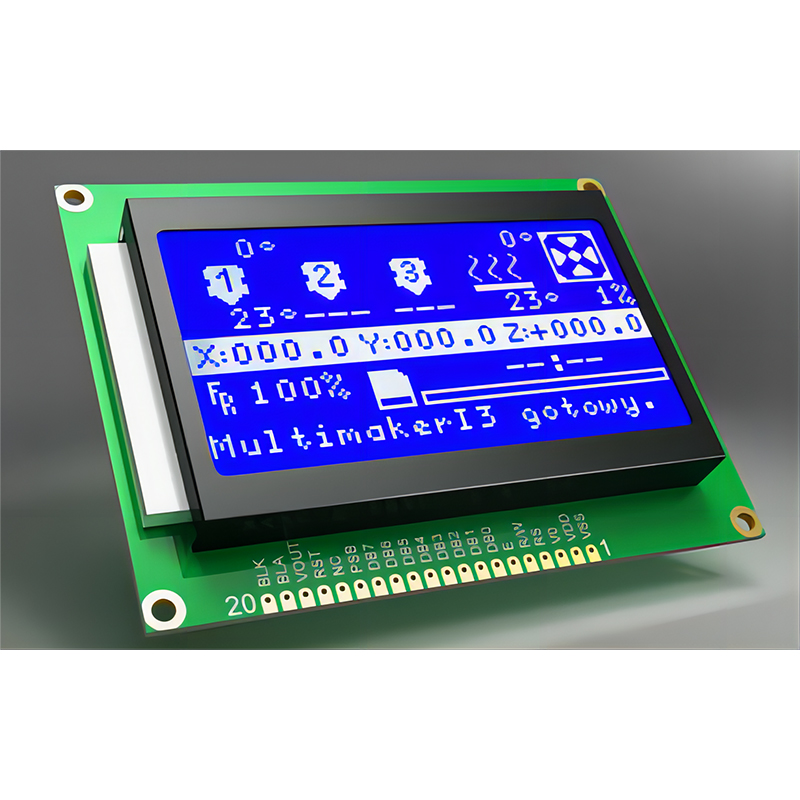
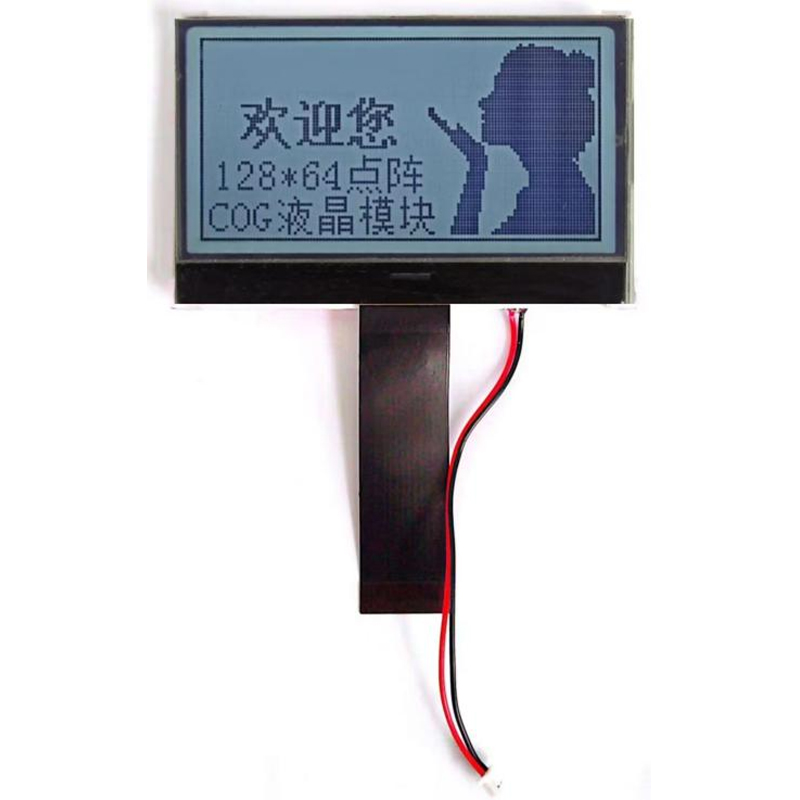
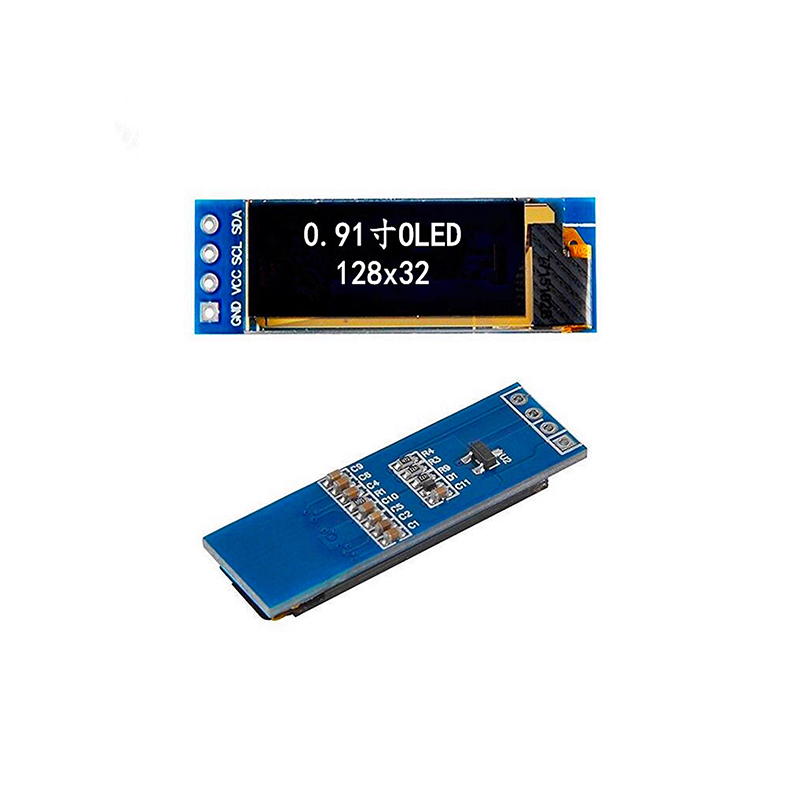
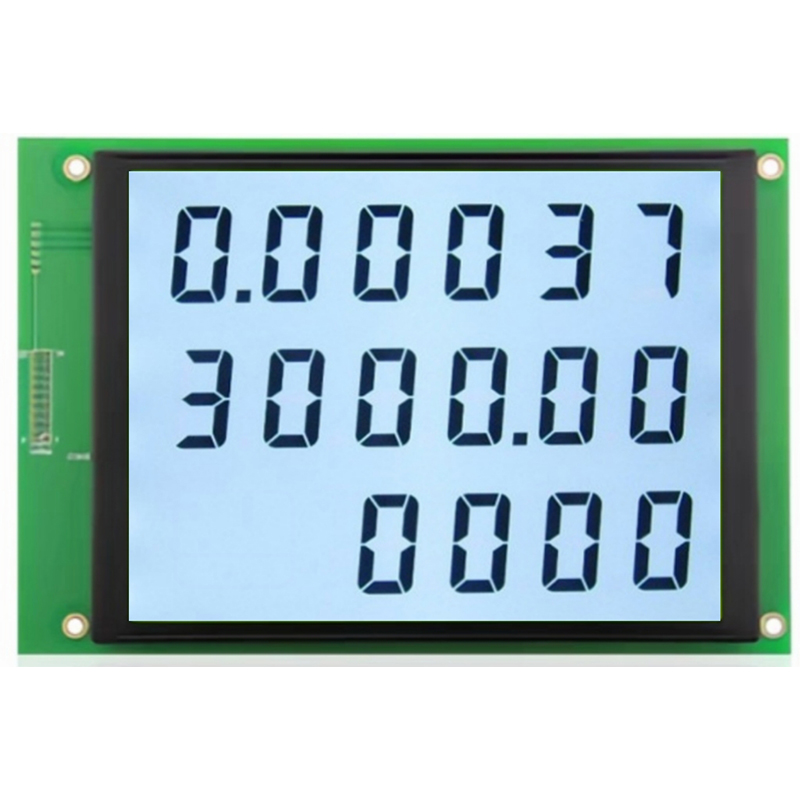
For high-quality LCD displays and related components, consider exploring the offerings of Dalian Eastern Display Co., Ltd. They provide a wide selection of displays to suit various needs and applications.
Remember to always consult the datasheets for your specific Arduino board and Arduino 3.5 TFT display model for accurate pin configurations and operation details.