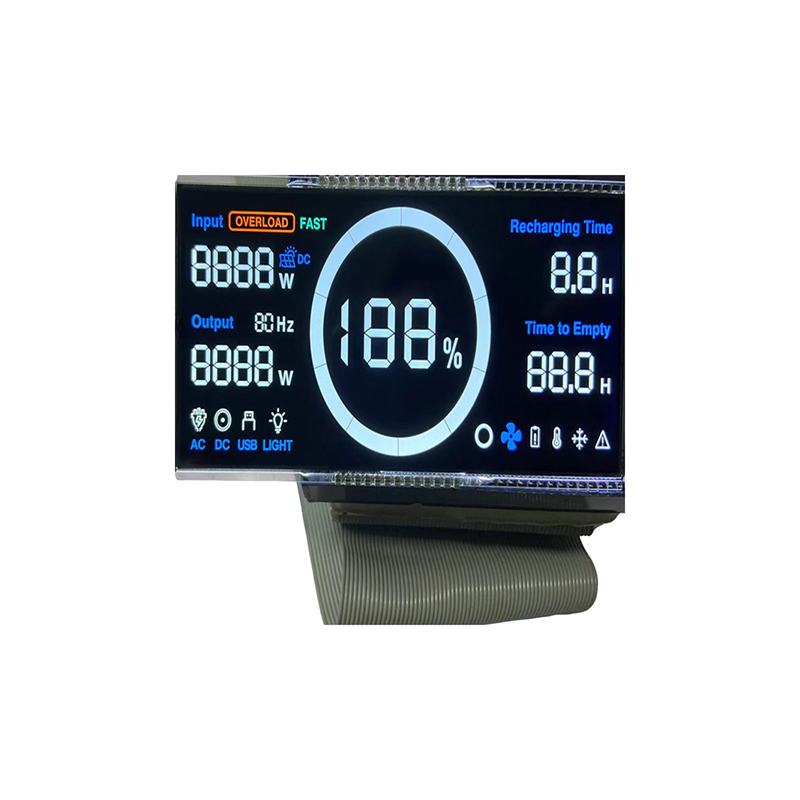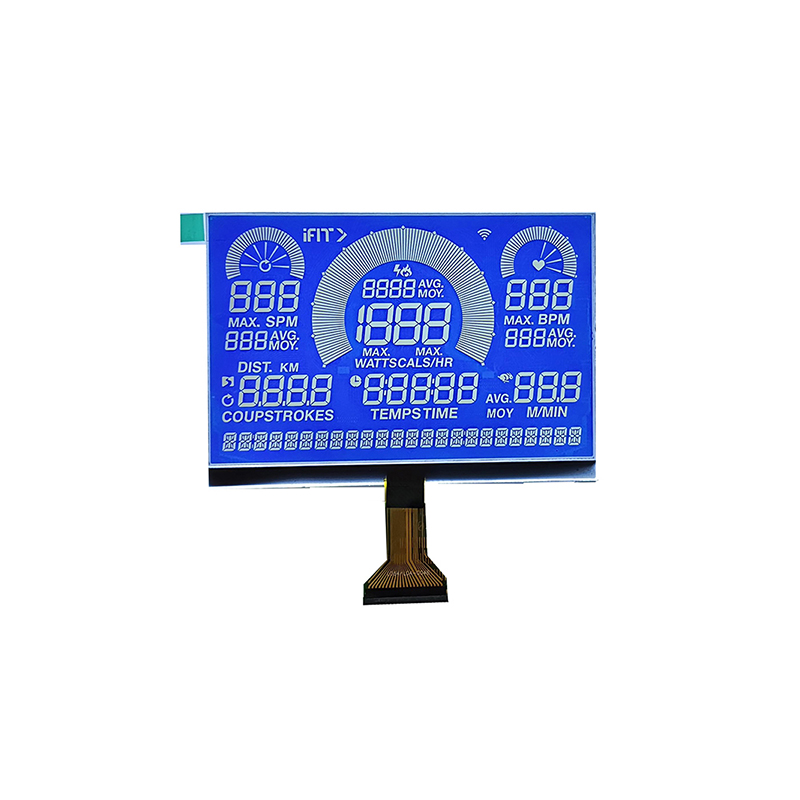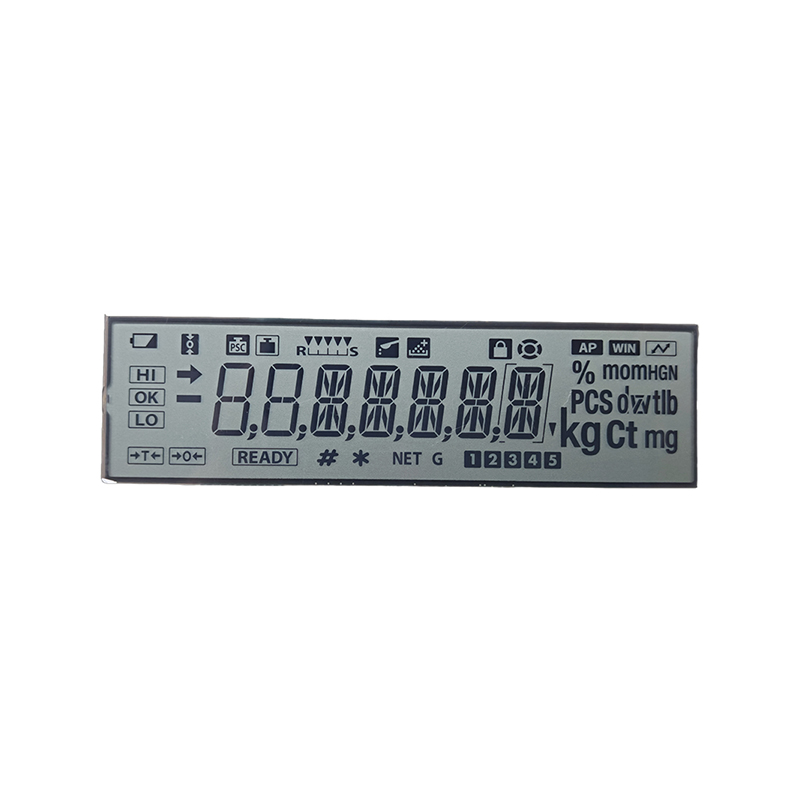
This comprehensive guide explores the exciting world of Arduino dot matrix displays, covering everything from basic principles to advanced applications. We'll delve into different display types, programming techniques, common challenges, and real-world project examples. Learn how to seamlessly integrate these versatile displays into your next Arduino project.
A dot matrix display is a type of electronic display that uses a rectangular array of LEDs (light-emitting diodes) to create images and text. Each LED represents a single dot, and by controlling the on/off state of these dots, you can form various patterns and characters. Arduino dot matrix displays leverage the Arduino microcontroller's capabilities to easily control these LEDs, making them a popular choice for various projects.
Several types of Arduino dot matrix displays exist, each with its own characteristics and advantages. Common types include:
The choice of display depends on your specific project requirements and complexity. MAX7219-based displays are often preferred due to their ease of use and ability to control multiple displays with minimal code.
Connecting your Arduino dot matrix display involves connecting the display's power, ground, and data lines to the appropriate Arduino pins. Consult the display's datasheet for pin assignments and wiring diagrams. Ensure you correctly identify the common anode or cathode configuration to avoid damaging the display. Incorrect wiring could lead to immediate failure.
Programming Arduino dot matrix displays typically involves sending data to the display to control the state of each LED. This often involves using libraries like the LedControl library for MAX7219-based displays. These libraries simplify the process by providing functions for setting individual LEDs, displaying characters, and scrolling text.
A simple program to display Hello, World! on a MAX7219-based Arduino dot matrix display might look like this (using the LedControl library):
#include <LedControl.h>LedControl lc = LedControl(12, 11, 10, 1); //DIN, CLK, CS, Number of Displaysvoid setup() { lc.shutdown(0, false); //The MAX72XX is in power-saving mode on startup lc.setIntensity(0, 15); // Set the brightness to maximum value lc.clearDisplay(0);}void loop() { lc.writeString(0, 0, Hello, World!, 1); delay(2000);}Remember to install the LedControl library in your Arduino IDE before running this code. This example requires a single 8x8 display. For multiple displays, adjust the parameters accordingly.
Beyond simple text displays, Arduino dot matrix displays can be used to create dynamic animations and scrolling text effects. By manipulating the state of individual LEDs over time, you can create impressive visual effects. Libraries and example code are readily available online to guide you through this process.
A popular project is to build a customizable clock using an Arduino dot matrix display. You can program the display to show the current time, date, and even incorporate features like alarms and different time zones.
Arduino dot matrix displays can be seamlessly integrated with various sensors and other devices. For instance, you can use a temperature sensor to display the current temperature on the display, or a light sensor to adjust the display's brightness based on ambient light conditions. The possibilities are truly vast.
If your Arduino dot matrix display isn't working, double-check your wiring, power supply, and code. Ensure that the display is receiving sufficient power and that the data lines are correctly connected. Verify that you've installed the necessary libraries and that your code is free of errors.
A dim or flickering display could indicate low power supply voltage, a faulty connection, or problems with the display itself. Check your wiring, power supply, and consider replacing the display if necessary.
Arduino dot matrix displays offer an accessible and powerful way to add visual elements to your Arduino projects. With their versatility and ease of use, they are ideal for both beginners and experienced makers. This guide has only scratched the surface; the possibilities are limited only by your imagination and creativity. Explore the many online resources and project examples to further enhance your understanding and unleash your creative potential.
For high-quality LCD displays and modules for your next project, explore the innovative solutions offered by Dalian Eastern Display Co., Ltd.
| Display Type | Advantages | Disadvantages |
|---|---|---|
| Common Cathode | Simple wiring | Requires more complex control circuitry |
| Common Anode | Less complex control | More current consumption |
| MAX7219-based | Easy to use, cascading capability | Requires external library |

