Dalian Eastern Display Co., Ltd.
Dalian Eastern Display Co., Ltd.


This guide provides a comprehensive walkthrough on connecting and programming a TFT display with your Arduino Due. We'll cover various display types, libraries, and troubleshooting tips to help you successfully integrate a TFT screen into your projects. Learn how to choose the right display, configure the necessary hardware, and write code for seamless interaction.
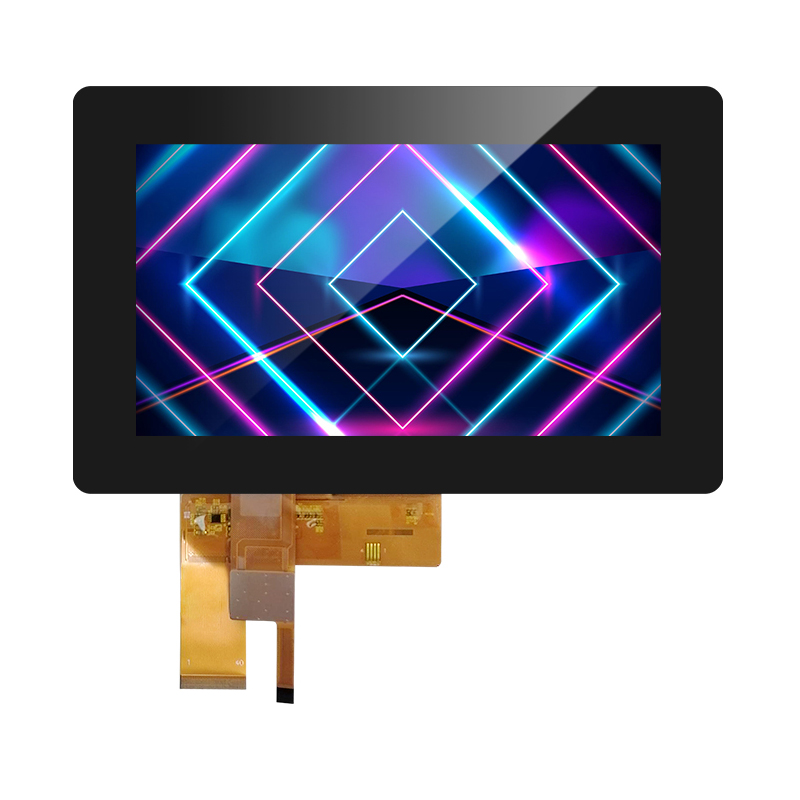
The first step in any Arduino Due TFT display project is selecting the appropriate display. Factors to consider include resolution (e.g., 240x320, 320x480), interface type (SPI, parallel), color depth (16-bit, 24-bit), and power requirements. Higher resolutions offer more detail, but consume more resources. SPI interfaces are generally preferred for their simplicity and flexibility. Consider your project's needs and the capabilities of your Arduino Due when making your selection. Many reputable online retailers offer a wide range of displays compatible with the Arduino Due. For high-quality LCD and TFT displays, consider exploring options from Dalian Eastern Display Co., Ltd. (https://www.ed-lcd.com/).
Several popular TFT displays are readily compatible with the Arduino Due. These include displays based on the ST7735, ILI9341, and SSD1963 controllers. Each controller has its own set of features and limitations, so research is crucial before purchasing. Online forums and datasheets are invaluable resources for comparing specifications.
Once you've chosen your Arduino Due TFT display, the next step is to connect it to the board. This usually involves connecting the display's data, clock, control, and power pins to the corresponding pins on the Arduino Due. Consult your display's datasheet for the precise pinout and voltage requirements. Incorrect wiring can lead to damage, so careful attention to detail is essential. Always double-check your connections before powering on the device.
Many online resources provide detailed wiring diagrams and examples for common Arduino Due TFT display configurations. These diagrams will help you correctly connect the display to your Arduino Due. Remember to use appropriate jumper wires and consider using a breadboard for prototyping.
With the hardware connected, you'll need to write code to control the Arduino Due TFT display. Libraries like the Adafruit_TFTLCD library simplify the process by providing functions for drawing shapes, text, and images. These libraries abstract away the complexities of low-level display control, making development more efficient. Remember to install the necessary libraries through the Arduino IDE's Library Manager.
Below are simplified code examples illustrating basic functionalities like initializing the display, drawing shapes, and displaying text. Remember to adapt these snippets to your specific display and library.
// Initialize the displaytft.begin(TFT_WIDTH, TFT_HEIGHT);// Draw a rectangletft.fillRect(10, 10, 50, 50, RED);// Display texttft.setCursor(10, 70);tft.setTextSize(2);tft.print(Hello, TFT!);Troubleshooting your Arduino Due TFT display setup might involve checking your wiring, ensuring proper power supply, verifying library installations, and adjusting code parameters. If you encounter difficulties, consult the display's datasheet and relevant online resources. Community forums often contain solutions to common problems.
Selecting a reliable supplier for your TFT display is paramount for project success. Look for suppliers with positive customer reviews and a strong reputation for quality products. Dalian Eastern Display Co., Ltd. (https://www.ed-lcd.com/) offers a range of high-quality displays; consider their options for your Arduino Due TFT display needs.
Integrating a TFT display with your Arduino Due opens up exciting possibilities for creating interactive projects. By following this guide and carefully considering the factors discussed, you can successfully connect and program your display to create compelling and visually engaging applications.