Dalian Eastern Display Co., Ltd.
Dalian Eastern Display Co., Ltd.


This guide provides a thorough understanding of the Arduino I2C interface, covering its fundamentals, practical applications, and troubleshooting techniques. Learn how to effectively connect and communicate with various I2C devices using your Arduino, from simple sensors to complex modules. We'll explore common challenges and offer solutions to ensure successful integration into your projects.
I2C (Inter-Integrated Circuit) is a widely used communication protocol for connecting low-speed devices to microcontrollers. It's a two-wire serial bus that simplifies communication between multiple devices, requiring only two wires – SDA (Serial Data) and SCL (Serial Clock). Its simplicity and ease of use make it a popular choice for many Arduino I2C interface projects. The Arduino I2C interface leverages this protocol for seamless communication.
Each I2C device possesses a unique 7-bit address, allowing the microcontroller to select and communicate with specific devices on the bus. This addressing scheme is crucial for managing multiple devices connected to the same Arduino I2C interface. Understanding I2C addressing is fundamental to successful implementation of your Arduino I2C interface projects.
I2C offers several advantages: low cost (only two wires), simplicity of implementation, multi-master capability (multiple devices can initiate communication), and the ability to address multiple devices on the same bus. These benefits make it a preferred choice for various applications utilizing the Arduino I2C interface.
Connecting I2C devices to your Arduino is relatively straightforward. Typically, you'll connect the SDA and SCL pins of the device to the corresponding SDA and SCL pins on your Arduino. Ensure you correctly identify the SDA and SCL pins on both your Arduino and the I2C device. Remember to also connect VCC and GND.
The Arduino IDE includes built-in libraries to simplify Arduino I2C interface programming. The Wire library provides functions for initiating communication, sending and receiving data, and managing I2C addresses. The Arduino I2C interface makes using this library straightforward.
The TMP102 is a popular I2C temperature sensor. Here's a simplified code snippet demonstrating how to read temperature data using the Arduino I2C interface and the Wire library:
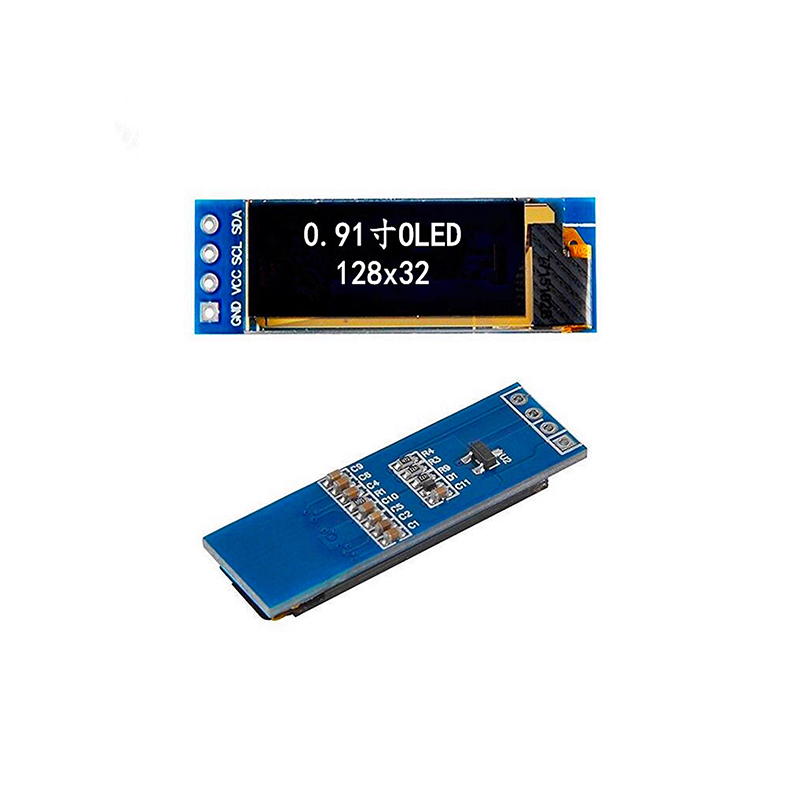
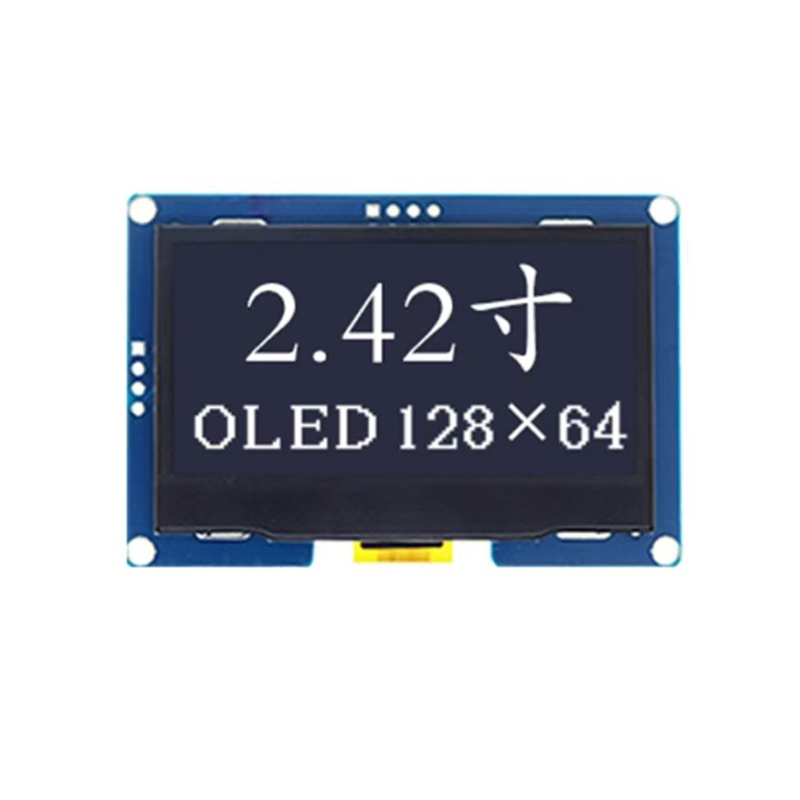
#include <Wire.h>#include <Adafruit_Sensor.h>#include <Adafruit_TMP102.h>Adafruit_TMP102 tempSensor;void setup() { Serial.begin(9600); Wire.begin(); if (!tempSensor.begin()) { Serial.println(Could not find TMP102 sensor.); }}void loop() { float tempC = tempSensor.readTemperature(); Serial.print(Temperature: ); Serial.print(tempC); Serial.println( C); delay(1000);}I2C OLED displays provide a convenient way to add visual feedback to your projects. The Arduino I2C interface simplifies the interaction with these displays. Numerous libraries simplify the process of displaying text, images, and other information. Refer to the specific library documentation for details on usage. Remember to consult the datasheet for the specific I2C OLED display you're using to find its I2C address.
Ensure that each I2C device on the bus has a unique address. Address conflicts can lead to communication failures. Consult the datasheets of your I2C devices to verify their addresses.
I2C often requires pull-up resistors on the SDA and SCL lines. These resistors ensure reliable communication by preventing signal voltage from dropping too low. The appropriate resistor value is typically between 2.2kΩ and 10kΩ. Check your device's specifications for recommendations.
Adjust the clock speed if necessary, but always stay within the limits specified in the I2C device's datasheet. Using an excessively high clock speed can result in communication problems. The Arduino I2C interface library allows you to adjust this speed.
By understanding the fundamentals of the Arduino I2C interface and following these guidelines, you can successfully integrate various I2C devices into your projects. Remember to always consult the datasheets of the specific components you're using.
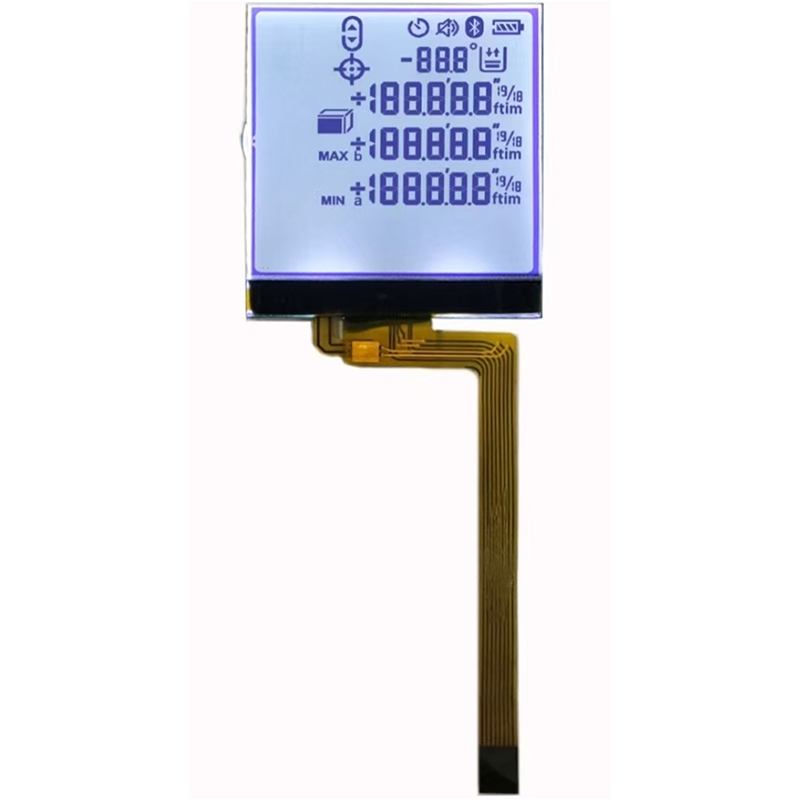
For high-quality LCD displays to complement your Arduino projects, consider exploring the range of products offered by Dalian Eastern Display Co., Ltd. They offer a wide selection of reliable and cost-effective displays perfectly suited for a variety of applications.