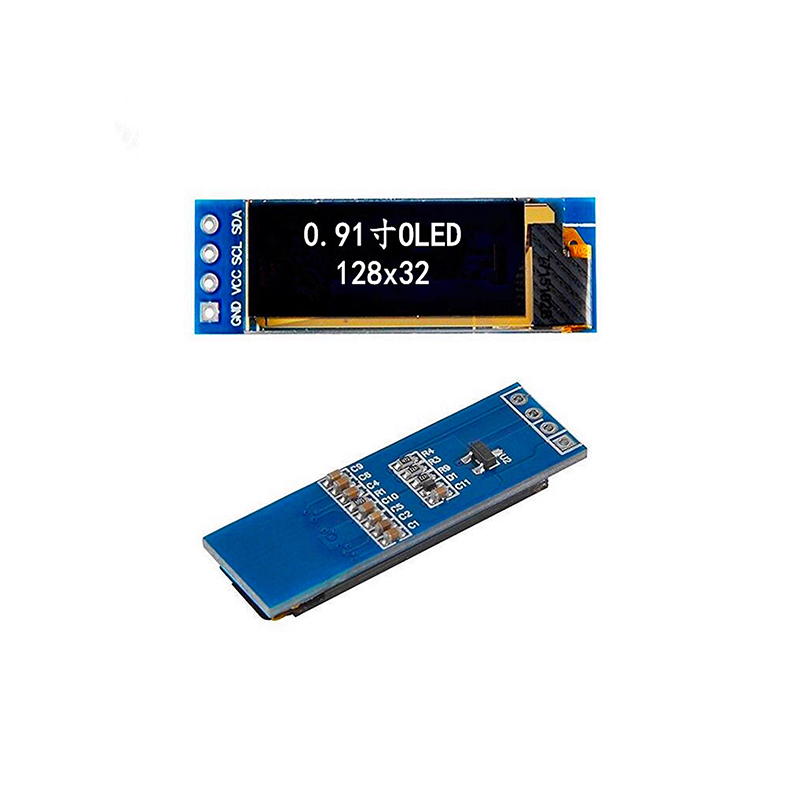
Troubleshooting Arduino I2C Communication Issues: Exiting the Interface GracefullyThis guide provides comprehensive troubleshooting steps for resolving common Arduino I2C interface exit problems. We'll explore potential causes, debugging techniques, and best practices for ensuring reliable I2C communication in your projects. Learn how to identify and fix issues preventing your I2C devices from functioning correctly, including proper shutdown procedures to avoid data corruption.
Understanding the Arduino I2C Interface
The I2C (Inter-Integrated Circuit) protocol is a widely used communication bus in embedded systems, allowing multiple devices to communicate over two wires: SDA (data) and SCL (clock). Arduino boards readily support I2C, making it a popular choice for connecting sensors, actuators, and other peripherals. However, problems with
Arduino I2C interface exit can arise due to various factors.
Common Causes of I2C Communication Errors
Several issues can lead to problems with your
Arduino I2C interface. These include: Incorrect Wiring: Double-check your wiring connections. Even a single misplaced wire can disrupt the entire bus. Ensure proper grounding and that SDA and SCL are connected correctly to both the Arduino and your I2C devices. Incorrect pull-up resistors can also be a problem. Refer to your device's datasheet for wiring diagrams and specifications. Address Conflicts: Each I2C device has a unique 7-bit address. If two devices share the same address, communication will fail. Verify that all your devices have unique addresses. You can use the Wire library's `beginTransmission()` function to scan for devices on the bus. Power Issues: Insufficient power supply to either the Arduino or the I2C devices can cause intermittent communication problems or a complete
Arduino I2C interface exit. Ensure that all devices have adequate power and that the power supply can handle the combined current draw. Software Bugs: Errors in your Arduino code can lead to communication failures. Carefully review your code for logic errors, incorrect I2C commands, or improper handling of data. Using a logic analyzer can help identify timing issues. Hardware Failures: A faulty I2C device, damaged wires, or a problem with the Arduino's I2C circuitry itself can cause communication errors. Try replacing the suspect device or checking for short circuits or broken connections.
Debugging Your Arduino I2C Interface
Effective debugging is crucial for resolving
Arduino I2C interface exit problems. Here's a step-by-step approach:
1. Check Your Wiring
Begin by visually inspecting all your wiring connections. Ensure they're securely connected and that there are no loose wires or shorts.
2. Verify Device Addresses
Use the Wire library's `beginTransmission()` function to scan for devices on the I2C bus and identify their addresses. This helps detect address conflicts.
3. Monitor Power Supply
Measure the voltage and current at various points in your circuit to ensure adequate power supply to all devices.
4. Analyze Your Code
Carefully review your Arduino code for any errors. Use serial communication to monitor data transmission and reception. Consider adding error handling to your code to catch potential problems.
5. Use a Logic Analyzer
For more advanced troubleshooting, a logic analyzer can provide detailed information about data transmission timing and signal integrity.
Best Practices for Reliable I2C Communication
Following these best practices can significantly improve the reliability of your
Arduino I2C interface and prevent unexpected exits: Use Pull-up Resistors: Properly sized pull-up resistors (typically 4.7kΩ) on the SDA and SCL lines are essential for reliable I2C communication. Implement Error Handling: Add error handling to your code to gracefully handle communication errors and prevent unexpected program termination. Power Sequencing: Power up your devices in the correct sequence to avoid potential issues. Properly Shutdown Devices: Before disconnecting I2C devices, make sure any active transactions are completed. An abrupt disconnection can corrupt data. Many devices require a specific shutdown sequence or register setting. Always consult the datasheet. Use the Wire Library Correctly: Familiarize yourself with the Wire library's functions and their proper usage.
Example Code (with Error Handling):
cpp#include
void setup() { Serial.begin(9600); Wire.begin();}void loop() { int error = Wire.beginTransmission(0x20); // Replace 0x20 with your device's address if (error == 0) { // Successful start of transmission. Proceed with data transfer. Wire.write(Hello); Wire.endTransmission(); Serial.println(Data sent successfully.); } else { Serial.print(Error sending data: ); Serial.println(error); } delay(1000);}Remember to consult the datasheets for all your I2C devices for specific details and recommendations on addressing Arduino I2C interface exit situations. For high-quality LCD displays and other components for your Arduino projects, consider exploring the possibilities offered by Dalian Eastern Display Co., Ltd. Learn more here. | Issue | Possible Cause | Solution |
| No I2C Devices Found | Incorrect Wiring, Address Conflicts, Power Issues | Recheck wiring, verify addresses, check power supply |
| Intermittent Communication | Power Issues, Loose Connections | Improve power supply, secure connections |
| Data Corruption | Improper Shutdown, Software Bugs | Implement proper shutdown procedures, debug your code |
This information is for general guidance only. Always refer to the official documentation and datasheets of your specific Arduino board and I2C devices for accurate and detailed information.


