Dalian Eastern Display Co., Ltd.
Dalian Eastern Display Co., Ltd.


Building a robust and efficient Arduino I2C interface requires a solid understanding of the I2C protocol, appropriate hardware selection, and efficient software implementation. This guide will walk you through the entire process, from choosing the right components to troubleshooting common problems. Whether you're a beginner just starting with Arduino or an experienced maker looking to optimize your projects, this resource will provide valuable insights and practical examples.
I2C (Inter-Integrated Circuit) is a widely used communication protocol for connecting multiple devices on a single bus. Its simplicity and low overhead make it ideal for embedded systems like those based on Arduino. Key features of I2C include its ability to communicate with multiple slaves using a single pair of wires (SDA and SCL), and its support for both master and slave modes. Master devices initiate communication, while slave devices respond to requests. The Arduino I2C interface typically operates as a master, controlling communication with various I2C sensors and actuators.
The selection of your hardware depends on the specific I2C devices you plan to integrate into your system. The Arduino itself acts as the master controller. Key factors to consider include:
A wide range of sensors, actuators, and other components are available with I2C interfaces. Common examples include:
Always check the device's datasheet for specific communication details and requirements.
I2C requires pull-up resistors on both the SDA and SCL lines to ensure proper signal levels. These resistors are typically 4.7kΩ or 10kΩ and are connected between the lines and VCC. Failure to include these resistors can result in communication errors.
The Arduino Wire library simplifies I2C communication. It provides functions for writing and reading data from I2C devices. This library is typically included in the Arduino IDE, making integration straightforward.
Implementing an Arduino I2C interface involves writing code to communicate with the connected I2C devices. The following steps outline a basic implementation:
#include <Wire.h>void setup() { Wire.begin(); // Initialize I2C as master}void loop() { Wire.beginTransmission(DEVICE_ADDRESS); // Replace with your device's address Wire.write(data); // Write data to the device Wire.endTransmission();}void loop() { Wire.requestFrom(DEVICE_ADDRESS, data_length); // Request data from the device while (Wire.available()) { received_data = Wire.read(); // Process received data }}Remember to replace DEVICE_ADDRESS and data with the appropriate values for your specific I2C device.
Several issues can arise when working with Arduino I2C interfaces. Common problems include:
For more complex applications, consider these advanced techniques:
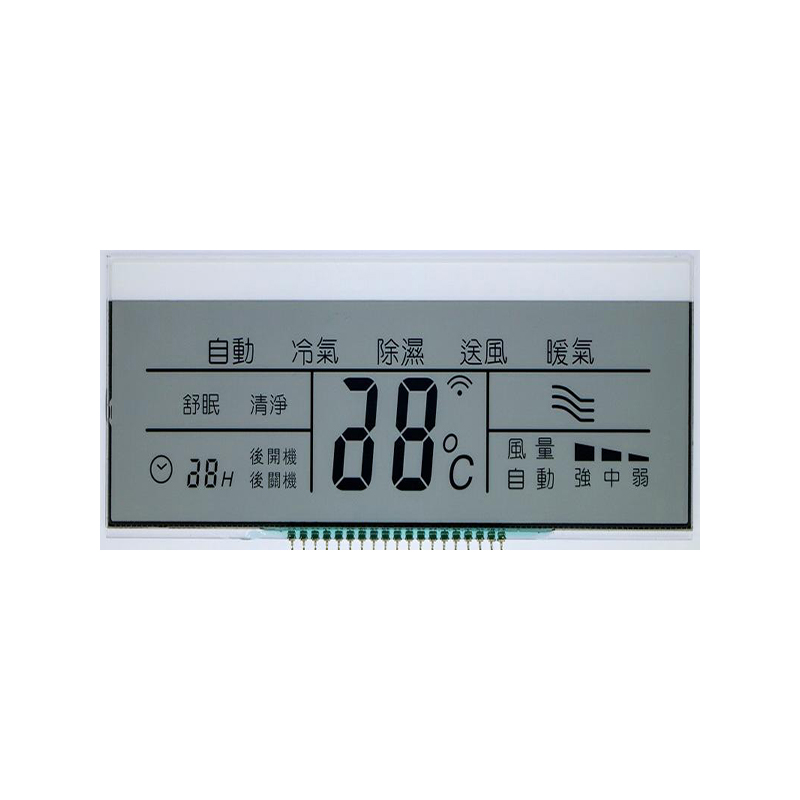
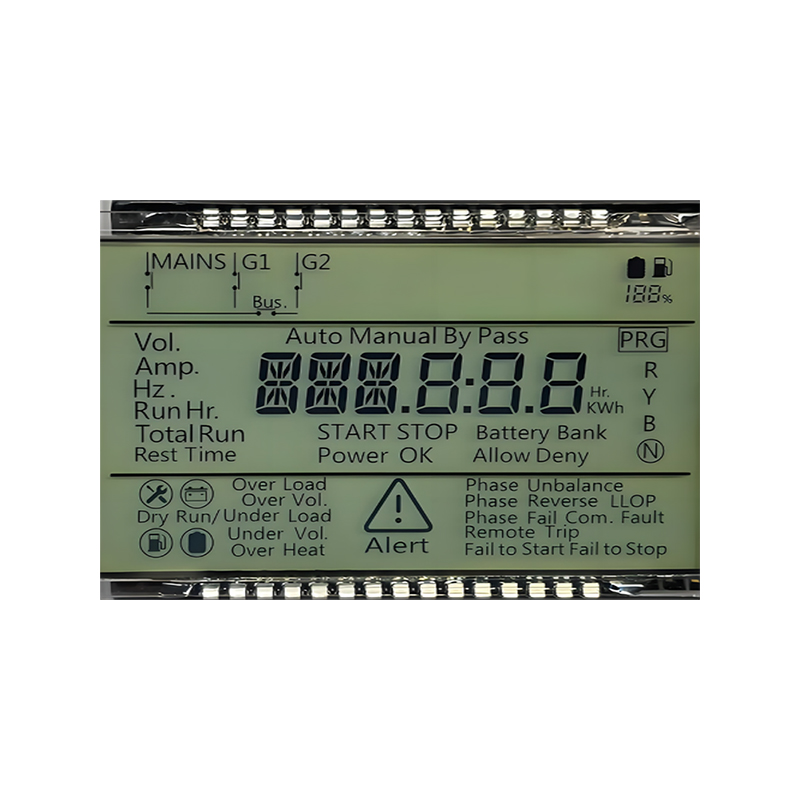
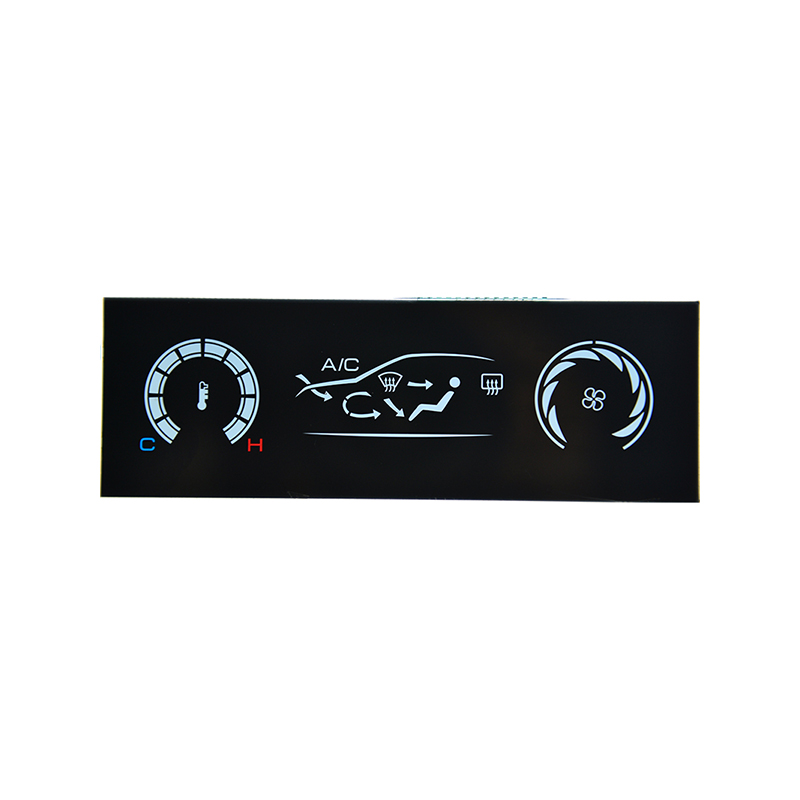
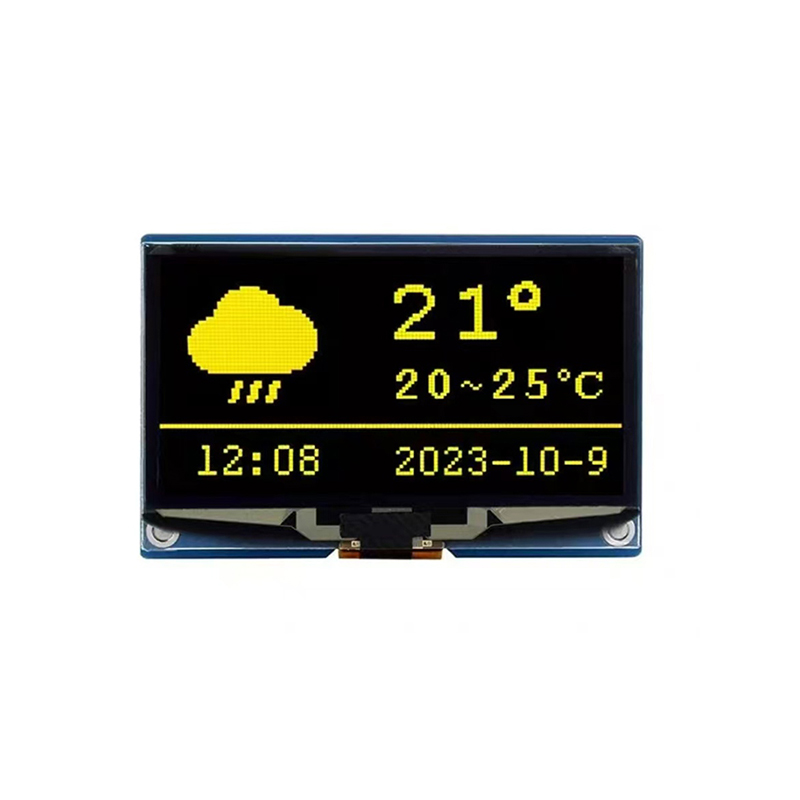
This guide provides a foundational understanding of creating and utilizing Arduino I2C interfaces. Remember to consult the datasheets of your chosen I2C devices for specific details and parameters. By following these steps and understanding the underlying principles, you can build efficient and reliable I2C-based projects. For high-quality LCD displays for your Arduino projects, consider exploring options from Dalian Eastern Display Co., Ltd., a reputable supplier of various display solutions.