Dalian Eastern Display Co., Ltd.
Dalian Eastern Display Co., Ltd.


This guide provides a complete walkthrough of connecting an Arduino microcontroller to an LCD screen, covering different LCD types, wiring diagrams, code examples, troubleshooting tips, and advanced techniques. Learn how to display text, numbers, and even images on your Arduino LCD. We'll explore various libraries and methods to make the process as smooth as possible. Whether you're a beginner or experienced with Arduino, this resource will help you master Arduino LCD integration.
The first step in using an Arduino LCD is selecting the appropriate display. Several types are available, each with its own advantages and disadvantages. The most common are 16x2 character LCDs and graphical LCDs. 16x2 character LCDs are simpler and cheaper, ideal for displaying basic text. Graphical LCDs offer significantly higher resolution and allow you to display images and more complex graphics. The choice depends on your project's needs and complexity.
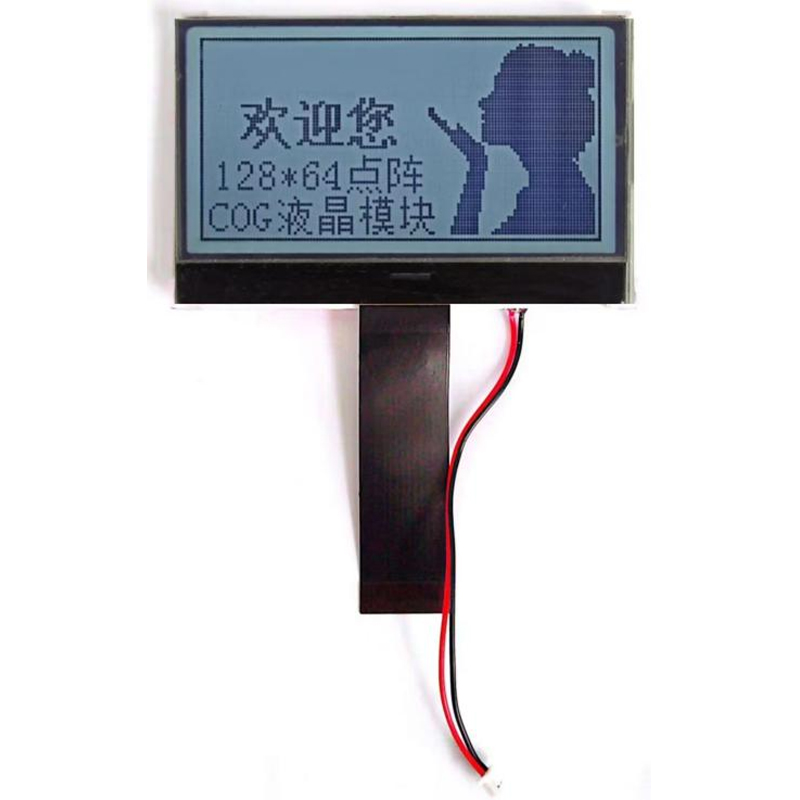
These are the most common type of LCD used with Arduino. They offer a simple interface and are relatively inexpensive. They typically display 16 characters per line and have two lines. Wiring is straightforward, and there are numerous tutorials and libraries available online.
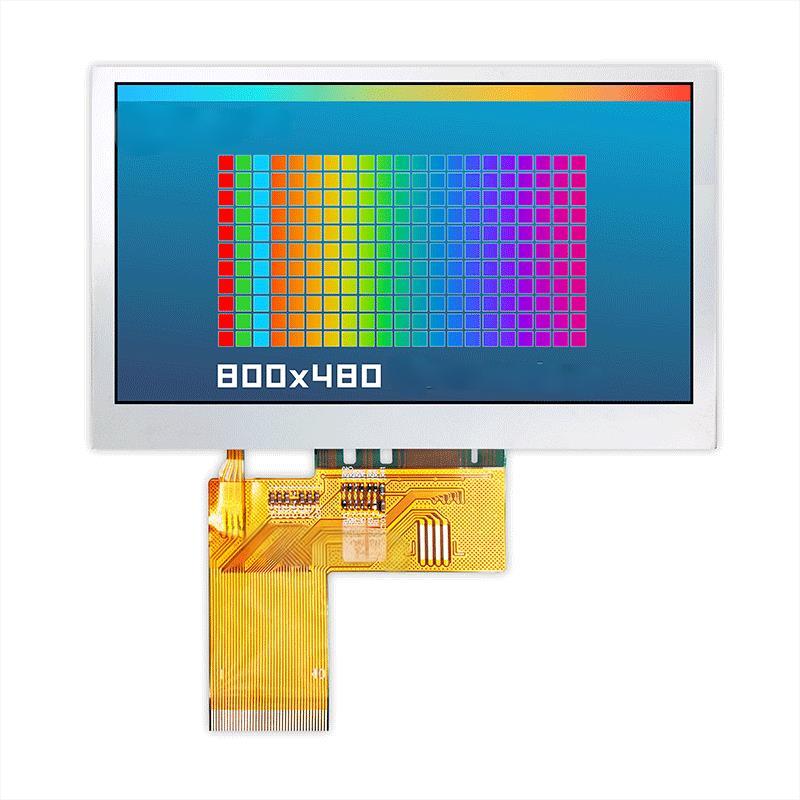
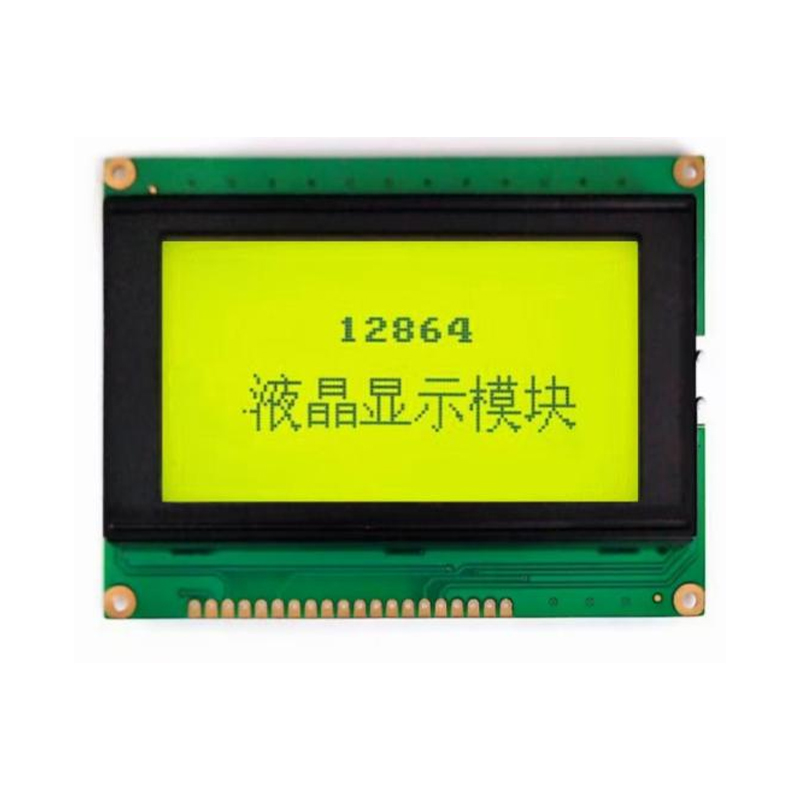
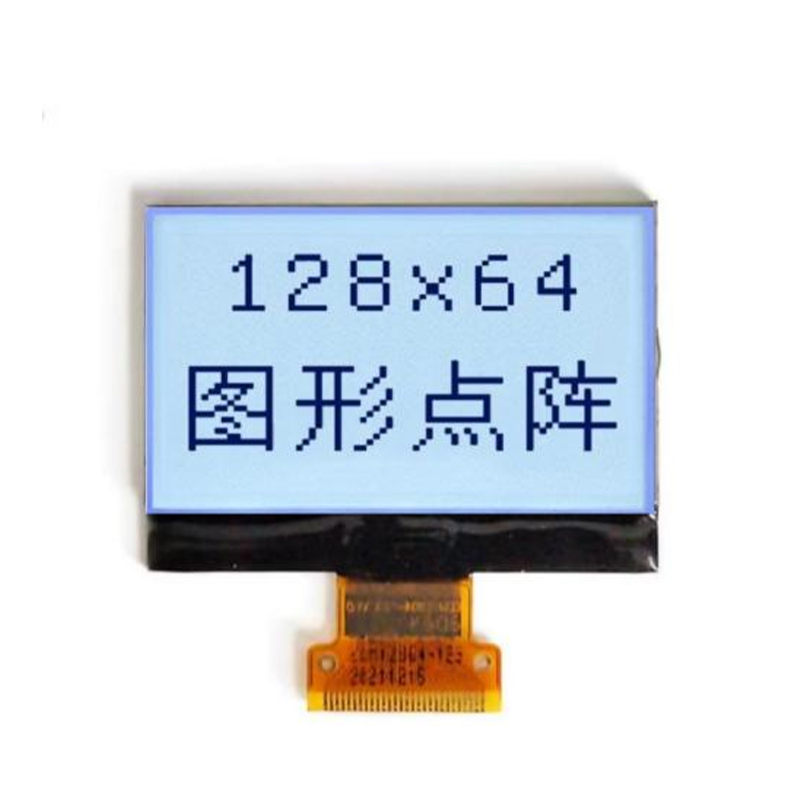
Graphical LCDs provide much greater flexibility. They allow you to display images, custom fonts, and more complex layouts. Popular choices include LCDs based on the ILI9341, ST7735, or SSD1306 controllers. These typically require more complex programming but offer far superior visual capabilities. Consider factors such as resolution, color depth, and interface type (SPI or I2C) when selecting a graphical LCD.
Once you've chosen your LCD, you'll need to connect it to your Arduino board. The specific wiring will depend on your LCD model, but common connections include power (VCC), ground (GND), contrast (VO), data pins (D0-D7), register select (RS), read/write (R/W), and enable (E). Always consult your LCD's datasheet for accurate pin assignments. Many libraries simplify this process by abstracting away the detailed pin configuration.
| Arduino Pin | LCD Pin | Description |
|---|---|---|
| 5V | VCC | Power |
| GND | GND | Ground |
| 7 | RS | Register Select |
| 6 | RW | Read/Write |
| 5 | E | Enable |
| 4 | D4 | Data Pin 4 |
| 3 | D5 | Data Pin 5 |
| 2 | D6 | Data Pin 6 |
| 1 | D7 | Data Pin 7 |
| (Optional) 10k Ohm Potentiometer | VO | Contrast Adjustment |
Several libraries simplify programming Arduino LCD interactions. The LiquidCrystal library is widely used for 16x2 character LCDs. For graphical LCDs, you'll likely need libraries specific to the controller (e.g., U8g2, Adafruit_GFX). These libraries provide functions for easily writing text, setting the cursor position, and clearing the screen.
#include <LiquidCrystal.h>LiquidCrystal lcd(7, 6, 5, 4, 3, 2); // Adjust pins as neededvoid setup() { lcd.begin(16, 2); // Initialize the LCD lcd.print(Hello, World!);}void loop() { // Your code here}Problems such as blank screens, flickering displays, or incorrect character display can occur. Double-check your wiring, ensure proper power supply, and verify the LCD's contrast adjustment. Incorrect library installation or code errors can also be the culprit. Carefully review your code and consult online resources or forums for solutions. Always refer to your specific LCD's datasheet for detailed troubleshooting information.
Beyond basic text display, Arduino LCD can handle more advanced tasks. You can display images, create custom characters, use scrolling text, and integrate with other sensors and components to create interactive displays. Libraries like Adafruit_GFX offer extensive functionalities for graphical manipulations, allowing complex visualizations and user interfaces.
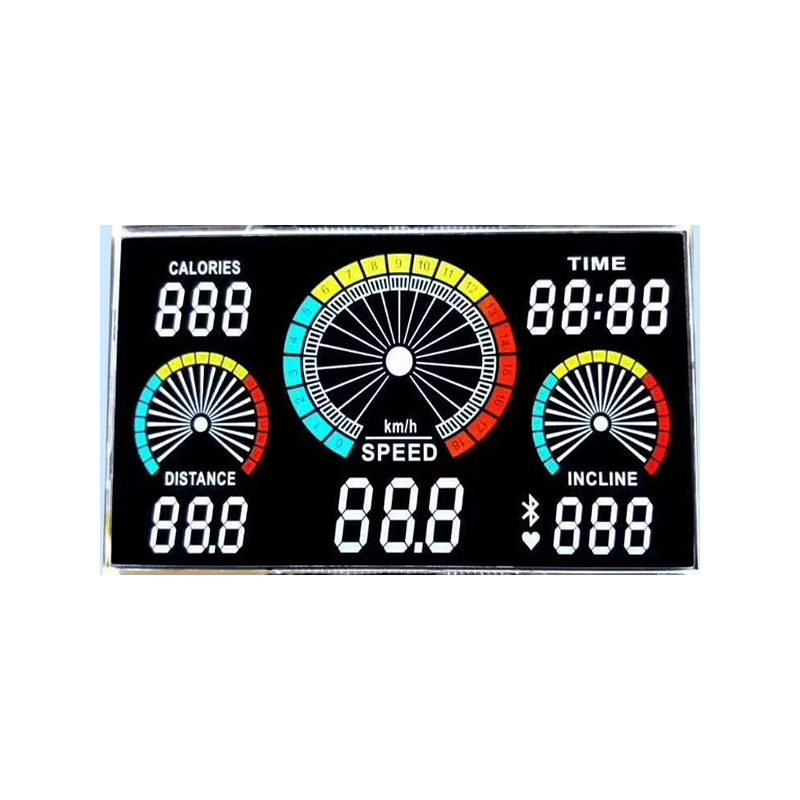
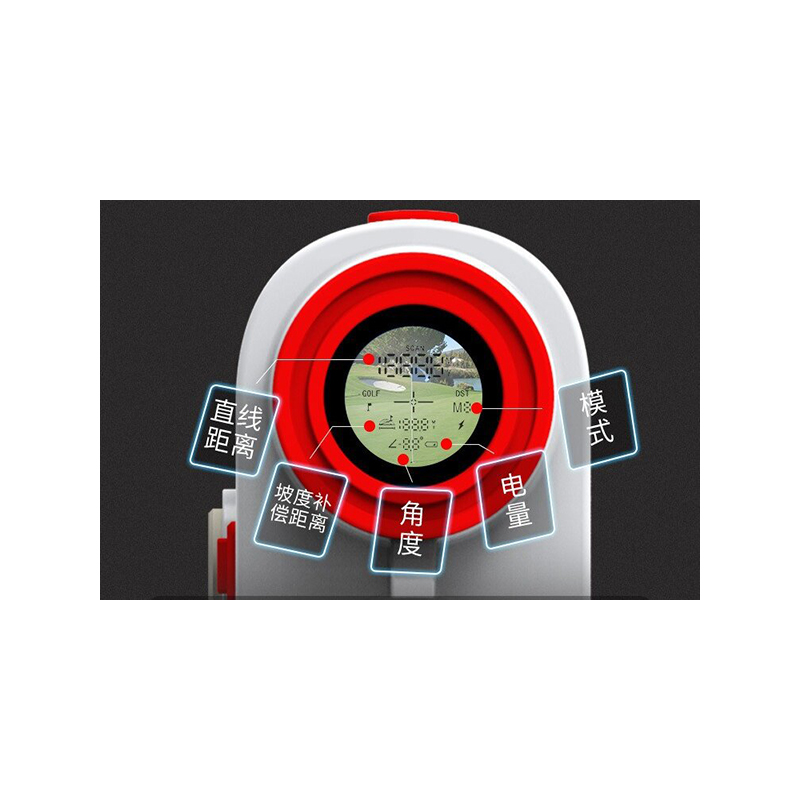
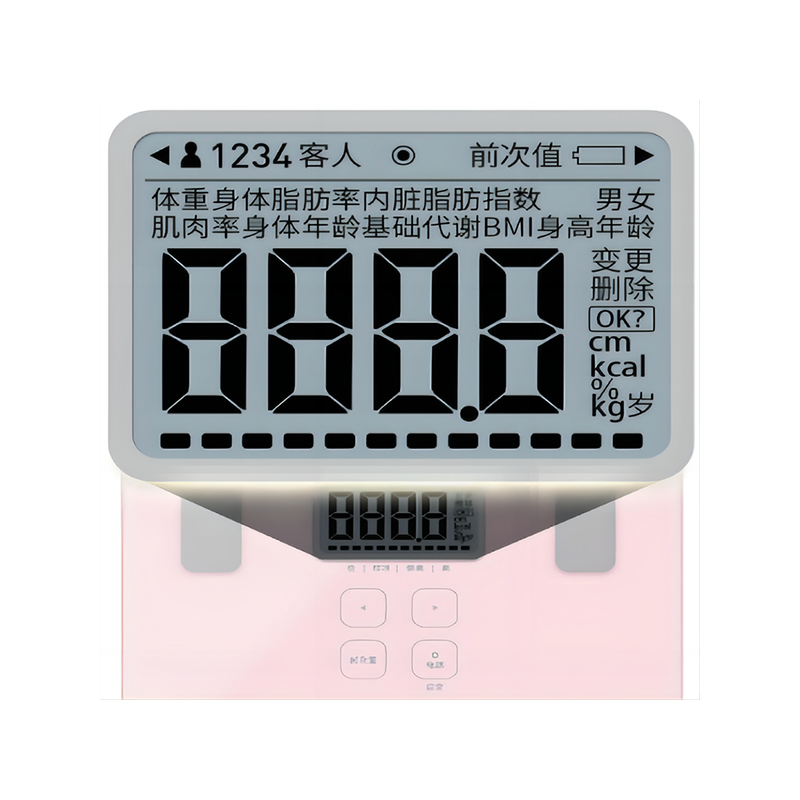
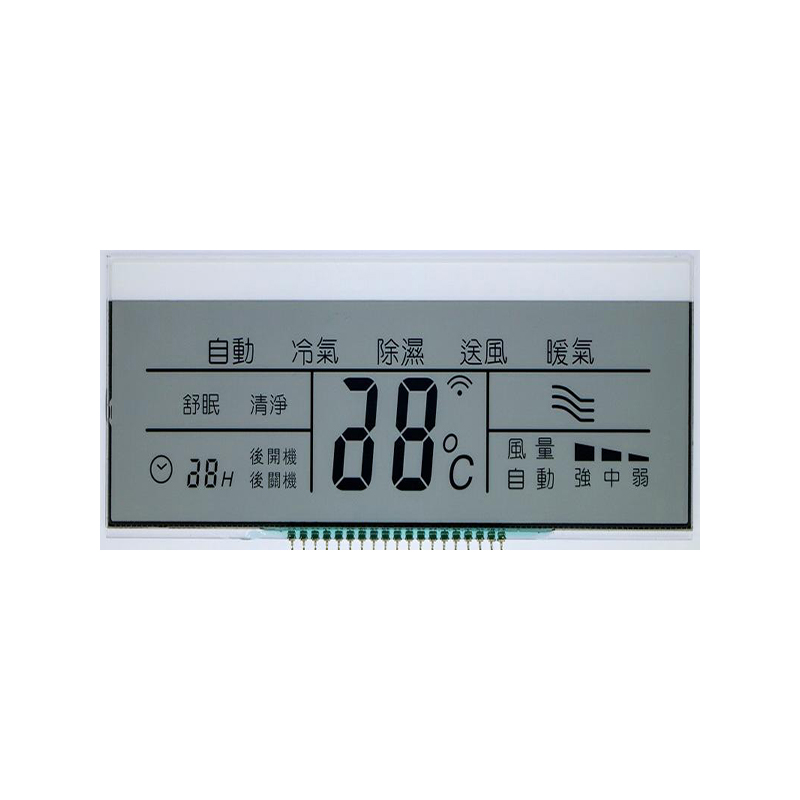
For high-quality LCD displays and components, consider exploring the offerings of Dalian Eastern Display Co., Ltd. They provide a wide range of LCD solutions for various applications.
This guide provides a solid foundation for working with Arduino LCDs. Remember to always consult the datasheets for your specific hardware components for the most accurate and up-to-date information.