Dalian Eastern Display Co., Ltd.
Dalian Eastern Display Co., Ltd.


This guide provides a comprehensive overview of connecting an Arduino to an LCD display, covering various display types, libraries, common issues, and advanced techniques. Learn how to select the right display for your project, write code for different display functionalities, and troubleshoot common problems. Whether you're a beginner or an experienced maker, this resource will equip you with the knowledge and practical skills needed to successfully integrate Arduino LCD displays into your projects.
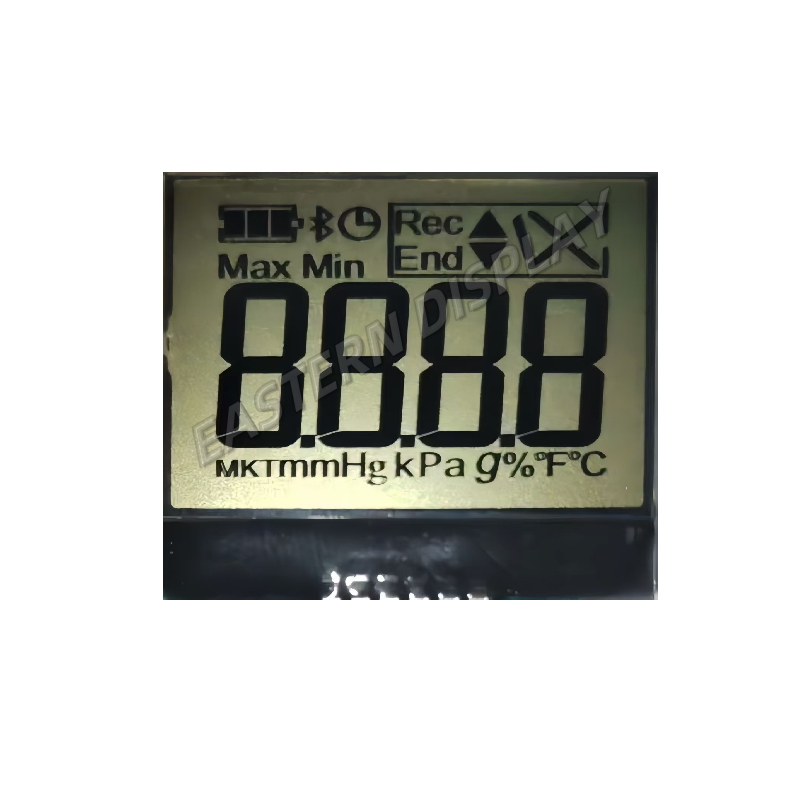
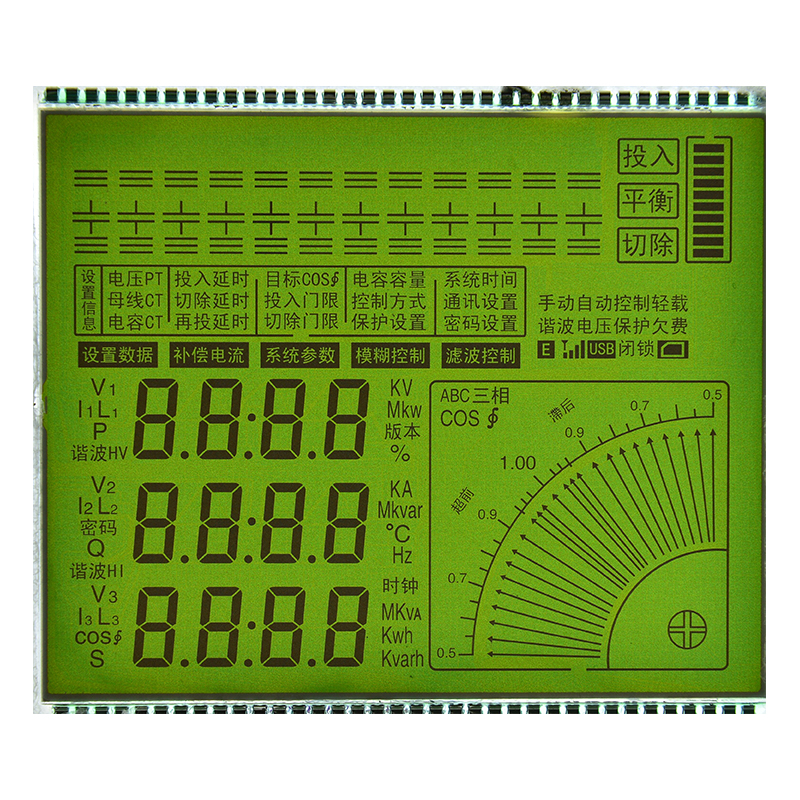
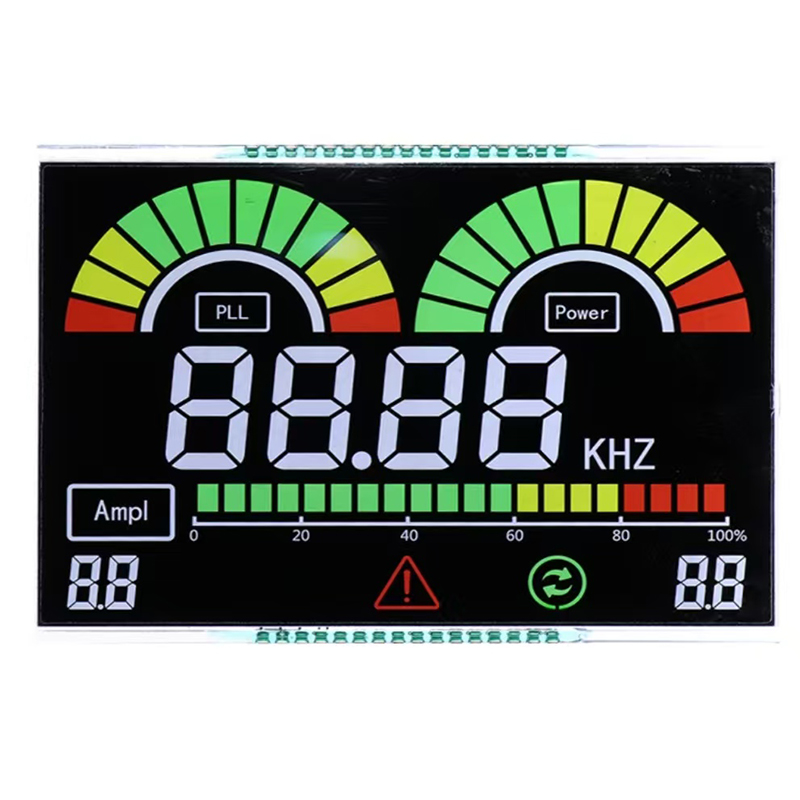
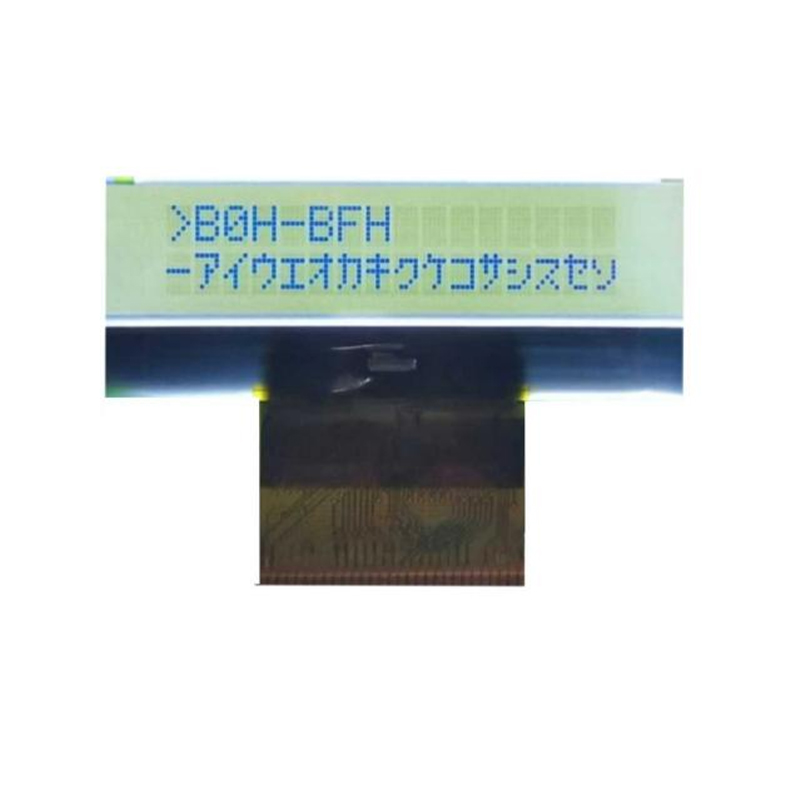
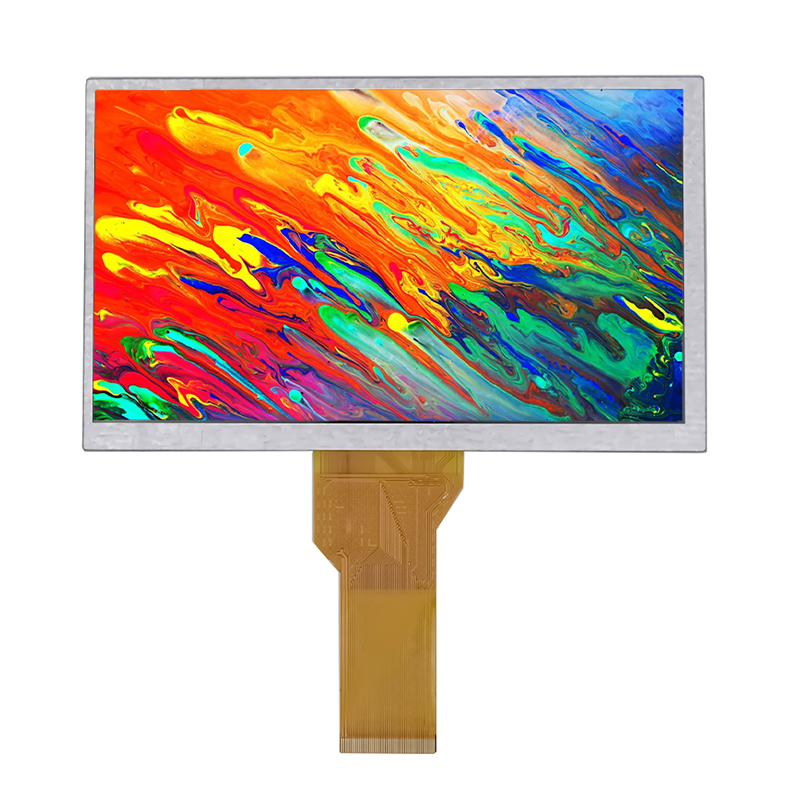
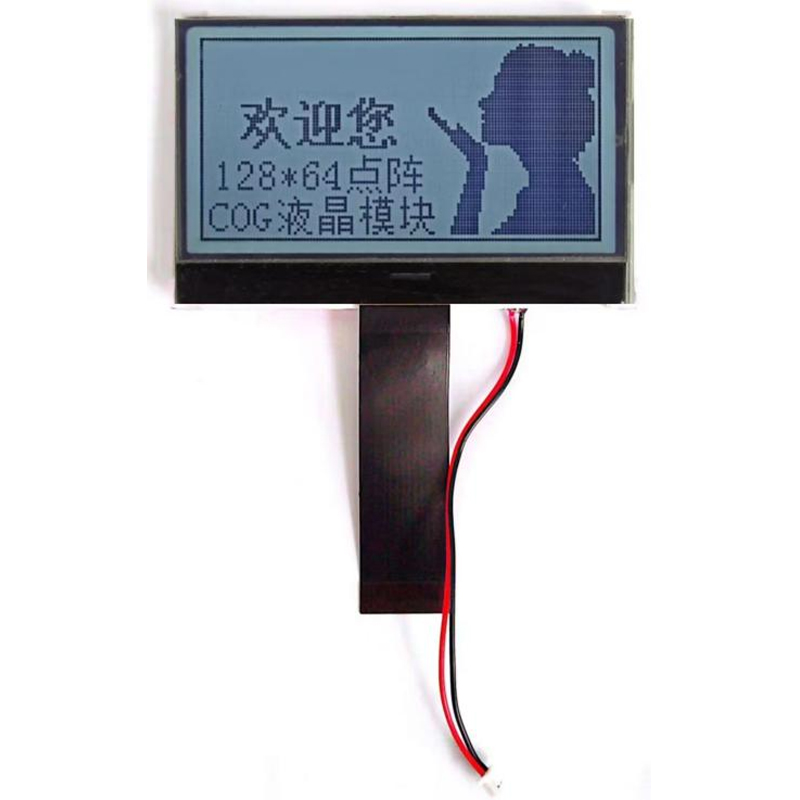
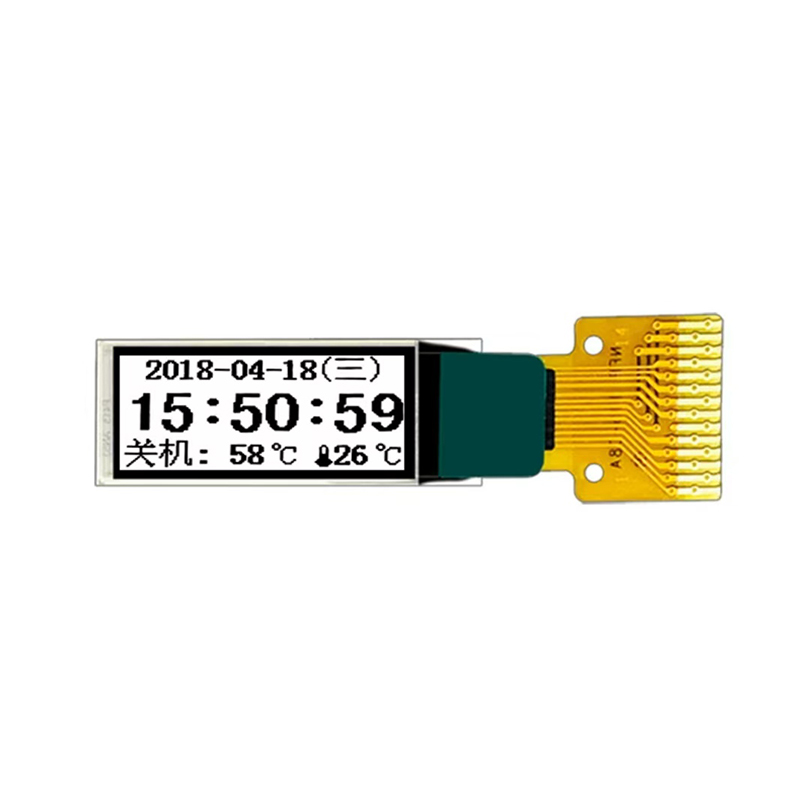
Several Arduino LCD display types are available, each with its own characteristics. Character LCDs display text only, while graphic LCDs allow for images and custom designs. Consider factors like screen size (measured in inches or characters), resolution (number of pixels), backlight type (LED or LCD), and interface (I2C, SPI, or parallel). The most common types are 16x2 character LCDs and various sizes of graphic LCDs, such as those based on the ST7735 or ILI9341 controllers.
When selecting an Arduino LCD display, consider factors such as power consumption, operating voltage, and availability of libraries. I2C displays often simplify wiring by requiring fewer connections. The availability of pre-built libraries and online support significantly impacts ease of use. For high-resolution graphical applications, the ST7735 and ILI9341 controllers provide robust capabilities. Always check the datasheet for specific specifications before purchasing.
The wiring process varies depending on the chosen display and interface. Character LCDs typically require connections for VCC (power), GND (ground), RS (register select), R/W (read/write), and data pins (D0-D7 for parallel interface or SDA/SCL for I2C). Graphic LCDs also have similar connections, but often utilize SPI or I2C protocols for data transfer, simplifying wiring and reducing the number of pins required on the Arduino.
| Arduino Pin | LCD Pin | Description |
|---|---|---|
| 5V | VCC | Power |
| GND | GND | Ground |
| 7 | RS | Register Select |
| 6 | RW | Read/Write |
| 5, 4, 3, 2 | D4, D5, D6, D7 | Data Pins (adjust based on your LCD module) |
Arduino libraries simplify interaction with Arduino LCD displays. The LiquidCrystal library is commonly used for character LCDs. For graphic LCDs, libraries like Adafruit_GFX and specific controller libraries (e.g., Adafruit_ST7735 for ST7735 displays) are required. These libraries provide functions for displaying text, images, and managing the LCD's features. Remember to install the necessary libraries through the Arduino IDE's Library Manager.
#include <LiquidCrystal.h>LiquidCrystal lcd(7, 6, 5, 4, 3, 2); // Adjust pin numbers as neededvoid setup() { lcd.begin(16, 2); lcd.print(Hello, world!);}void loop() { // Your code to update the LCD display}Common problems include incorrect wiring, power supply issues, library conflicts, and incorrect pin assignments. Double-check your connections, ensure sufficient power, and verify the accuracy of your code and library installations. Online forums and documentation can provide assistance with specific error messages.
Beyond basic text and image display, explore advanced functionalities such as custom characters, scrolling text, and integrating sensors for real-time data visualization. Experiment with different libraries and techniques to unlock the full potential of your Arduino LCD display.
For high-quality LCD displays and modules, consider exploring the extensive range available at Dalian Eastern Display Co., Ltd. They offer a wide selection of LCD solutions for various applications.
Remember to always consult the datasheets of your chosen Arduino LCD display and libraries for detailed specifications and instructions. Happy making!