Dalian Eastern Display Co., Ltd.
Dalian Eastern Display Co., Ltd.


This guide provides a comprehensive walkthrough on connecting an Arduino to an I2C LCD display, covering everything from selecting the right components to troubleshooting common issues. Learn about the benefits of I2C communication, explore different display options, and follow step-by-step instructions to get your display working in minutes. We'll also delve into practical examples and coding techniques to help you visualize data and create interactive projects.
Before diving into the specifics of connecting your Arduino LCD display I2C, let's understand the advantages of using the I2C protocol. I2C (Inter-Integrated Circuit) is a two-wire serial communication protocol that simplifies the connection process. Unlike parallel communication, which requires multiple data lines, I2C uses just two wires: SDA (Serial Data) and SCL (Serial Clock). This significantly reduces the number of pins required on your Arduino, leaving more available for other components in your projects. I2C is also efficient, reducing the complexity of wiring and allowing for multiple devices to be connected on the same bus. This makes Arduino LCD display I2C setups particularly convenient for projects with limited pin availability.
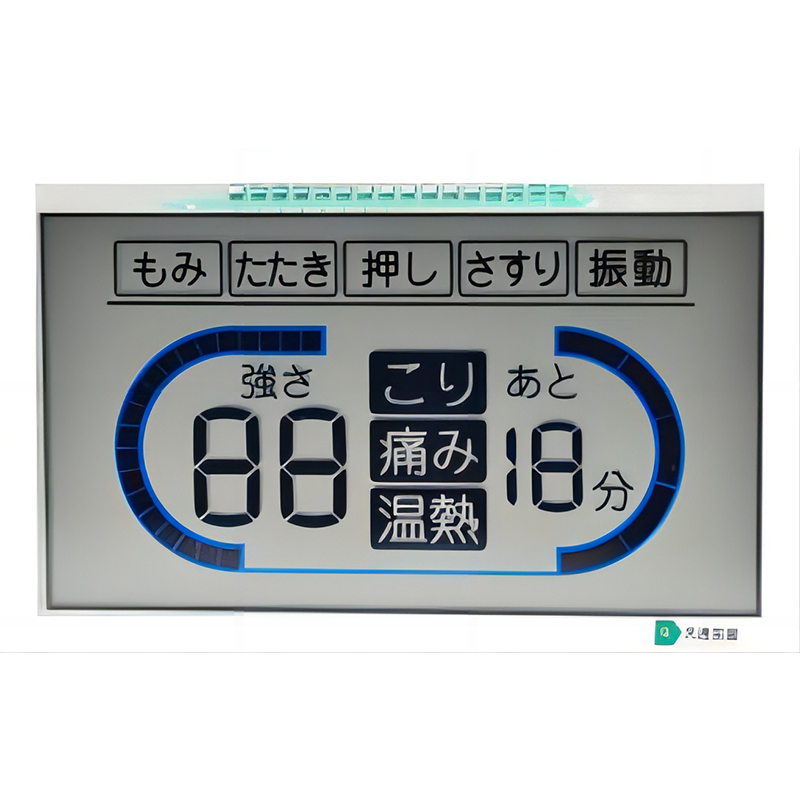
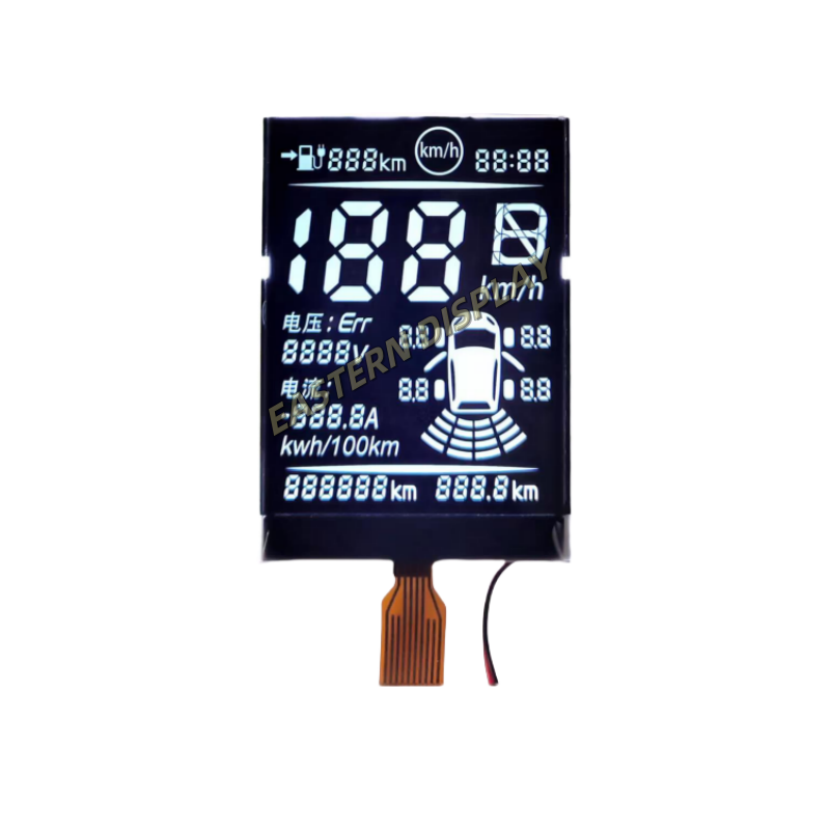
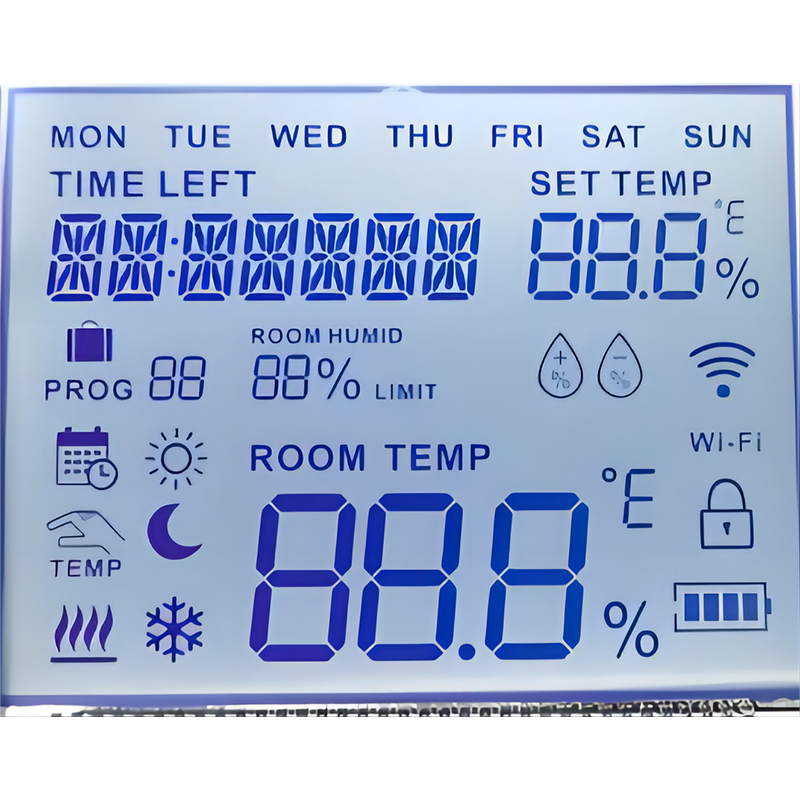
The market offers a wide variety of Arduino LCD display I2C modules. Key factors to consider when selecting a display include screen size (common sizes are 16x2, 20x4, and even larger), character size, and backlight color (white, blue, green, etc.). Many modules include built-in character generators simplifying the coding process. Ensure the module is compatible with the I2C protocol before purchasing. Consider features like adjustable contrast, and check for reviews from other users to gauge the quality and ease of use.
Connecting your Arduino LCD display I2C is remarkably simple. Typically, you'll only need to connect the following three wires:
Always double-check your connections before powering on your circuit to avoid damaging your components. Carefully examine the pinout diagram provided with your specific Arduino LCD display I2C module.
After establishing the hardware connections, you'll need to include the necessary library in your Arduino IDE. Popular libraries for Arduino LCD display I2C include LiquidCrystal_I2C. Install this library via the Library Manager within the Arduino IDE. Below is a basic example code snippet:
#include <Wire.h>#include <LiquidCrystal_I2C.h>LiquidCrystal_I2C lcd(0x27, 16, 2); // Set the LCD address to 0x27 for a 16 chars and 2 line displayvoid setup() { lcd.init(); lcd.backlight(); lcd.print(Hello, world!);}void loop() { // Your code here to display dynamic data}Remember to adjust the I2C address (0x27 in this example) according to the specifications of your particular Arduino LCD display I2C module. Consult your module's documentation for the correct address.
If your Arduino LCD display I2C isn't working, check the following:
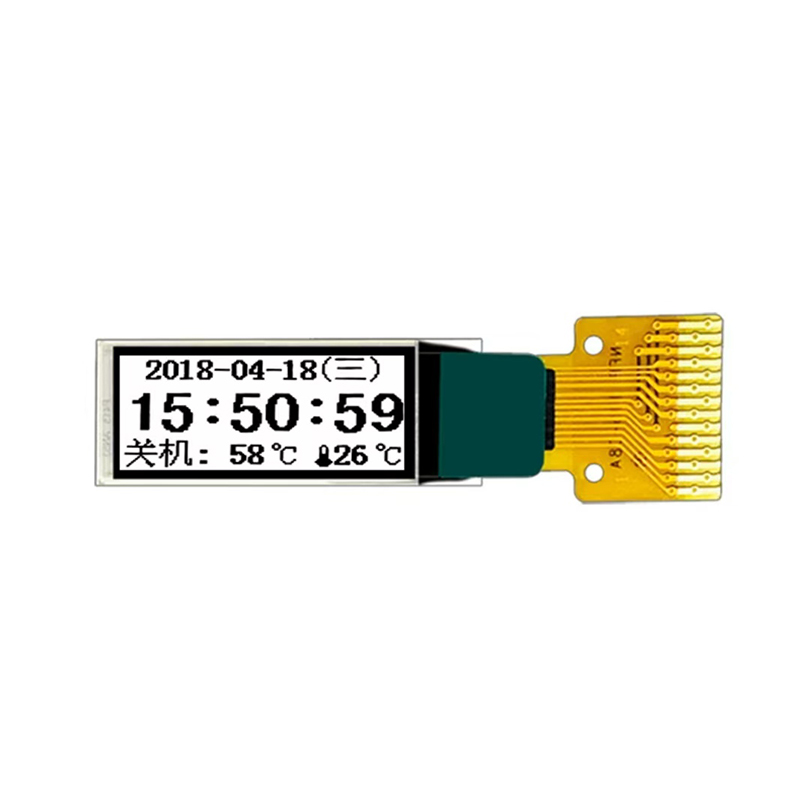
Beyond displaying simple text, Arduino LCD display I2C modules can be used for a vast array of applications, including displaying sensor data, creating custom dashboards, and building interactive interfaces. With the right libraries, you can even display images and graphical elements. Explore online resources and examples to unlock the full potential of your Arduino LCD display I2C setup. For example, you could easily create a project that displays temperature readings from a DHT11 sensor or create a simple clock.
For a wider selection of high-quality LCD displays, check out Dalian Eastern Display Co., Ltd. - a leading provider of innovative display solutions.
Remember to always refer to the specific datasheets for your Arduino and your chosen Arduino LCD display I2C module for the most accurate information and pin configurations.