Troubleshooting Your Arduino LCD Display I2C Exit IssuesThis guide provides comprehensive troubleshooting steps for resolving common problems encountered when using an I2C Arduino LCD display, specifically addressing issues related to the display not working or unexpectedly exiting. We'll cover hardware and software solutions, ensuring your project runs smoothly.
Hardware Considerations for Arduino LCD Display I2C Exit
Checking Connections
Before diving into software, ensure your hardware setup is correct. Double-check all connections between your
Arduino,
I2C LCD display, and power supply. Verify that the I2C pins (SDA and SCL) are properly connected to the corresponding pins on your
Arduino. Loose connections or incorrect wiring are frequently the culprits. Incorrect voltage supply can also cause problems. The
I2C LCD display often requires a specific voltage range; check the datasheet of your display for the correct voltage. Poor quality wires can lead to signal issues; using high-quality shielded wires can improve reliability.
Power Supply Issues
Insufficient power can disrupt the
Arduino LCD display I2C communication. Ensure your power supply can handle both the
Arduino and the
LCD display simultaneously. Use a multimeter to check the voltage at the
LCD display's power pins. A fluctuating or insufficient voltage can be the cause of unexpected exits and display malfunction.
Software Debugging for Arduino LCD Display I2C Exit
Verifying I2C Library
Make sure you're using the correct
I2C library in your
Arduino code. The most common library is the Wire library, which comes pre-installed with the Arduino IDE. Ensure your code is correctly including the library using `#include
`. Using an outdated or incorrect library can lead to communication problems.Library Conflicts
Having multiple I2C libraries can cause conflicts, leading to erratic behavior. Ensure that you don’t have redundant I2C libraries included in your project.Checking I2C Addresses
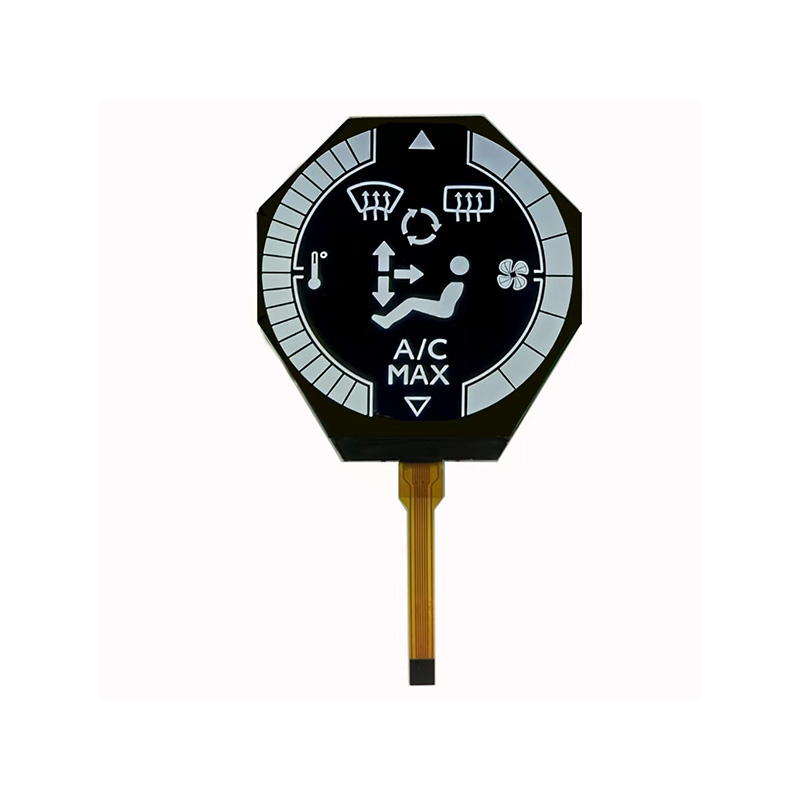
Each I2C LCD display has a unique address. Incorrectly specifying the I2C address in your code will prevent communication. Consult your LCD display's datasheet to find its correct I2C address and use `Wire.beginTransmission(address);` to make sure you are communicating with the correct device. You may need to use an I2C scanner to identify the correct address of your LCD display if you are unsure.Code Review and Troubleshooting
Systematically check your code for errors. Look for potential issues like infinite loops, incorrect function calls, and memory allocation problems. These issues can lead to unexpected program termination and display glitches. Debugging tools within the Arduino IDE can help in identifying these issues. | Problem | Possible Cause | Solution |
| Blank Display | Incorrect wiring, power supply issues, wrong I2C address | Recheck connections, verify power supply, check I2C address in code |
| Intermittent Display | Loose connections, signal noise, software bugs | Secure connections, use shielded wires, debug code |
| Sudden Display Exit | Software errors, stack overflow, memory issues | Review code for errors, optimize memory usage |
Advanced Troubleshooting for Arduino LCD Display I2C Exit
If the above steps don't resolve the issue, consider using a logic analyzer to monitor the I2C bus for communication errors. This can provide more detailed insights into the problem. For more complex scenarios, consider using a serial monitor to output diagnostic messages from your code, providing valuable clues about the problem's root cause. Remember to consult the datasheets for both your Arduino and your specific I2C LCD display model. This will provide critical information about specifications and troubleshooting procedures. For a wide selection of high-quality LCD displays, consider checking out Dalian Eastern Display Co., Ltd. They offer a variety of options to suit your needs.Remember to always consult your specific LCD display's datasheet for detailed information and troubleshooting tips. Successful Arduino LCD display I2C integration requires meticulous attention to both hardware and software aspects.