Dalian Eastern Display Co., Ltd.
Dalian Eastern Display Co., Ltd.


This article delves into the world of Arduino LCD display projects, offering a practical and in-depth guide for beginners and experienced users alike. We'll explore various LCD screen types compatible with Arduino, explain the coding fundamentals, and provide detailed examples to help you create innovative projects. Whether you're looking to display simple text, create a custom dashboard, or build a more complex interactive system, this guide will equip you with the knowledge and resources you need.
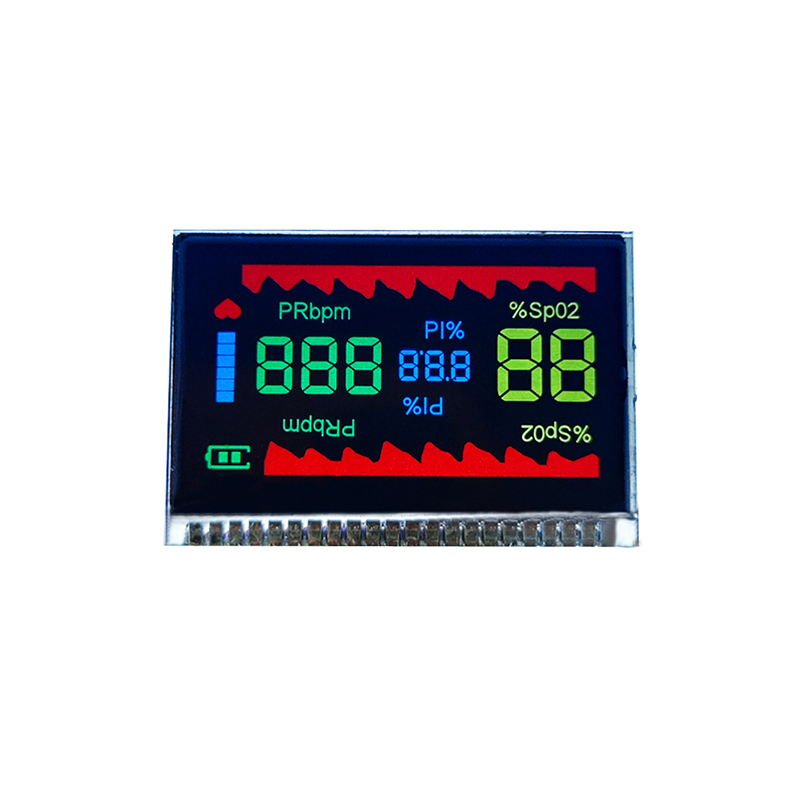
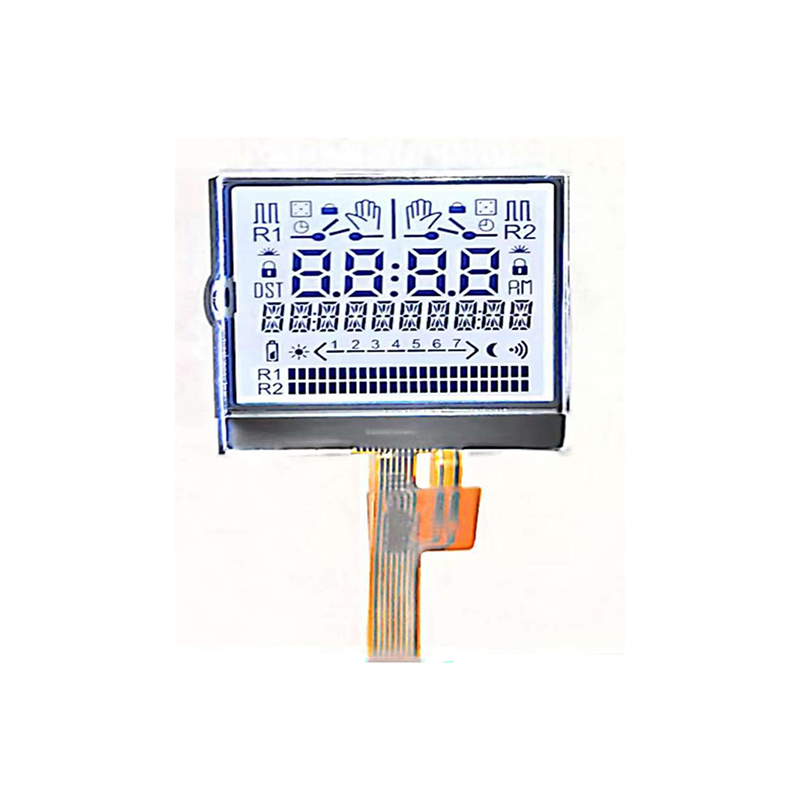
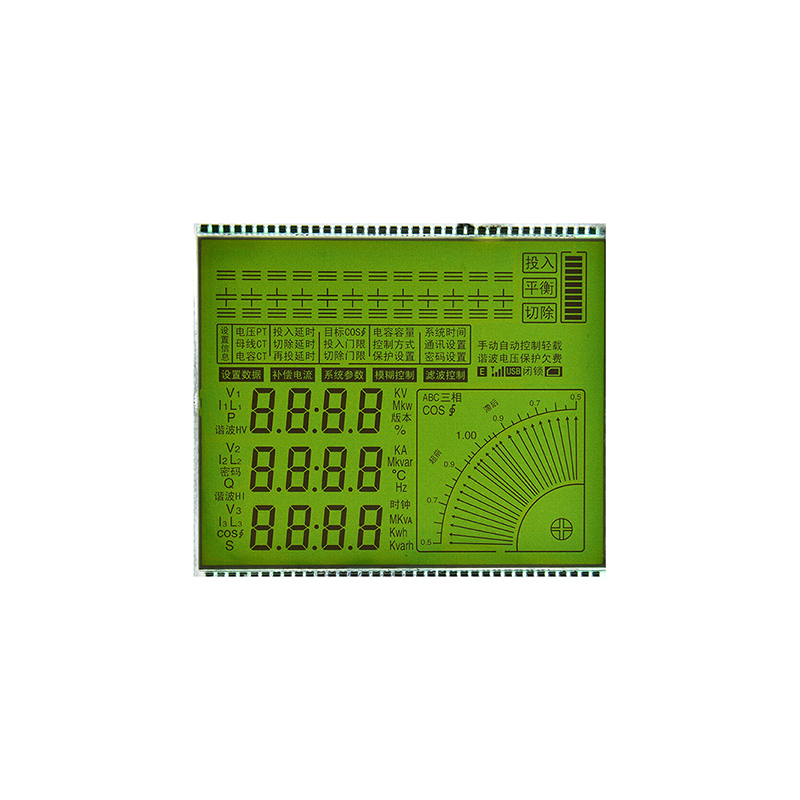
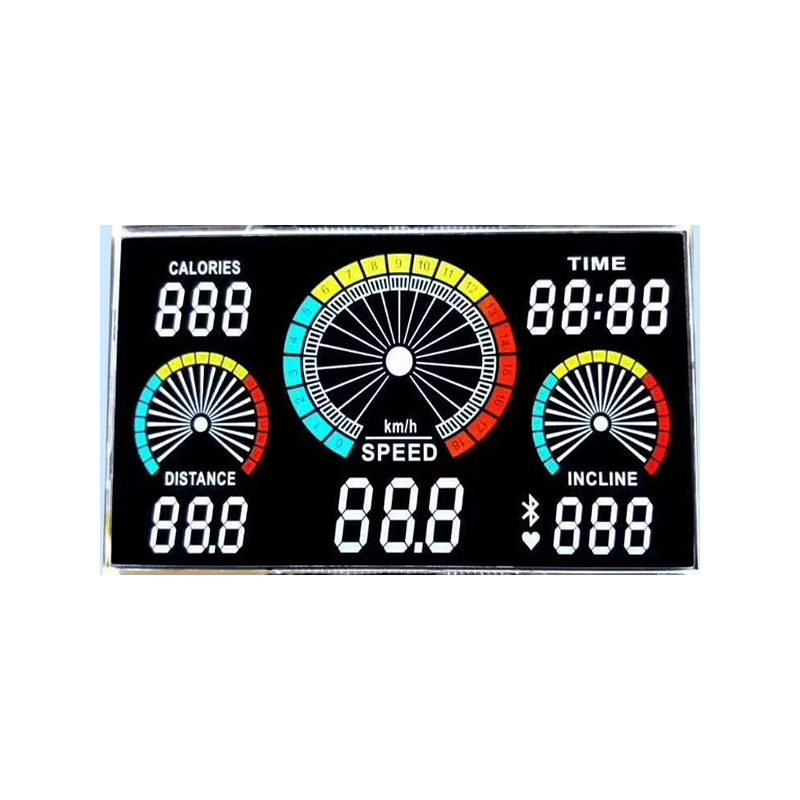
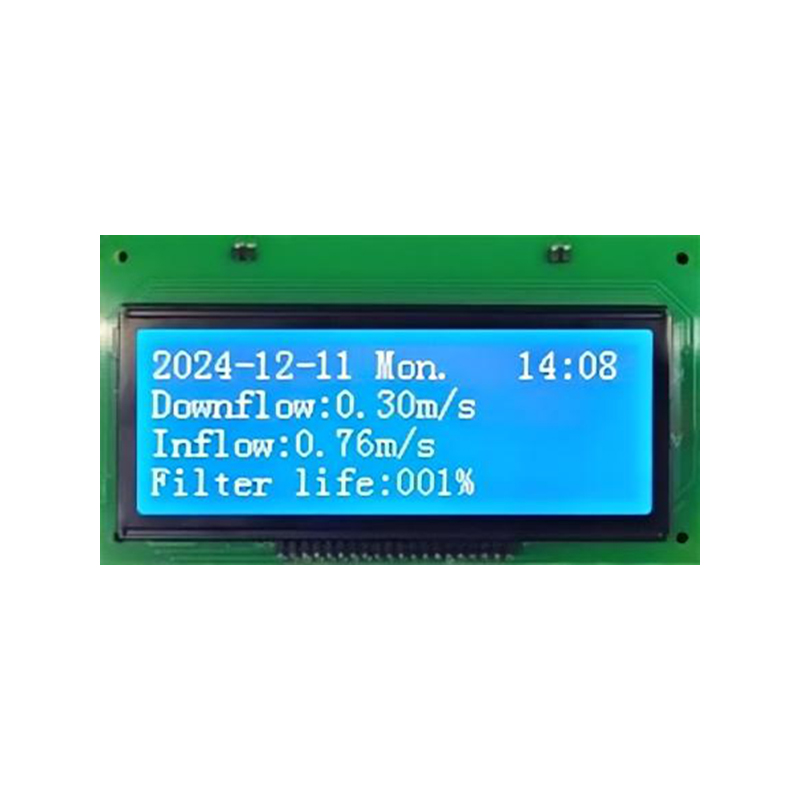
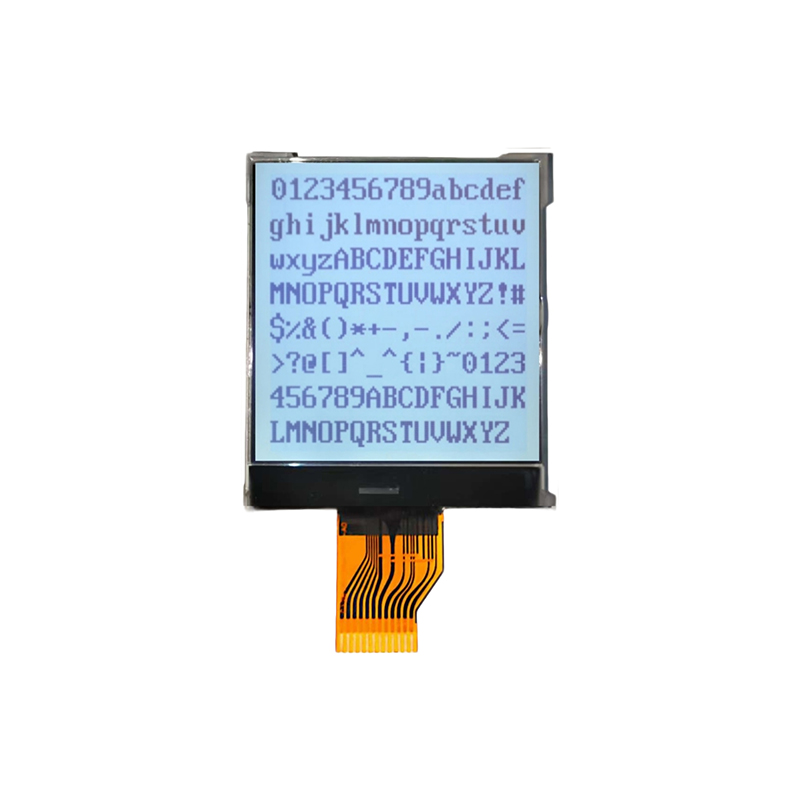
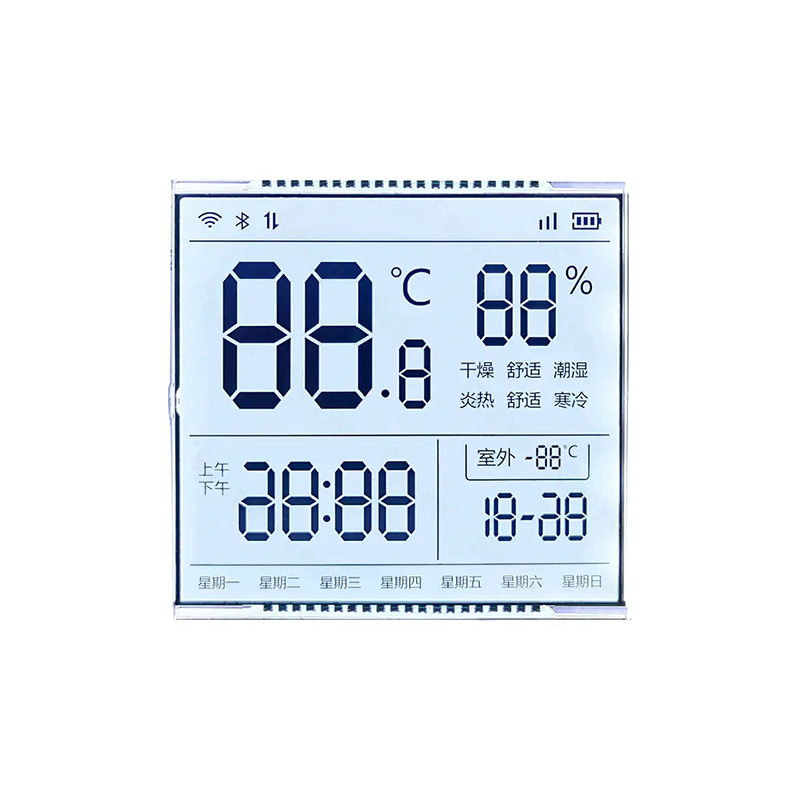
Selecting the appropriate LCD display is the first crucial step in any Arduino LCD display project. Several factors influence this decision, including screen size, resolution, interface type (e.g., I2C, SPI), and backlight options. Popular choices include 16x2 LCDs (common and readily available), character LCDs, and graphic LCDs (for more complex visuals). The choice depends entirely on the project's complexity and desired functionality. Consider factors like power consumption and the physical space available for your project.
Two common communication protocols for connecting LCD displays to Arduino are I2C and SPI. I2C requires fewer pins on the Arduino, making it ideal for projects with limited pin availability. SPI, on the other hand, offers higher data transfer speeds, suitable for applications requiring faster updates. The decision often hinges on the specific LCD module used and the project’s requirements.
Once you've chosen your LCD display, the next step is to program it using the Arduino IDE. This involves installing the necessary libraries, understanding the basic commands, and writing code to display the desired information. This section will cover fundamental commands and functions, demonstrating how to display text, numbers, and even custom characters.
Displaying basic text on an Arduino LCD display is relatively straightforward. Libraries like LiquidCrystal simplify the process. You'll need to initialize the LCD, specify the position for your text, and then send the text data. The code below provides a simple example:
#include // Define LCD pinsLiquidCrystal lcd(12, 11, 5, 4, 3, 2);void setup() { lcd.begin(16, 2); // Initialize LCD (16 columns, 2 rows) lcd.print(Hello, world!);}void loop() { // Your code here} Beyond basic text, you can create custom characters and display graphics on your LCD. This opens up possibilities for creating more visually appealing and informative displays. For example, you could design custom icons or create simple gauges to represent sensor readings. Libraries offer features to support custom character creation and graphic rendering. Advanced libraries allow for images to be uploaded and displayed.
Let’s explore some practical applications of Arduino LCD displays. These examples demonstrate the versatility of Arduino LCD display projects:
Troubleshooting is an essential aspect of working with electronics. Here are some common issues you might encounter while working with Arduino LCD displays and how to address them.
For more in-depth information and advanced techniques, explore these resources:
This comprehensive guide provides a strong foundation for embarking on your Arduino LCD display projects. Remember to experiment, explore, and adapt these concepts to create your own unique and innovative applications. The possibilities are vast and limited only by your imagination.