Dalian Eastern Display Co., Ltd.
Dalian Eastern Display Co., Ltd.


The world of embedded systems opens up a wealth of possibilities with the versatile Arduino platform. One of the most common and rewarding projects involves interfacing an Arduino with an LCD display to create interactive and informative displays. This guide will act as your blueprint for building your own Arduino LCD display project factory, allowing you to efficiently develop and replicate projects. We will cover everything from the basics of selecting components to advanced techniques for creating custom displays.
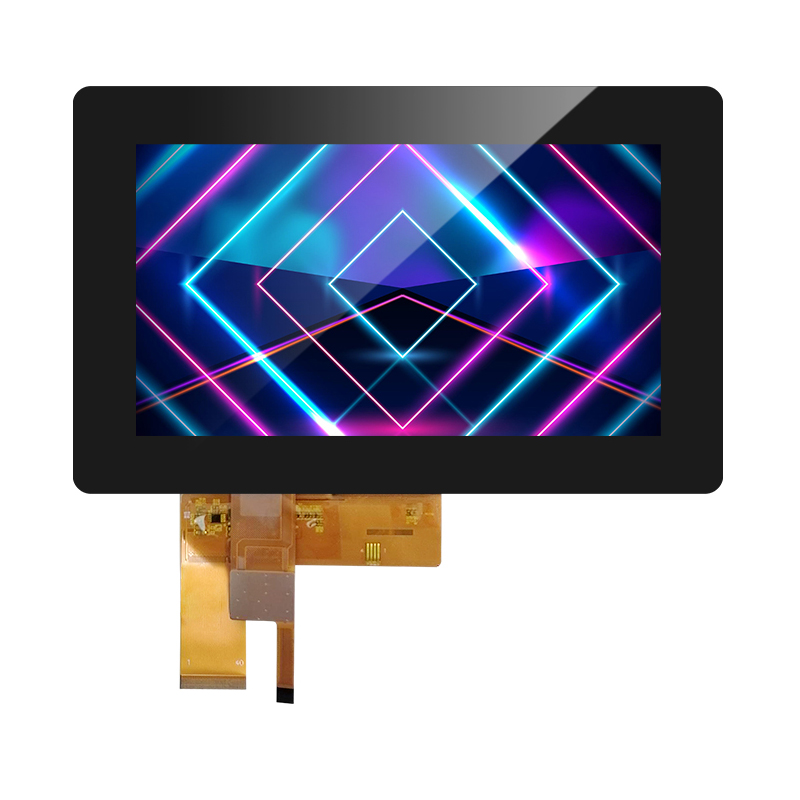
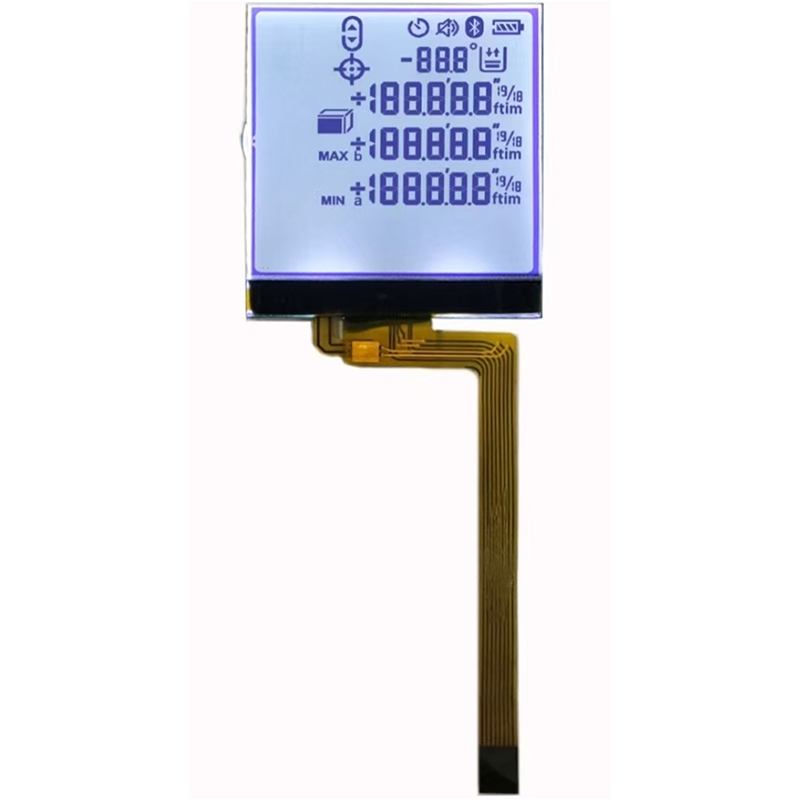
The first step in your Arduino LCD display project is selecting the appropriate components. The choice depends on your project’s requirements, such as screen size, resolution, and interface type. Popular choices include character LCDs (16x2 being a common size) and graphic LCDs (offering higher resolution and more flexibility). For the Arduino board, the Uno is a popular beginner-friendly option, but other boards like the Nano or Mega can also be used, depending on the complexity of your project. Consider the power requirements of both the LCD and the Arduino when selecting a power source.
| Character LCD | Graphic LCD |
|---|---|
| Displays pre-defined characters. | Displays images and custom graphics. |
| Simpler to use and program. | More complex to use and program. |
| Lower resolution. | Higher resolution. |
| Typically cheaper. | Typically more expensive. |
Table 1: Comparison of Character and Graphic LCDs
Connecting the LCD to your Arduino involves careful wiring. The specific pins will vary depending on the LCD model, so consult the datasheet carefully. Generally, you'll need to connect the data pins (D0-D7), control pins (RS, RW, E), and power pins (VCC, GND). A breadboard is highly recommended for prototyping, allowing for easy changes and connection testing. Ensure you have the correct voltage levels for both the Arduino and the LCD, typically 5V.
Once wired correctly, you'll need to write the Arduino code to control the LCD. Libraries simplify this process; the LiquidCrystal library is widely used for character LCDs. This library provides functions to write text, control the cursor, and manage display settings. For graphic LCDs, dedicated libraries are often required, depending on the specific LCD controller. Many examples and tutorials are available online for various LCD models and Arduino boards. Remember to install the necessary libraries within the Arduino IDE.
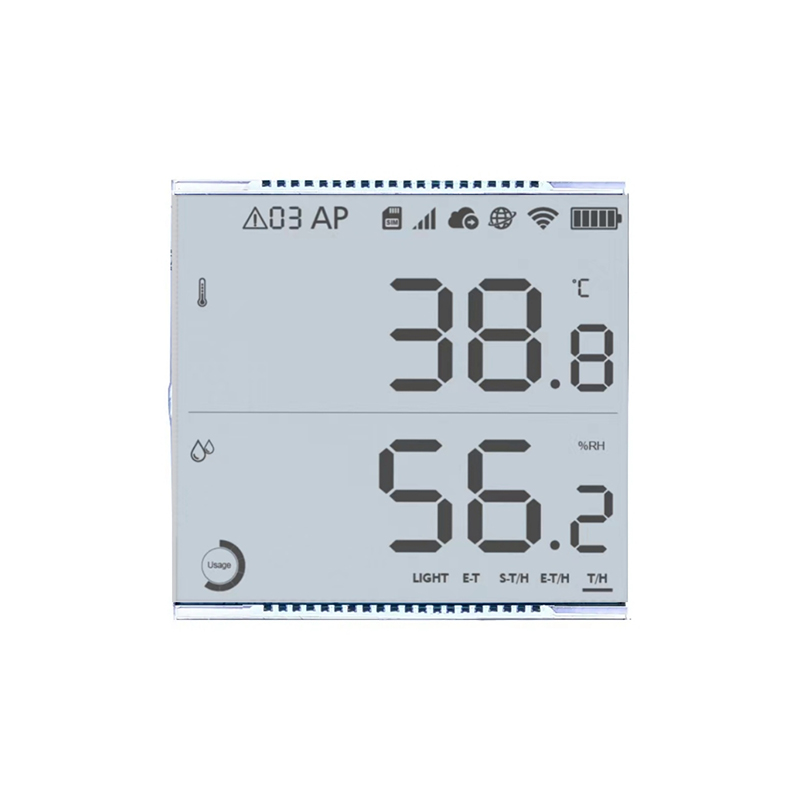
Beyond basic text displays, you can create far more complex Arduino LCD display projects. Integrating sensors (temperature, humidity, light, etc.) allows for dynamic data visualization. Using graphic LCDs opens up possibilities for creating custom gauges, charts, and even simple games. Explore different data visualization techniques to enhance the user experience.
Common problems include incorrect wiring, power supply issues, or software errors. Double-check your connections, ensure sufficient power, and carefully review your code for errors. Online forums and communities are valuable resources for finding solutions to specific issues. Don't hesitate to utilize these resources when encountering difficulties.
For high-quality LCD displays and related components, consider exploring options from reputable suppliers like Dalian Eastern Display Co., Ltd., a leading manufacturer in the display industry. They offer a wide range of LCD solutions suitable for various Arduino LCD display projects.
This comprehensive guide provides a solid foundation for creating your own Arduino LCD display project factory. Remember to experiment, learn from your mistakes, and most importantly, have fun!