Dalian Eastern Display Co., Ltd.
Dalian Eastern Display Co., Ltd.


This guide explores various Arduino LCD display project ideas, providing practical examples, code snippets, and troubleshooting tips for beginners and experienced users. We delve into different LCD types, libraries, and project complexities, equipping you with the knowledge to create your own Arduino LCD display product.
The first step in any Arduino LCD display project is selecting the appropriate display. The market offers a wide range of LCDs, each with its own specifications and capabilities. Key factors to consider include:
The size and resolution of your LCD will dictate the amount of information you can display and the level of detail you can achieve. Smaller displays are ideal for compact projects, while larger displays are better suited for applications requiring more visual real estate. Consider your project's requirements when making this decision.
LCDs come with different interface types, the most common being I2C and parallel. I2C interfaces use fewer pins, simplifying wiring and making them ideal for projects with limited Arduino pin availability. Parallel interfaces, while using more pins, often offer higher data transfer rates.
Character LCDs display pre-defined characters, while graphic LCDs allow for the display of images and custom graphics. Graphic LCDs offer greater flexibility, but they generally require more code and processing power.
Several libraries simplify interacting with LCD displays on your Arduino. Two of the most popular are:
LiquidCrystal is a widely-used library for working with standard character LCDs. Its simplicity and extensive documentation make it a great choice for beginners. You can find detailed tutorials and examples online.
LiquidCrystal_I2C is designed for I2C-based LCD displays. It simplifies the wiring process and reduces the number of Arduino pins required. This library is particularly useful for projects where pin count is a concern.
Here are a few examples of Arduino LCD display projects to inspire you:
This project utilizes a temperature sensor (like a DS18B20) to read the temperature and display it on an LCD screen. The code is relatively simple and serves as a good starting point for beginners. Many tutorials and code examples are available online for this common project.
Integrate a Real-Time Clock (RTC) module with your Arduino and display the current time and date on an LCD. This project demonstrates how to handle time and date data and display it on the LCD screen. This project is often used to display date and time information in embedded systems and displays.
Create a basic game, such as Snake or Pong, and display the game on an LCD. This project helps illustrate how to handle user input and update the display in real time. The complexity can be adjusted based on the user's skill level.
Common problems include incorrect wiring, incorrect library installation, power supply issues, or incorrect LCD initialization. Thoroughly check your wiring, ensure proper power supply, and verify that the LCD is correctly initialized in your code. Consult online forums and communities for solutions to specific error messages.
Once you've mastered the basics, you can explore more advanced projects. Consider incorporating features like:
Remember to consult the datasheets for your specific hardware components for detailed information and specifications.
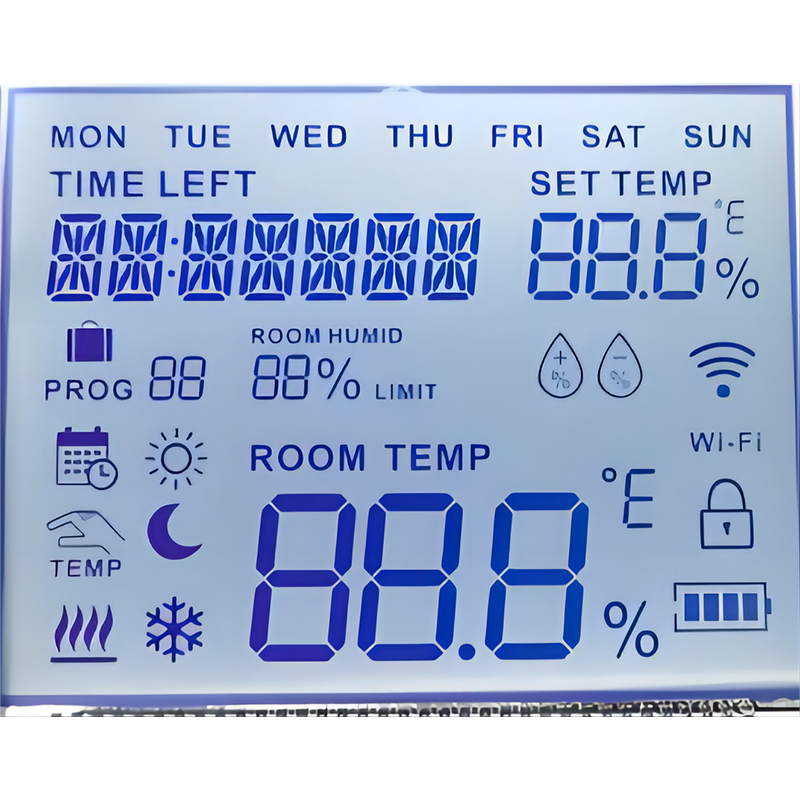
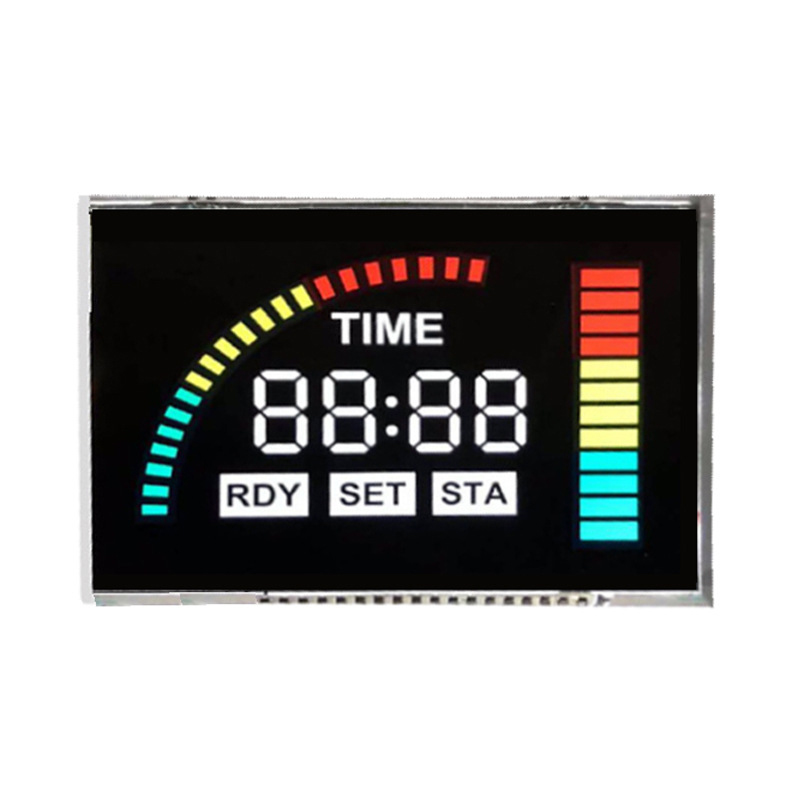
For high-quality LCD displays to enhance your Arduino LCD display product, consider exploring the range available at Dalian Eastern Display Co., Ltd.. They offer a wide selection of LCDs tailored to various applications. Their displays can significantly improve the visual appeal and functionality of your Arduino LCD display projects.