Dalian Eastern Display Co., Ltd.
Dalian Eastern Display Co., Ltd.


Integrating a Liquid Crystal Display (LCD) into your Arduino projects significantly enhances user interaction and data visualization. Among various LCD interfaces, I2C is favored for its simplicity and reduced wiring complexity. This guide delves into the intricacies of using Arduino LCD I2C displays, providing practical examples and troubleshooting tips for both beginners and experienced users. We will cover everything from basic setup to advanced techniques, ensuring you have a solid understanding of this essential component for Arduino development.
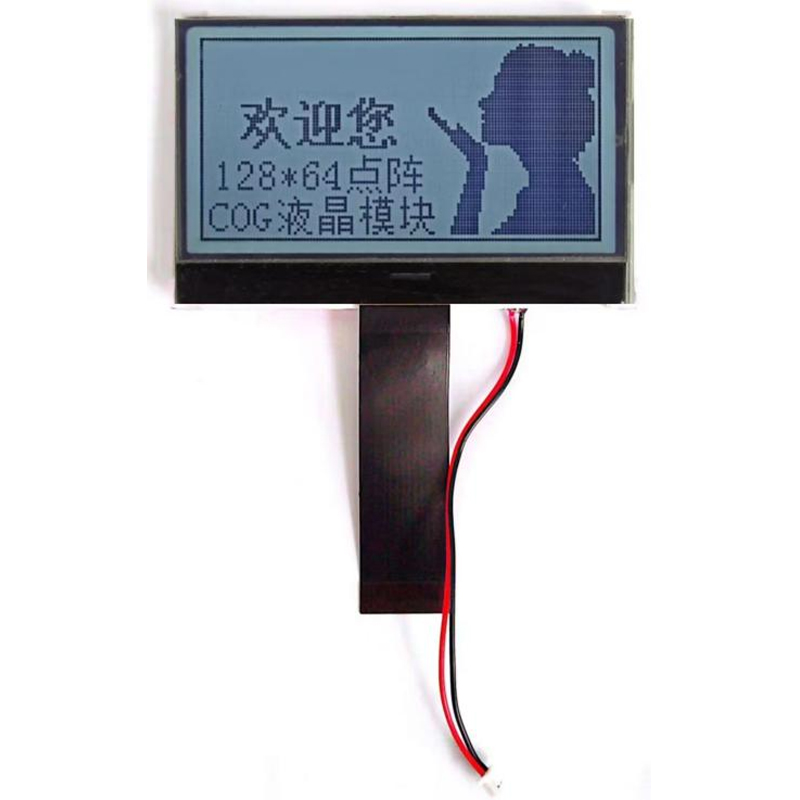
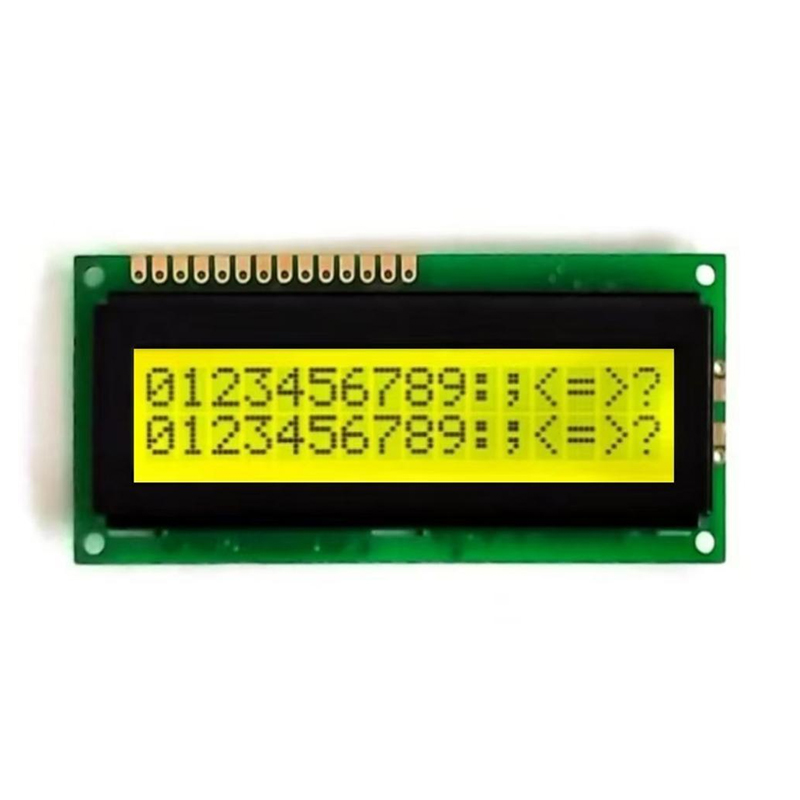
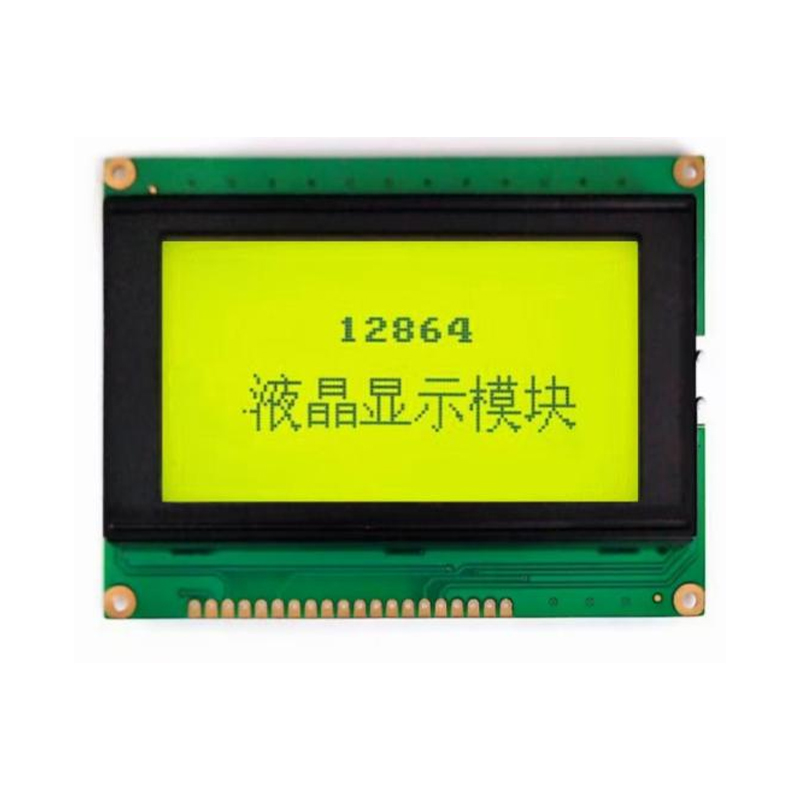
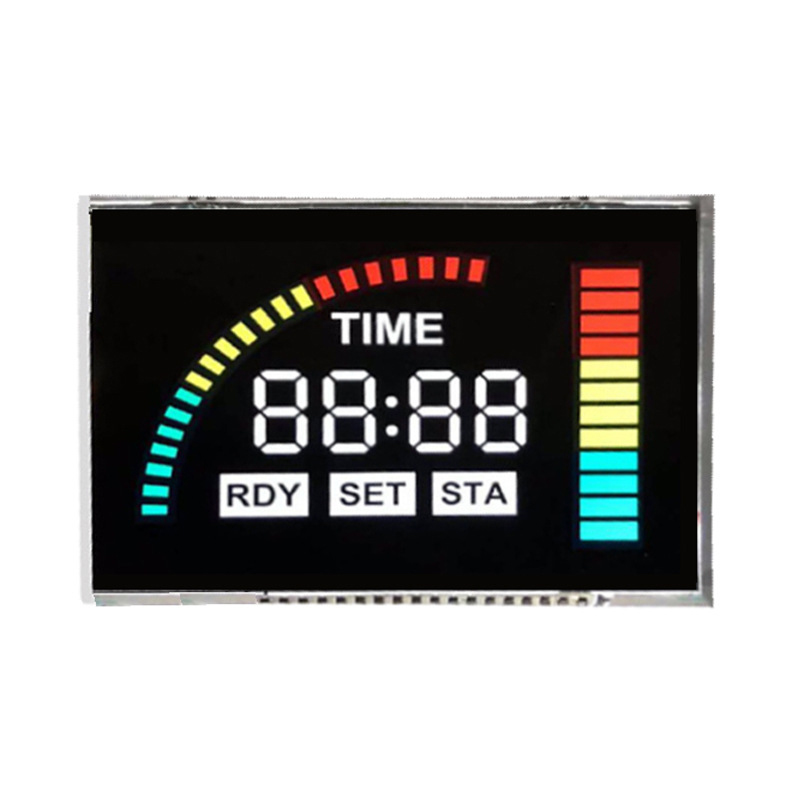
The market offers a variety of Arduino LCD I2C modules. Key considerations include screen size (e.g., 16x2, 20x4 characters), backlight color (blue, white, yellow), and character size. Many modules use the HD44780 controller, offering compatibility across various brands. Before purchasing, verify the module's specifications and ensure compatibility with your Arduino board.
Unlike parallel LCD interfaces, I2C significantly simplifies the wiring process. Typically, only four wires are required: VCC, GND, SDA, and SCL. Connect these wires to the corresponding pins on your Arduino board and the Arduino LCD I2C module. Refer to the module's datasheet for precise pin assignments.

To interact with your Arduino LCD I2C, you'll need a suitable library. The LiquidCrystal_I2C library is a popular and widely used option. You can install it through the Arduino IDE Library Manager.
This example demonstrates displaying Hello, World! on your Arduino LCD I2C:
#include <Wire.h>#include <LiquidCrystal_I2C.h>// Set the LCD address to 0x27 for a 16 chars and 2 line displayLiquidCrystal_I2C lcd(0x27, 16, 2);void setup() { lcd.init(); lcd.backlight(); lcd.print(Hello, World!);}void loop() {}If your Arduino LCD I2C isn't working, check the following:
Beyond basic text display, Arduino LCD I2C modules support various functionalities, including custom characters, scrolling text, and displaying sensor data. Explore the library documentation for more advanced features.
| Feature | Description |
|---|---|
| Custom Characters | Create and display custom symbols beyond standard alphanumeric characters. |
| Scrolling Text | Display text that scrolls across the screen. |
| Sensor Data Display | Integrate sensors and display their readings on the LCD. |
For high-quality LCD displays and related components, consider exploring the offerings at Dalian Eastern Display Co., Ltd. They provide a wide range of options to suit your project needs. Remember to always consult the datasheets provided by the manufacturer for specific details and operational instructions for your chosen Arduino LCD I2C module.
This guide provides a starting point for using Arduino LCD I2C. Further exploration of the library documentation and experimentation will unlock the full potential of this versatile display technology. Happy coding!