Dalian Eastern Display Co., Ltd.
Dalian Eastern Display Co., Ltd.


This guide provides comprehensive troubleshooting steps and solutions for common problems encountered when using Arduino LCD I2C displays, focusing on addressing scenarios where the display appears to exit or stop functioning correctly. We will cover various potential causes, from incorrect wiring and library issues to software glitches and hardware malfunctions. By following these solutions, you'll be able to get your Arduino LCD I2C back up and running smoothly.
The I2C protocol (Inter-Integrated Circuit) is a two-wire serial communication bus commonly used for connecting microcontrollers like Arduino with peripheral devices such as LCD displays. It simplifies wiring compared to other methods, requiring only two data lines (SDA and SCL) plus ground and power. However, proper setup and troubleshooting are crucial. A malfunctioning Arduino LCD I2C often stems from issues with this communication.
Problems with Arduino LCD I2C often arise from incorrect wiring, incompatible libraries, power supply issues, or even faulty hardware components. Identifying the root cause is key to resolving the problem. We'll explore each possibility in detail below.
Double-check that you've correctly connected the SDA, SCL, VCC, and GND pins of your Arduino LCD I2C display to the corresponding pins on your Arduino board. A common mistake is reversing the SDA and SCL lines, leading to communication errors. Carefully refer to your display's datasheet and ensure accurate pin mapping.
Ensure your Arduino and LCD are receiving sufficient power. Insufficient voltage can cause erratic behavior or complete failure. Check your power supply voltage using a multimeter, ensuring it's within the specified operating range for both the Arduino and the Arduino LCD I2C. You might consider using a regulated power supply for more stable performance.
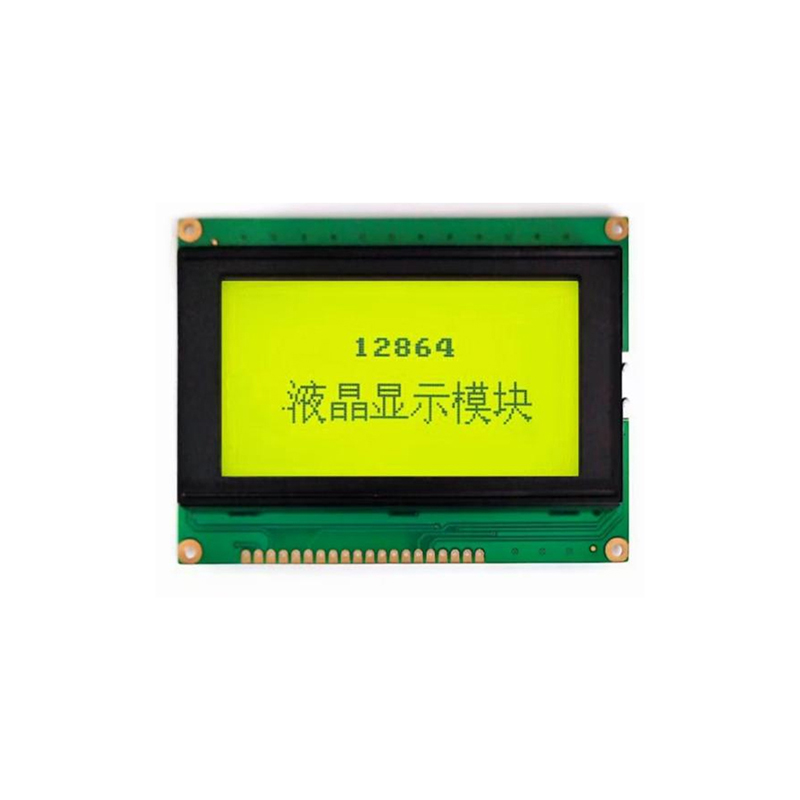
Examine your LCD display carefully for any visible signs of physical damage, such as bent pins, cracks, or loose connections. Even minor physical damage can disrupt communication or functionality. If you see any damage, replacement might be necessary.
Ensure you're using the correct I2C library for your specific LCD model. Different LCD displays may require different libraries. Download the correct library from the manufacturer's website or a reputable source like GitHub. Incorrect libraries will often lead to compilation errors or unpredictable behavior on your Arduino LCD I2C.
Carefully review your Arduino code. Errors in the initialization process, incorrect I2C addresses, or issues with data transmission can prevent the display from functioning. Double-check that you have the correct I2C address for your LCD; if this address is wrong, communication will fail. Many examples are available online; compare your code to a verified example for your specific Arduino LCD I2C model.
Here's a basic example of how to initialize and print text to an Arduino LCD I2C using the LiquidCrystal_I2C library:
#include <Wire.h>#include <LiquidCrystal_I2C.h>LiquidCrystal_I2C lcd(0x27, 16, 2); // Set the LCD address to 0x27 for a 16 chars and 2 line displayvoid setup() { lcd.init(); lcd.backlight(); lcd.print(Hello, world!);}void loop() { // Your code here}Remember to replace `0x27` with your LCD's I2C address if it's different.
For more in-depth diagnosis, consider using a logic analyzer to monitor the SDA and SCL lines. This allows you to visualize the I2C communication signals and identify potential timing or data errors. This is a valuable tool for pinpointing difficult issues related to your Arduino LCD I2C.
To isolate whether the problem lies with the LCD or your Arduino setup, try connecting a different Arduino LCD I2C display. If the new display works correctly, the original LCD is likely faulty. If the problem persists, the issue is more likely within your Arduino's configuration or code.
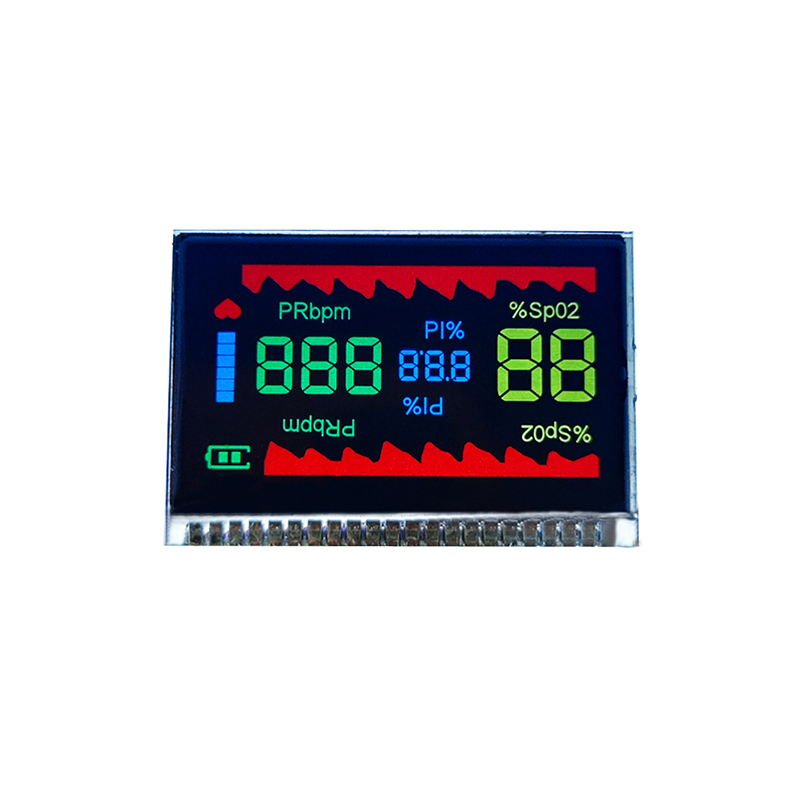
Resolving issues with your Arduino LCD I2C often requires a systematic approach, checking wiring, power supply, software, and the LCD itself. By following the troubleshooting steps outlined above, you should be able to identify and fix the problem, restoring your display’s functionality. Remember to always consult your LCD's datasheet for specific details and technical specifications. For high-quality LCD screens, consider exploring options from reputable suppliers such as Dalian Eastern Display Co., Ltd.