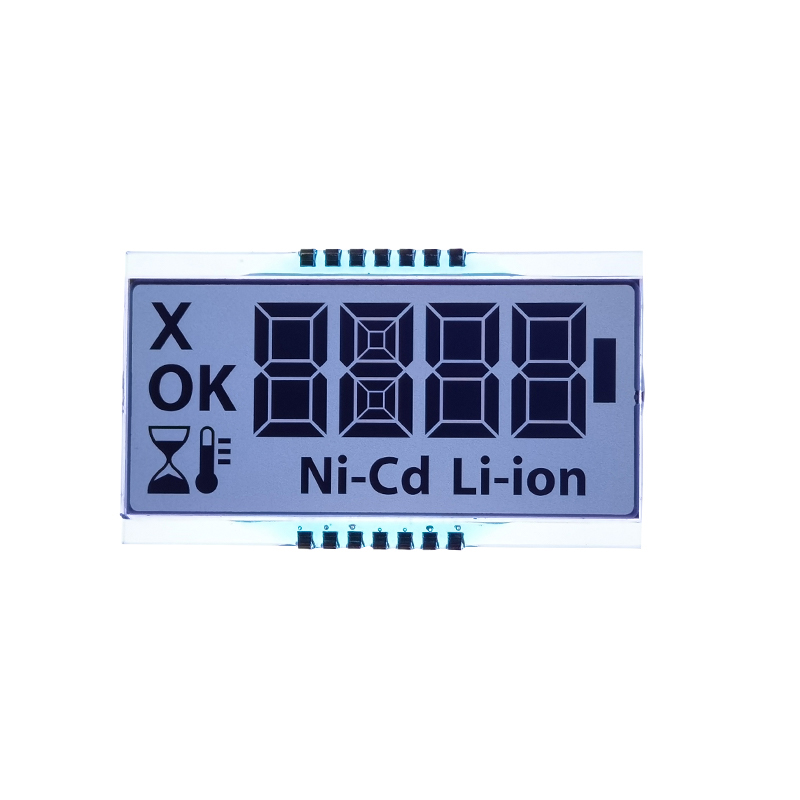
Exiting an Arduino LCD Screen ProgramThis guide provides comprehensive instructions and troubleshooting tips for gracefully exiting Arduino LCD screen programs, covering various scenarios and common issues. We’ll explore different approaches, ensuring your projects run smoothly and avoid unexpected behavior.
Understanding the Need for Proper Exit Handling
When working with
Arduino LCD screens, it’s crucial to understand how to properly exit your programs. Improper exits can lead to unintended consequences, such as screen corruption, unresponsive code, or even damage to the LCD itself. A clean exit ensures that resources are released properly and prevents future complications. Many beginners struggle with this aspect, often leading to frustration and debugging challenges. This guide aims to provide clear, practical solutions for everyone, from novices to experienced Arduino users.
Common Scenarios Requiring an Exit
Several situations might require you to exit your
Arduino LCD screen program. These include: User Input: A button press might trigger an exit command, allowing the user to terminate the program. Timeout: The program might need to exit after a specific duration, possibly to save power or transition to another function. Error Handling: Errors detected during program execution might necessitate an exit to prevent further issues. System Reset: The Arduino might need to be reset to clear the screen and restart the program.
Methods for Exiting an Arduino LCD Screen Program
Different approaches exist for exiting your
Arduino LCD screen program depending on your specific needs.
1. Using the `delay()` Function for a Simple Exit
For very simple programs, a `delay()` function combined with a power-down might suffice. However, this isn't ideal for more complex applications or applications requiring responsiveness.cppvoid setup() { // Initialize LCD // ... your code ...}void loop() { // Display information on the LCD // ... your code ... delay(10000); // Wait for 10 seconds // Optional: Add power-saving code here if needed}
2. Implementing Button-Triggered Exits
This allows users to manually control the exit process. This offers a more user-friendly approach.cppconst int buttonPin = 2; // Button connected to pin 2bool buttonPressed = false;void setup() { // Initialize LCD and button pin pinMode(buttonPin, INPUT_PULLUP); // Use internal pull-up resistor // ... your code ...}void loop() { // Display information on the LCD // ... your code ... if (digitalRead(buttonPin) == LOW) { // Check button state if (!buttonPressed) { // Debounce button buttonPressed = true; // Perform exit operations, like clearing the LCD // ... your code ... while(1); // Stop the loop – effectively exiting } } else { buttonPressed = false; }}
3. Utilizing Serial Communication for Remote Control
For more advanced scenarios, serial communication offers the flexibility to control the exit process remotely, allowing for dynamic program termination. This method is powerful and flexible, making it suitable for many advanced applications.cppvoid setup() { Serial.begin(9600); // Initialize LCD // ... your code ...}void loop() { // Display information on the LCD // ... your code ... if (Serial.available() > 0) { char command = Serial.read(); if (command == 'x') { // Perform exit operations // ... your code ... while(1); // Exit the loop } }}
Troubleshooting Common Issues
When dealing with
Arduino LCD screen exit problems, it's helpful to check for these potential sources of error: Incorrect Wiring: Double-check all connections between your Arduino, LCD, and any buttons. Power Issues: Ensure adequate power is supplied to the Arduino and LCD. Software Bugs: Examine your code thoroughly for any logical errors that might prevent proper exit. Library Conflicts: Make sure you are using compatible libraries.
| Method | Advantages | Disadvantages |
delay() | Simple, easy to implement | Blocking, inflexible |
| Button Input | User-friendly, interactive | Requires additional hardware |
| Serial Communication | Flexible, remote control | More complex to implement |
Remember to always clear the LCD screen before exiting, to prevent residual data from displaying. For more information on LCD screens and related components, consider exploring resources from
Dalian Eastern Display Co., Ltd., a leading provider of high-quality displays. Choosing the right method depends entirely on your application's specific requirements. This guide provides a foundation for understanding and implementing these various approaches for effective
Arduino LCD screen exit management.


