Dalian Eastern Display Co., Ltd.
Dalian Eastern Display Co., Ltd.


Arduino LCD Shield: A Comprehensive GuideThis guide provides a comprehensive overview of Arduino LCD shields, covering their functionalities, selection criteria, and practical applications. Learn how to choose the right shield for your project and master its integration with your Arduino board. We'll explore various models, troubleshooting tips, and example projects.
An Arduino LCD shield is an add-on module that simplifies the process of connecting and controlling a Liquid Crystal Display (LCD) with your Arduino microcontroller. These shields typically provide a simple interface, often requiring minimal wiring, allowing you to focus on your project's core functionality rather than low-level LCD control. The displays themselves range in size and features, from simple 16x2 character displays to larger color LCDs with touch capabilities.
Selecting the appropriate Arduino LCD shield depends heavily on your project's specific needs. Key factors to consider include:
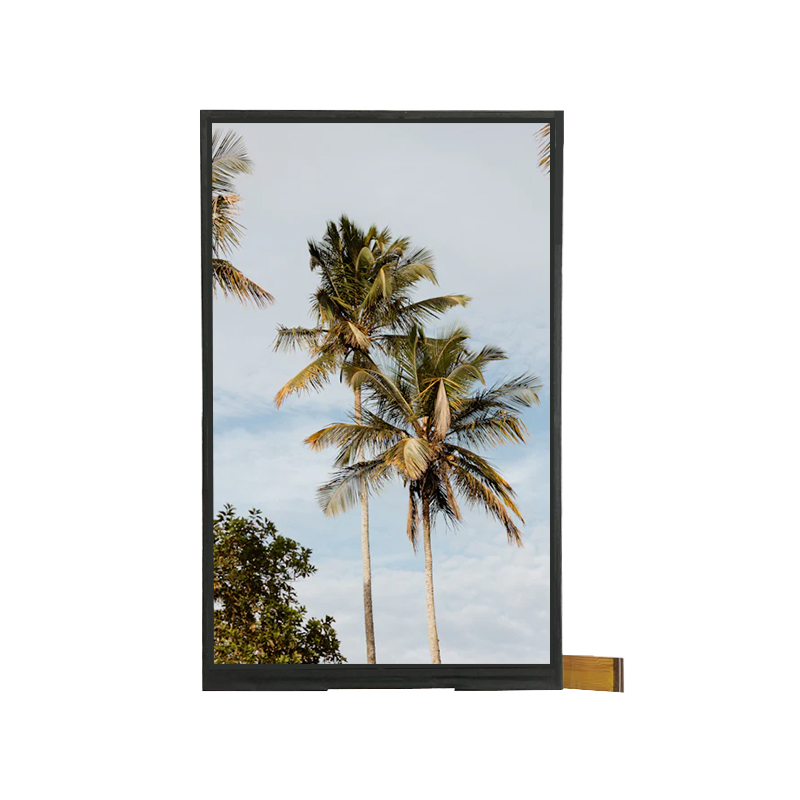
Consider the amount of information you need to display. A small 16x2 character LCD is ideal for simple displays of text or sensor readings, while larger LCDs with higher resolution are better suited for complex interfaces or graphical displays. Some shields even offer color displays for enhanced visual appeal.
Most Arduino LCD shields utilize the I2C or SPI communication protocols. I2C is generally preferred for its simplicity and fewer required pins, while SPI offers higher speed for more demanding applications. Understand your Arduino's capabilities and choose a shield that matches.
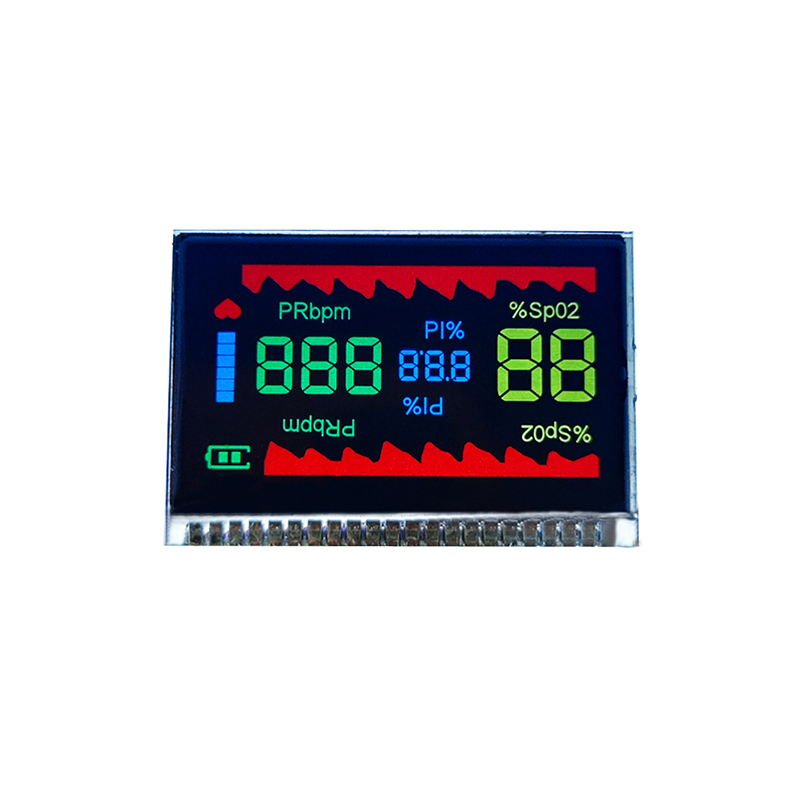
The backlight is essential for visibility, especially in low-light conditions. Common backlight options include white, blue, or even color backlights on certain shields. Choose a backlight that suits your aesthetic and environment.
Some advanced Arduino LCD shields include additional features like touchscreens, buttons, or even integrated SD card slots for data logging or image display. Determine if these extra features are beneficial for your specific needs.
The market offers a wide variety of Arduino LCD shields. While specific models come and go, some consistently well-regarded options include those from well-known electronics distributors. Research thoroughly to find one compatible with your Arduino board and project requirements. Always check user reviews and specifications before purchasing.
Once you have your chosen Arduino LCD shield, connecting it to your Arduino is usually straightforward. Most shields are designed for simple plug-and-play functionality. Consult the specific datasheet of your shield for pin assignments and wiring diagrams.
Example Code (Illustrative - adapt based on your chosen shield and library):
#include LiquidCrystal_I2C lcd(0x27, 16, 2); // Set the LCD address to 0x27 for a 16 chars and 2 line displayvoid setup() { lcd.init(); lcd.backlight(); lcd.print(Hello, world!);}void loop() { // Your code here to interact with the LCD} If your Arduino LCD shield isn't working as expected, common issues include incorrect wiring, power supply problems, and software conflicts. Check your connections meticulously, ensure you have sufficient power for both the Arduino and the LCD, and verify that you're using the correct libraries and code. Online forums and communities are excellent resources for troubleshooting specific problems.
Beyond basic text displays, Arduino LCD shields open doors to a range of advanced applications, including:
Arduino LCD shields are versatile tools that simplify the integration of LCDs into your Arduino projects. By carefully considering the factors discussed above and choosing the right shield, you can significantly enhance the functionality and user experience of your creations. Remember to consult the documentation for your specific shield model for detailed instructions and troubleshooting information.
For high-quality LCD displays to enhance your projects, consider exploring the offerings of Dalian Eastern Display Co., Ltd.