Dalian Eastern Display Co., Ltd.
Dalian Eastern Display Co., Ltd.


This guide provides comprehensive instructions on how to properly exit an Arduino program controlling an LCD shield. We'll cover different methods, common pitfalls, and best practices for ensuring a clean and reliable termination of your Arduino LCD shield code.
Simply powering down your Arduino board isn't always sufficient for a clean shutdown, especially when dealing with external devices like an Arduino LCD shield. Improperly exiting your program can lead to data corruption, unexpected behavior on subsequent runs, or even damage to your hardware. This guide will help you understand how to correctly handle exiting your Arduino LCD shield exit process.
The Arduino's `loop()` function runs continuously until the board is powered off. While convenient for many applications, it lacks a mechanism for graceful program termination. For applications with an Arduino LCD shield requiring a specific exit sequence (e.g., clearing the screen, saving data), relying solely on `loop()` is inadequate. A dedicated exit function is necessary.
There are several ways to handle exiting your Arduino LCD shield exit program:
The most common method involves incorporating a button or sensor into your circuit. When the button is pressed or the sensor detects a specific condition, the program can execute an exit function.
void setup() { // Initialize LCD and button pin}void loop() { if (digitalRead(buttonPin) == HIGH) { exitProgram(); // Call the exit function } // Your main LCD control code here}void exitProgram() { lcd.clear(); // Clear the LCD screen lcd.print(Exiting...); delay(1000); // Add a delay for visual feedback // Perform any other necessary cleanup tasks}For temporary displays or timed processes, a timer can be used to trigger the exit. After a set duration, the program terminates automatically.
unsigned long startTime = 0;const unsigned long displayDuration = 5000; // Display for 5 secondsvoid loop() { if (millis() - startTime > displayDuration) { exitProgram(); } // Your main LCD display code here}You can use serial communication to send commands from a computer to control the program's exit. This offers remote control capabilities, useful for debugging or specialized applications.
Regardless of the chosen method, follow these best practices:
lcd.clear(). This avoids leaving residual data on the display.If you encounter problems during the exit process, check the following:
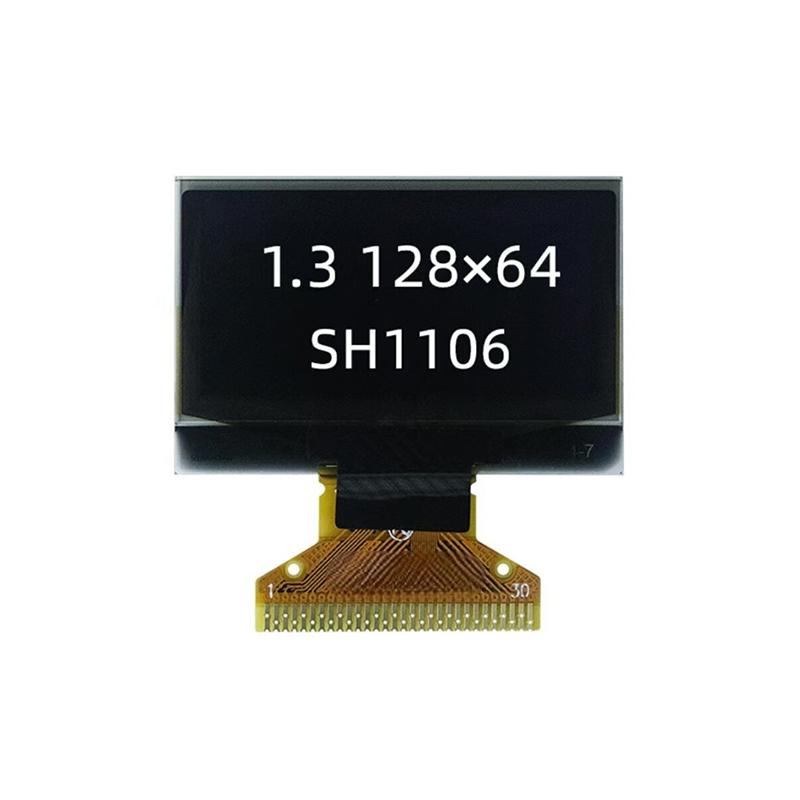
For a wider selection of high-quality LCD screens, consider exploring the options available at Dalian Eastern Display Co., Ltd. They offer a range of displays perfect for various Arduino projects.
| Method | Advantages | Disadvantages |
|---|---|---|
| Button/Sensor | Simple, reliable, user-controlled | Requires additional hardware |
| Timer | Automatic, no user interaction needed | Limited flexibility, not suitable for all applications |
| Serial Communication | Remote control, debugging capability | More complex to implement |
Remember always to prioritize clean and reliable program termination when working with an Arduino LCD shield to ensure optimal performance and avoid potential hardware issues.