Dalian Eastern Display Co., Ltd.
Dalian Eastern Display Co., Ltd.


This comprehensive guide helps you navigate the world of Arduino LCD shields, covering everything from choosing the right display to troubleshooting common issues. We'll explore different types of shields, their functionalities, and help you select the perfect one for your specific needs. Learn how to seamlessly integrate an LCD screen into your Arduino projects and unlock a new level of interactive capabilities.
An Arduino LCD shield is an add-on board that simplifies the process of connecting a Liquid Crystal Display (LCD) to your Arduino microcontroller. These shields provide pre-wired connections and easy-to-use libraries, eliminating the need for complex wiring and programming. They allow you to display text, numbers, and even custom graphics on the LCD screen, enhancing the user interaction and data visualization aspects of your projects.
The market offers a variety of Arduino LCD shields with different features and specifications. Common types include:
When selecting an Arduino LCD shield, consider these key features:
Before selecting an Arduino LCD shield, clearly define your project's requirements. What information needs to be displayed? What is the available space? What is your budget?
Let's compare a few popular options. Note that specific models and features change frequently, so always refer to the manufacturer's specifications.
| Feature | Shield A | Shield B |
|---|---|---|
| Display Size | 16x2 | 20x4 |
| Backlight | White LED | Blue LED |
| Interface | I2C | SPI |
| Price | $5 | $7 |
Note: Shield A and Shield B are example names and do not represent specific products. Always research current market offerings before purchasing.
Consult the specific instructions and diagrams provided with your chosen Arduino LCD shield. Most shields feature clear markings and straightforward connection methods.
Most Arduino LCD shields come with accompanying libraries that simplify the programming process. These libraries provide functions for controlling the LCD and displaying text and data.
The following is a basic example of Arduino code to display Hello, World! on a 16x2 LCD screen using the LiquidCrystal library. Remember to install the appropriate library for your specific shield:
#include LiquidCrystal lcd(12, 11, 5, 4, 3, 2);void setup() { lcd.begin(16, 2); lcd.print(Hello, World!);}void loop() {} If you encounter issues, check your wiring, power supply, and ensure you've installed and included the correct libraries. Consult online forums and documentation for further assistance.
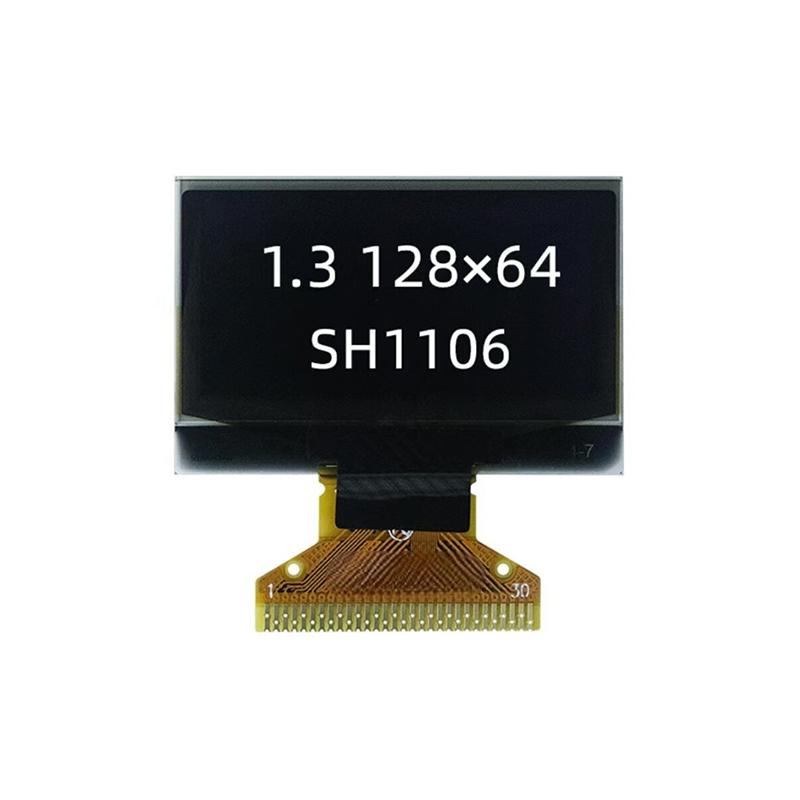
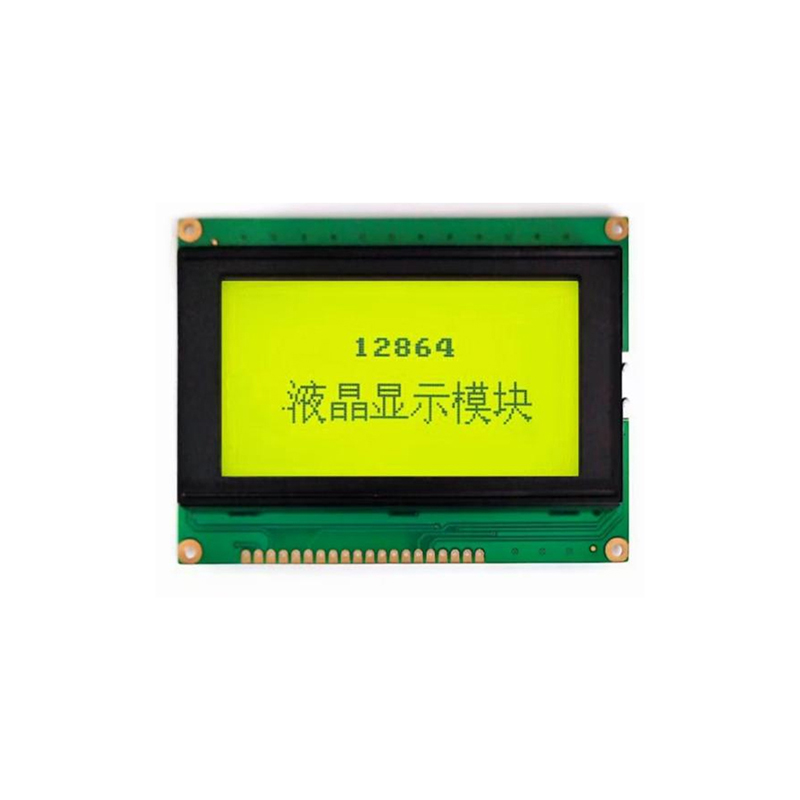
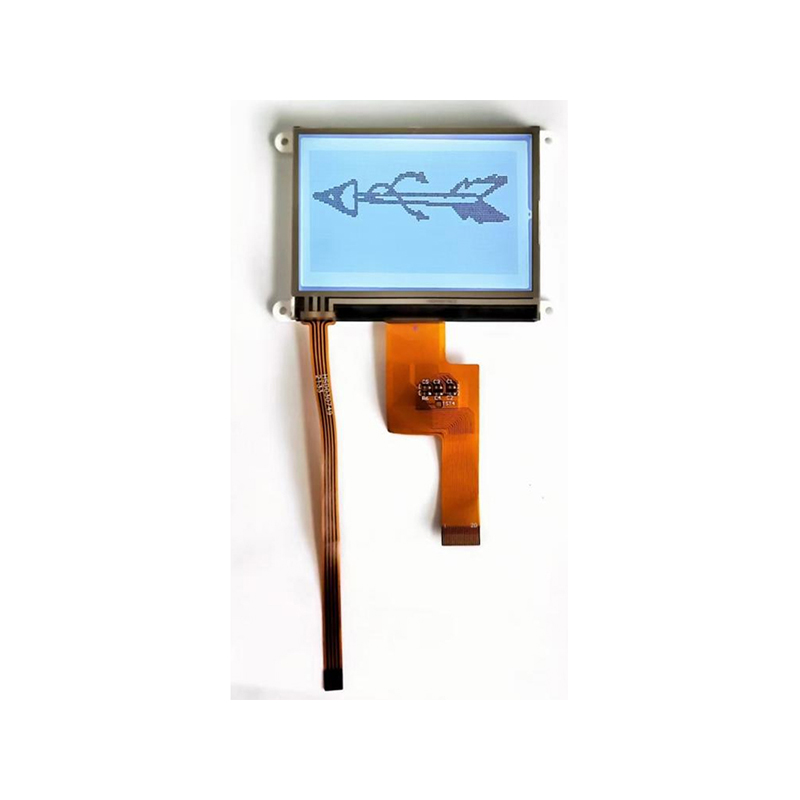
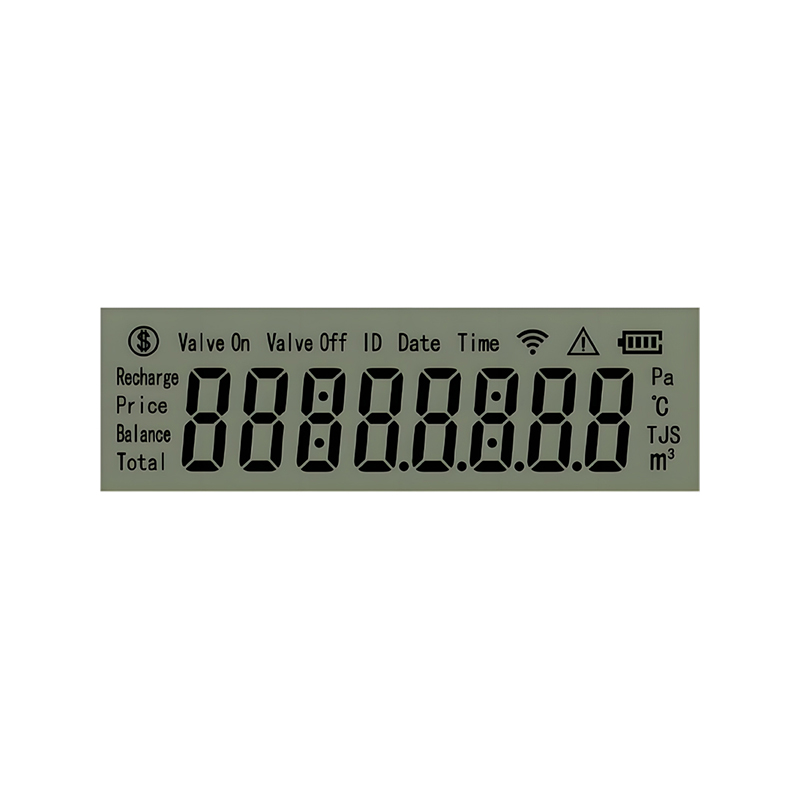
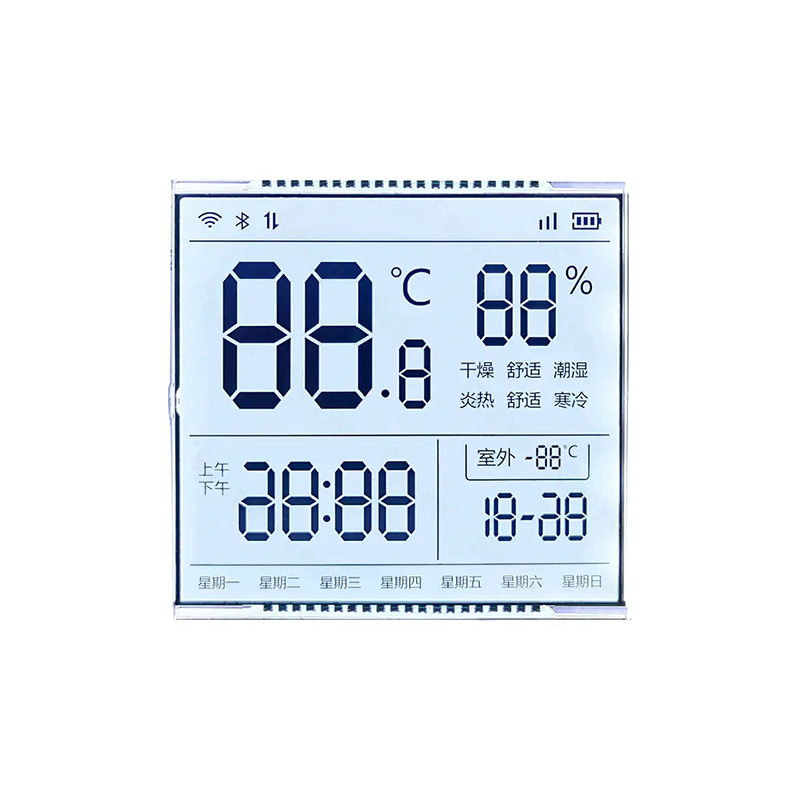
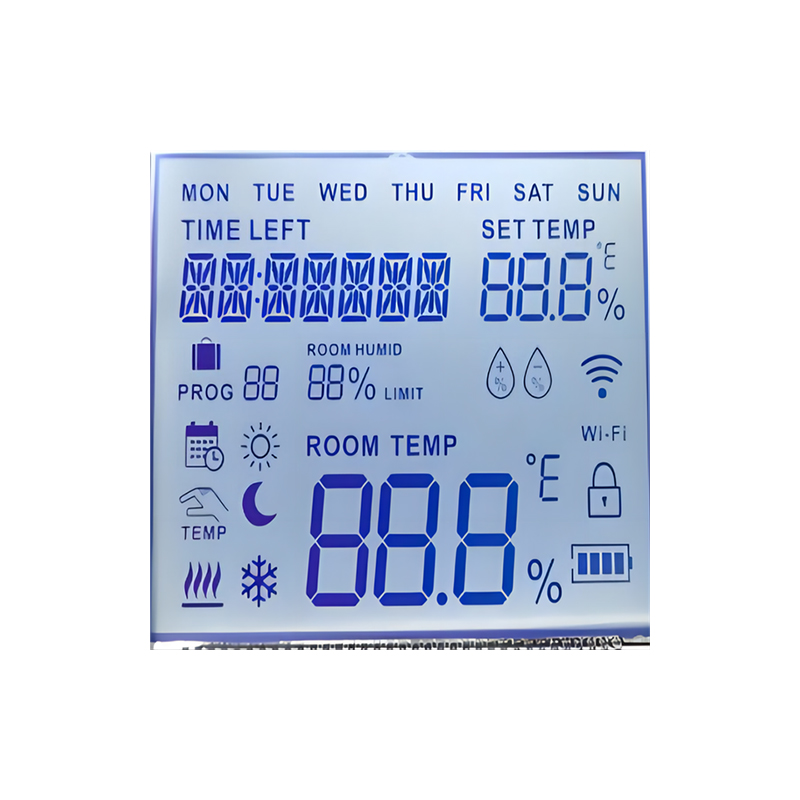
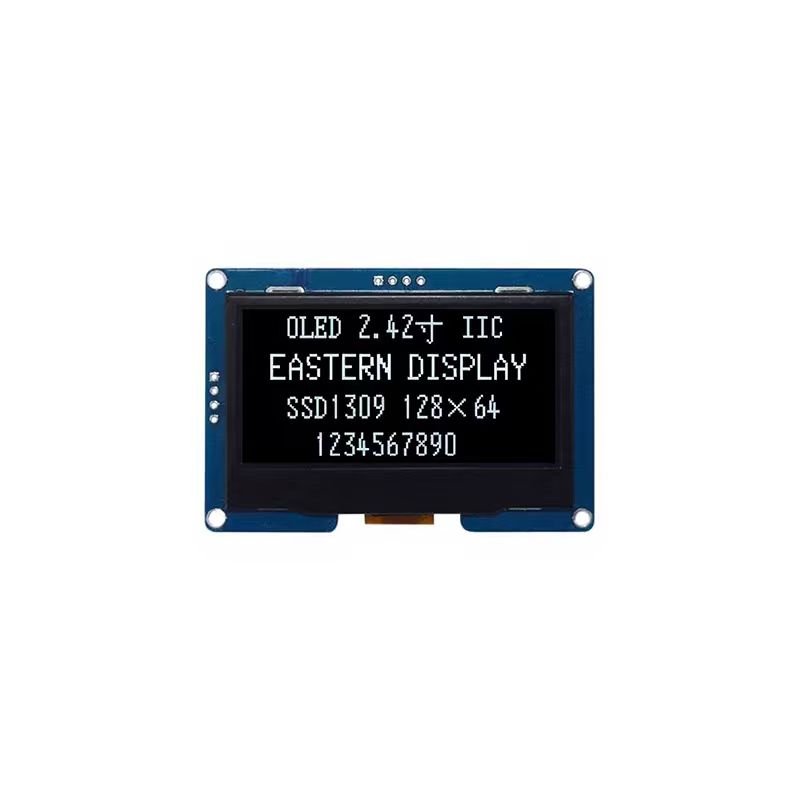
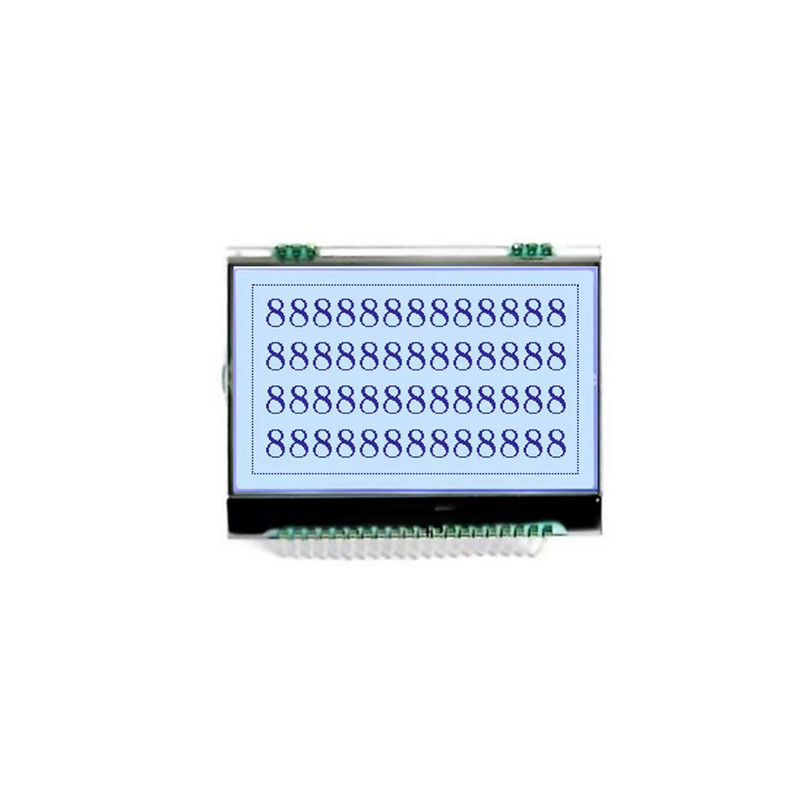
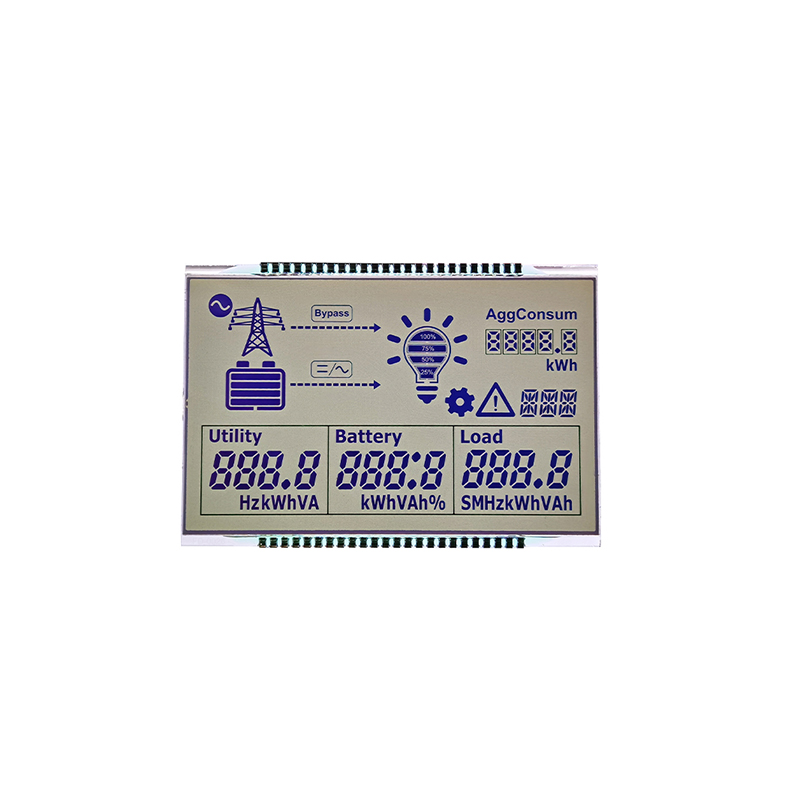
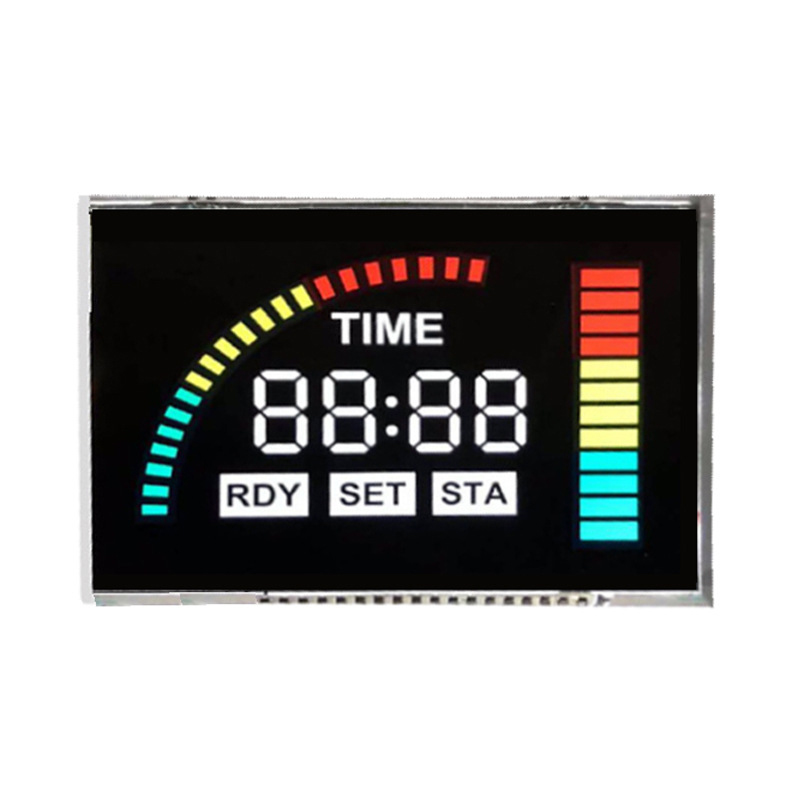
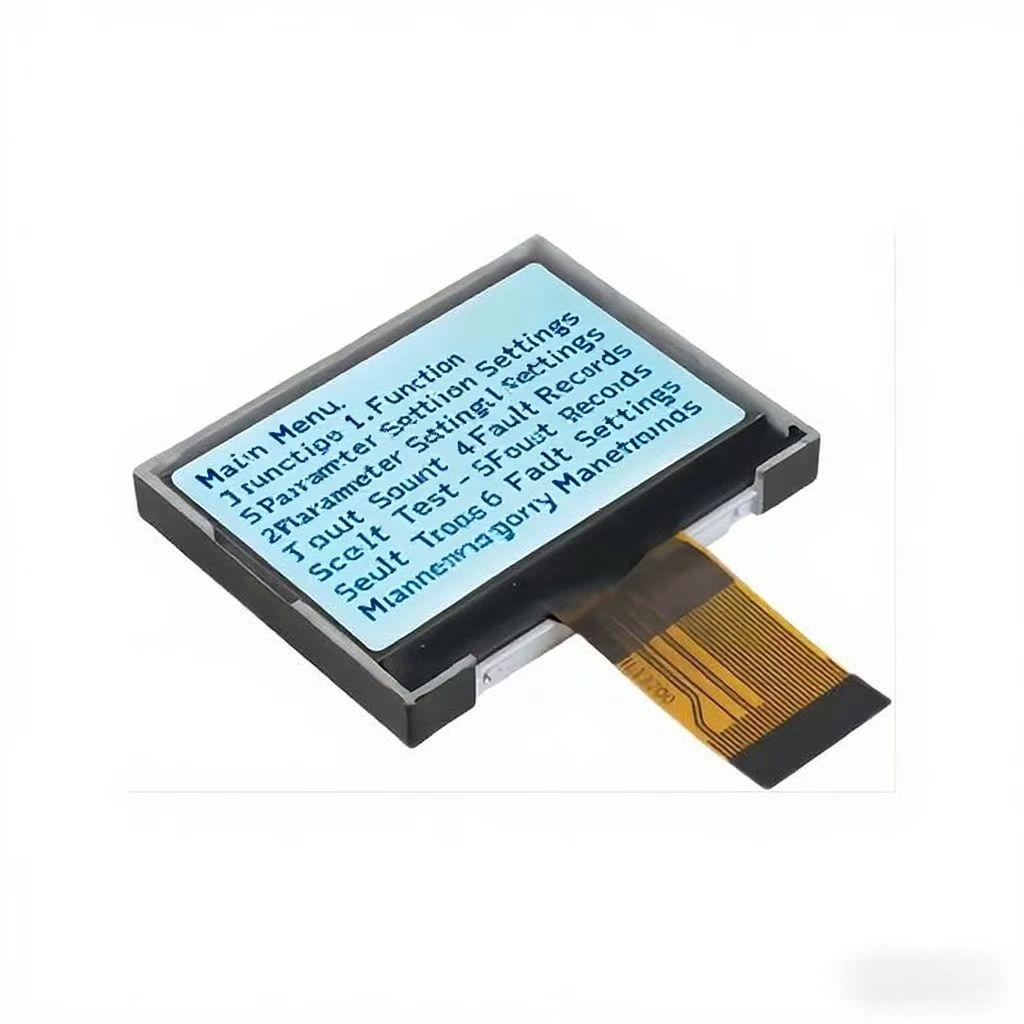
For high-quality LCD screens and modules, consider exploring the offerings of Dalian Eastern Display Co., Ltd. They provide a wide selection of displays for various applications.
This guide provides a starting point for working with Arduino LCD shields. Experiment, learn from your experiences, and unleash the creative potential of interactive displays in your Arduino projects.