This guide provides a comprehensive overview of the Arduino Nano SPI interface, covering its functionality, configuration, practical applications, and potential challenges. Learn how to effectively utilize SPI communication for faster data transfer rates between your Arduino Nano and various peripherals.
SPI (Serial Peripheral Interface) is a synchronous, full-duplex communication bus used for connecting microcontrollers like the Arduino Nano to various peripherals such as sensors, displays, and memory chips. Unlike I2C, SPI doesn't require an address byte for each transmission, leading to higher data transfer speeds. This speed advantage makes it ideal for applications demanding rapid data exchange.
The Arduino Nano's SPI communication involves four main lines: MOSI (Master Out Slave In), MISO (Master In Slave Out), SCK (Serial Clock), and SS (Slave Select). MOSI transmits data from the master (Arduino Nano) to the slave, while MISO transmits data from the slave to the master. SCK synchronizes data transfer, and SS enables individual slave devices.
The Arduino Nano's SPI functionality is readily accessible through the built-in SPI library. No additional libraries are typically needed for basic SPI communication. Simply include the SPI.h library in your code.
The Arduino Nano's SPI pins are typically hardwired. However, you might need to adjust the SS pin depending on your chosen slave device. The following code snippet demonstrates a basic initialization:
#include <SPI.h>void setup() { Serial.begin(9600); SPI.begin(); // Initialize SPI communication pinMode(10, OUTPUT); // Set SS pin as output (adjust as needed) digitalWrite(10, HIGH); // Deselect the slave}void loop() { //Your SPI communication code here}The SPI interface is commonly used to connect SD cards to the Arduino Nano. Libraries like the SD library simplify this process. Ensure your SD card module uses the standard SPI pins.
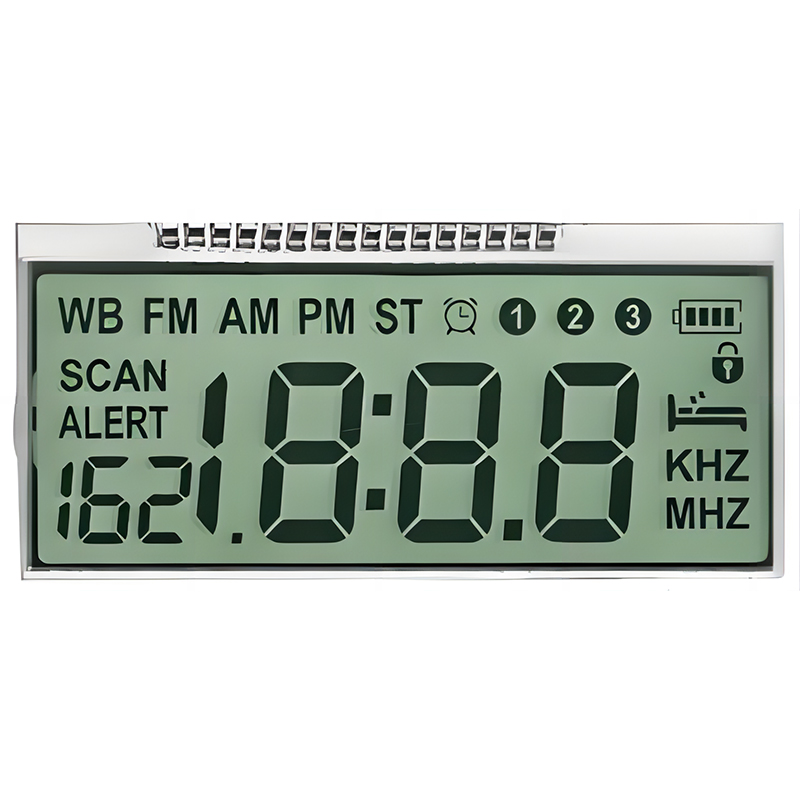
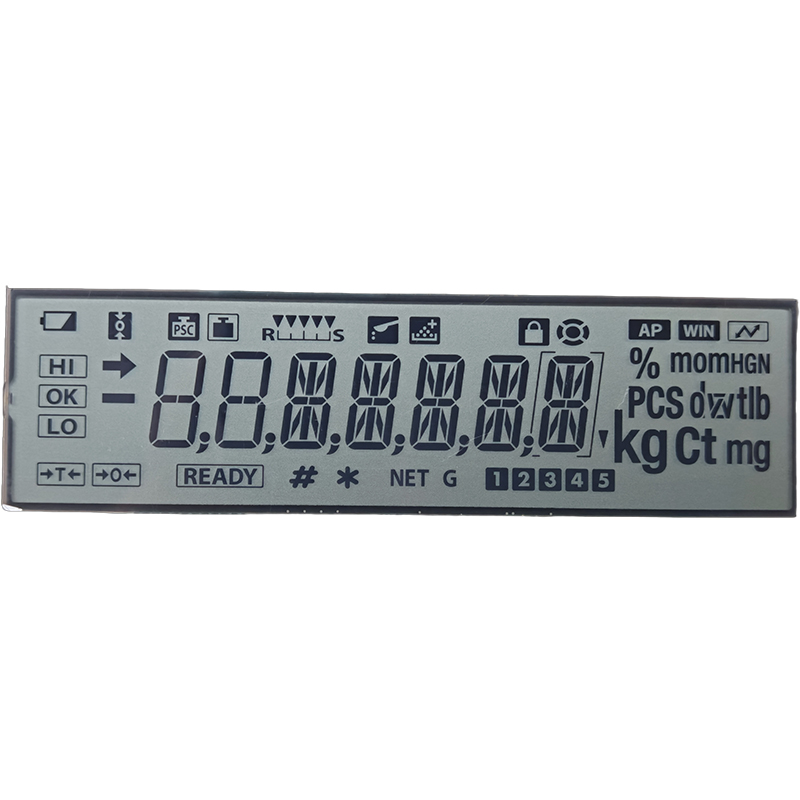
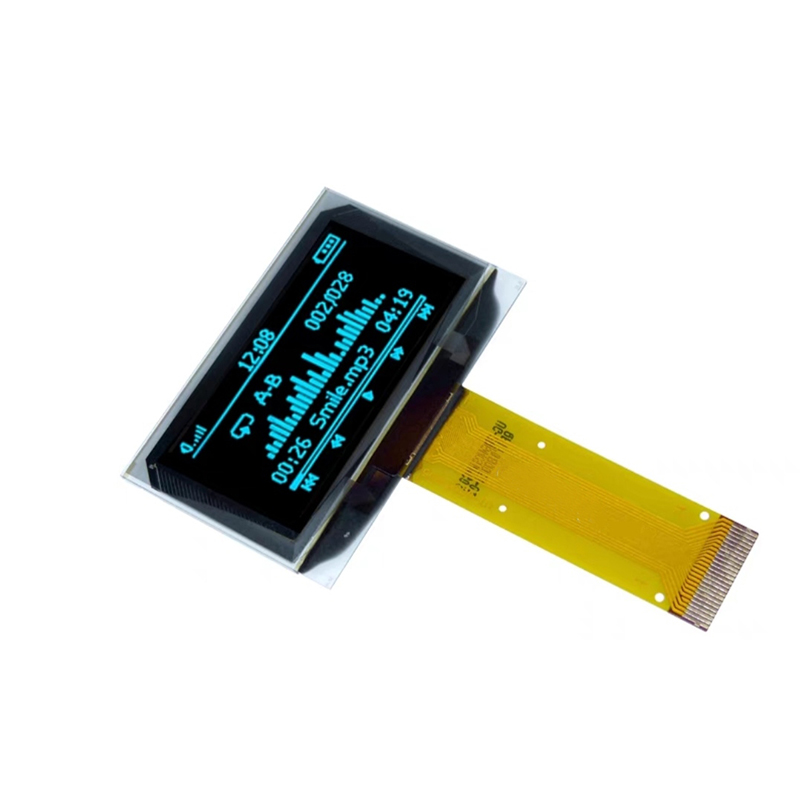
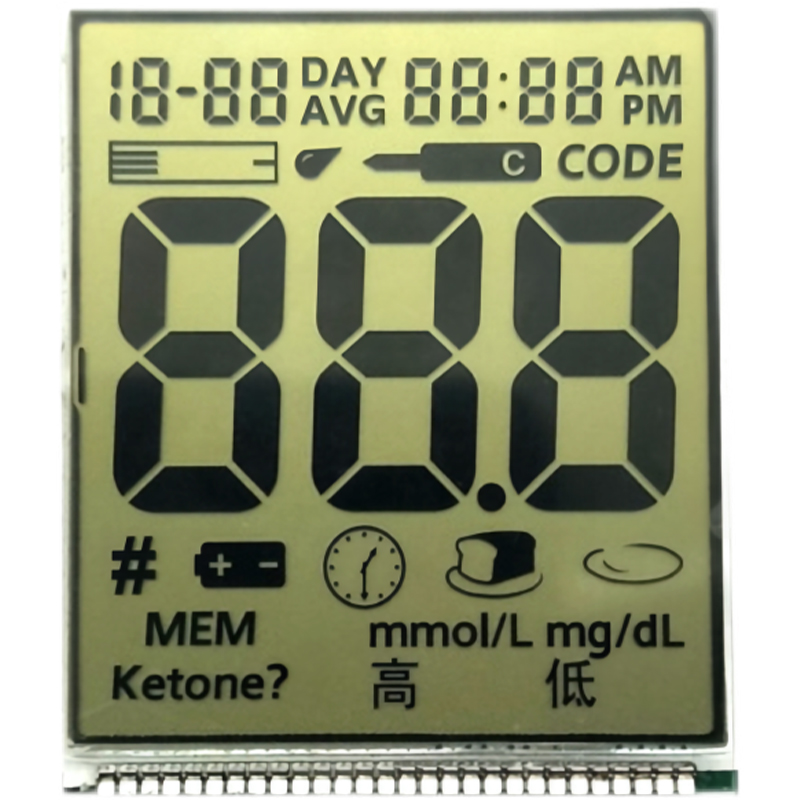
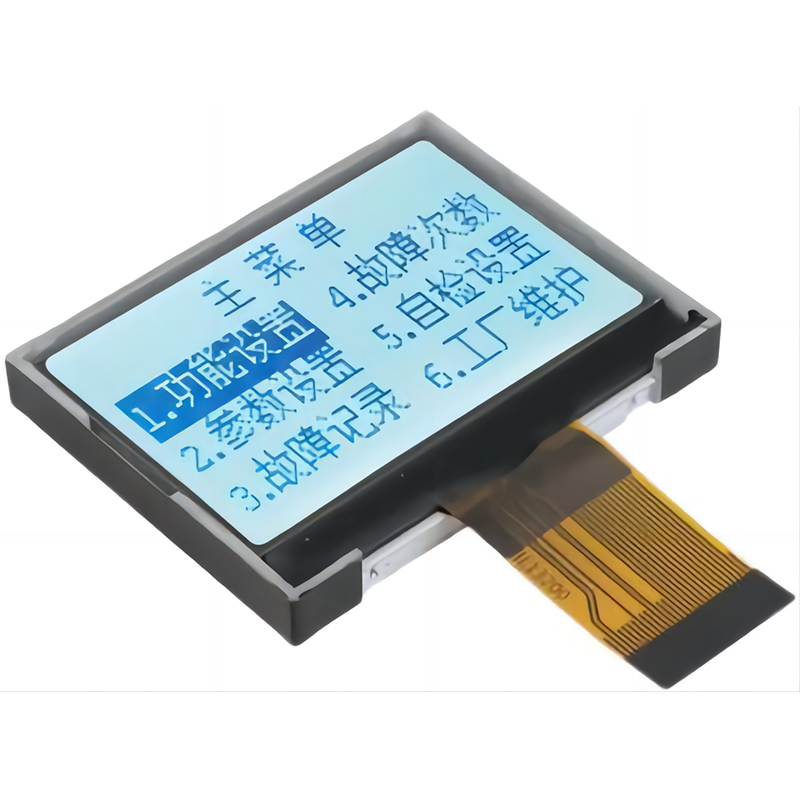
Many displays, particularly those with higher resolutions, leverage the SPI interface for faster data transfer, enabling smoother animations and faster updates. Specific library requirements will vary depending on the display model. For example, using the Adafruit_GFX library may be required for certain displays.
Various sensors, data converters, and other peripherals can utilize the SPI interface. Always consult the specific datasheet of your peripheral for pin connections and communication protocols.
Problems such as no data transfer or incorrect data often stem from incorrect wiring, improper initialization, or clock speed mismatches. Double-check your connections and ensure the slave device's clock speed settings are compatible with your Arduino Nano configuration.
Using the Serial Monitor to print debug information can significantly aid in identifying issues. Print the status of SPI registers and data received to troubleshoot communication problems.
The Arduino Nano's SPI clock speed is configurable. Optimizing this speed can significantly impact performance. However, increasing speed too much might lead to instability depending on the peripheral device.
| Peripheral | Typical SPI Application | Speed Considerations |
|---|---|---|
| SD Card | Data logging, file storage | Moderate speed; adjust according to SD card specifications. |
| LCD Display | Image display, graphics | Higher speed for smoother visuals; consider limitations of display. |
| Sensor (e.g., accelerometer) | Data acquisition | Moderate to high speed depending on data rate requirements. |
Remember to consult the datasheets of your chosen peripherals for detailed specifications and recommended configurations. This comprehensive guide provides a solid foundation for working with the Arduino Nano SPI interface. For high-quality LCD screens to complement your projects, consider exploring the possibilities offered by Dalian Eastern Display Co., Ltd. – a leading provider of advanced display solutions.
Further resources on SPI can be found on the Arduino website.

