Dalian Eastern Display Co., Ltd.
Dalian Eastern Display Co., Ltd.


Integrating an OLED display into your Arduino projects adds a sophisticated touch, allowing for clear and visually appealing data presentation. This guide focuses on using Arduino OLED displays with I2C, a convenient communication protocol that simplifies the wiring and programming process. We'll explore the advantages of I2C, delve into the setup procedure, provide practical coding examples, and troubleshoot common issues. Whether you're a beginner or an experienced Arduino user, this guide will equip you with the knowledge to successfully utilize Arduino OLED displays with I2C in your next project.
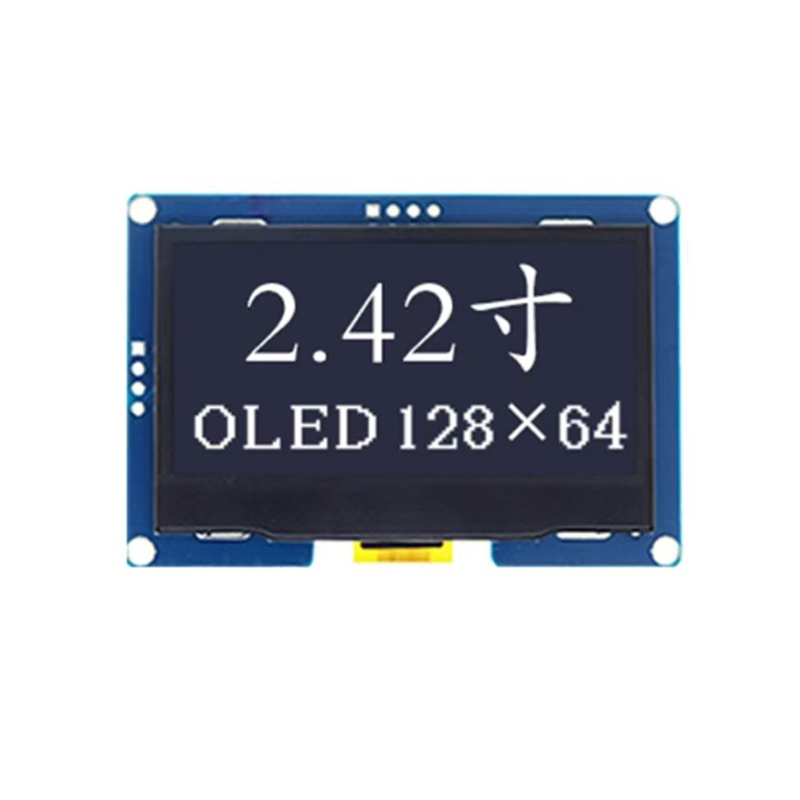
The market offers a variety of Arduino OLED displays with I2C. Factors to consider include display size (e.g., 0.96, 1.3, 2.0), resolution, color (monochrome or color), and the specific I2C address. Many displays use the SH1106 or SSD1306 driver chips, which are well-supported by the Arduino community. Ensure you choose a display compatible with your Arduino board's I2C capabilities. You may find many suitable options at reputable electronics suppliers like Dalian Eastern Display Co., Ltd. for high-quality LCD and OLED displays tailored for various applications.
Connecting an Arduino OLED display with I2C is relatively straightforward. Typically, you only need to connect four wires: VCC (power), GND (ground), SDA (data), and SCL (clock). Refer to your specific display's datasheet for the exact pin assignments. It's crucial to double-check the connections before powering up to prevent damage to your components. Incorrect wiring can lead to malfunction or even irreversible damage.
| Arduino Pin | OLED Display Pin |
|---|---|
| 5V | VCC |
| GND | GND |
| A4 (SDA) | SDA |
| A5 (SCL) | SCL |
Numerous libraries simplify interacting with Arduino OLED displays with I2C. The Adafruit_SSD1306 library is a popular choice, offering a user-friendly interface for controlling various OLED display models. Below is a basic example demonstrating how to display text on the screen:
#include <Wire.h>#include <Adafruit_GFX.h>#include <Adafruit_SSD1306.h>#define SCREEN_WIDTH 128 // OLED display width, in pixels#define SCREEN_HEIGHT 64 // OLED display height, in pixels#define OLED_RESET 4 // Reset pin # (or -1 if sharing Arduino reset pin)Adafruit_SSD1306 display(SCREEN_WIDTH, SCREEN_HEIGHT, &Wire, OLED_RESET);void setup() { Serial.begin(9600); display.begin(SSD1306_SWITCHCAPVCC, 0x3C); // Initialize with the I2C address display.clearDisplay(); display.setTextSize(2); display.setTextColor(WHITE); display.setCursor(0, 0); display.println(Hello, OLED!); display.display();}void loop() { // Add your code here to update the display}If your Arduino OLED display with I2C isn't working, check the following:
Beyond basic text display, Arduino OLED displays with I2C support more advanced features such as:
Exploring these features will significantly enhance your project's capabilities.
Remember to consult the datasheets for your specific Arduino OLED display with I2C and the chosen library for detailed instructions and advanced functionalities. This guide offers a starting point; further experimentation and exploration will unlock the full potential of this versatile display technology.