Dalian Eastern Display Co., Ltd.
Dalian Eastern Display Co., Ltd.


This guide provides comprehensive troubleshooting steps for common issues encountered when using an Arduino OLED I2C display, specifically focusing on addressing situations where the display appears to exit or malfunction. We'll cover potential hardware and software problems, offering practical solutions and code examples to help you get your display working correctly. Learn how to diagnose problems, fix common errors, and optimize your Arduino OLED I2C display setup for reliable performance.
I2C (Inter-Integrated Circuit) is a two-wire serial communication protocol commonly used for connecting microcontrollers like the Arduino to peripheral devices such as OLED displays. It simplifies wiring by using just two lines: SDA (Serial Data) and SCL (Serial Clock). Understanding the basics of I2C is crucial for debugging Arduino OLED I2C display issues.
Problems with I2C communication can manifest in various ways, including a blank display, garbled text, or the display simply not responding. These can stem from incorrect wiring, software errors, or even hardware faults within the display itself. Let's explore these possibilities.
The first step in troubleshooting any Arduino OLED I2C display problem is verifying your wiring. Ensure that the SDA, SCL, VCC (power), and GND (ground) pins are correctly connected between the Arduino and the OLED display. Double-check for loose connections, shorts, or incorrect pin assignments. A poorly connected ground can often lead to unpredictable behavior. Carefully examine the wiring diagram provided with your specific Arduino OLED I2C display.
Insufficient power can prevent your Arduino OLED I2C display from functioning correctly. The display needs sufficient voltage (usually 3.3V or 5V, depending on the model) and adequate current. Verify your power supply is capable of providing enough current, and check the voltage using a multimeter. Using a regulated power supply is recommended for stable performance.
Sometimes, the issue might lie within the Arduino OLED I2C display itself. Visually inspect the display for any physical damage, such as bent pins or cracks. If you have a spare OLED display, try swapping it out to isolate whether the problem is with the display or the Arduino/wiring.
Each I2C device has a unique address. If your sketch uses the incorrect address for your Arduino OLED I2C display, it won't communicate correctly. Consult the datasheet for your specific display model to confirm its I2C address. Many common displays use addresses like 0x3C or 0x3D. Incorrect addressing is a frequent cause of exit or malfunction issues.
Carefully review your Arduino code. Look for any errors in the I2C initialization, data transmission, or display commands. Ensure you're using the appropriate library for your Arduino OLED I2C display (e.g., Adafruit_SSD1306). Common mistakes include incorrect library inclusion, incorrect function calls, or improper data formatting. The following table compares two popular libraries:
| Feature | Adafruit_SSD1306 | U8g2 |
|---|---|---|
| Ease of Use | Generally Easier | Steeper Learning Curve |
| Display Compatibility | Wide Range | Supports a Variety of Displays |
| Community Support | Extensive | Large and Active |
This example demonstrates basic initialization and text display using the Adafruit_SSD1306 library. Remember to install the library via the Arduino IDE Library Manager. Replace `0x3C` with your display's I2C address if necessary.
#include <Wire.h>#include <Adafruit_GFX.h>#include <Adafruit_SSD1306.h>#define SCREEN_WIDTH 128 // OLED display width, in pixels#define SCREEN_HEIGHT 64 // OLED display height, in pixels#define OLED_RESET 4 // Reset pin # (or -1 if sharing Arduino reset pin)Adafruit_SSD1306 display(SCREEN_WIDTH, SCREEN_HEIGHT, &Wire, OLED_RESET);void setup() { Serial.begin(9600); if(!display.begin(SSD1306_SWITCHCAPVCC, 0x3C)) { // Address 0x3C Serial.println(F(SSD1306 allocation failed)); for(;;); // Don't proceed, loop forever } display.clearDisplay(); display.setTextSize(1); display.setTextColor(WHITE); display.setCursor(0,0); display.println(Hello, world!); display.display();}void loop() { // Your code here}If you've checked all the above and your Arduino OLED I2C display still isn't working, consider these additional steps:
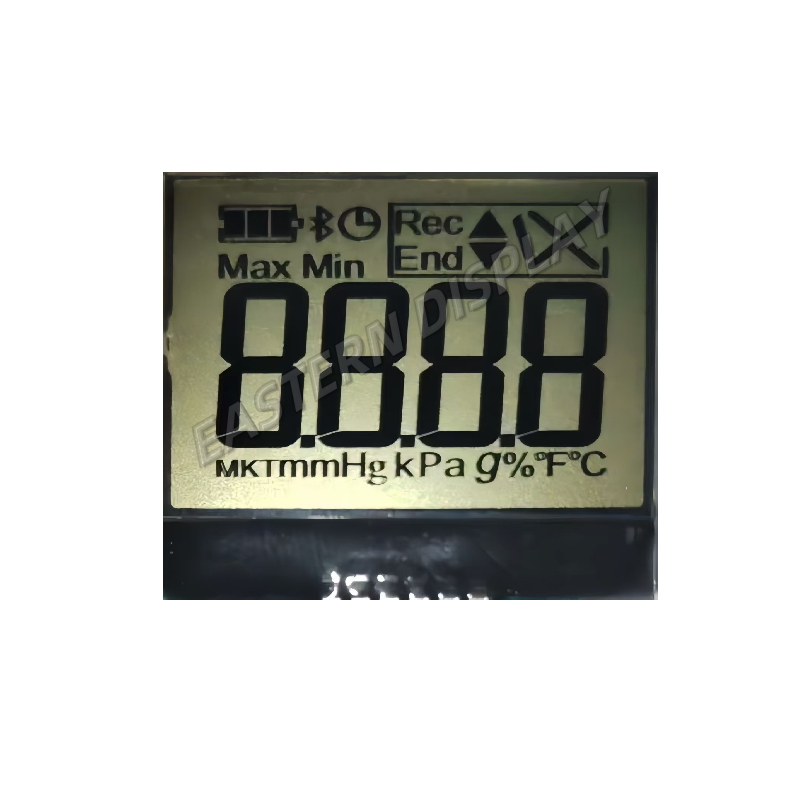
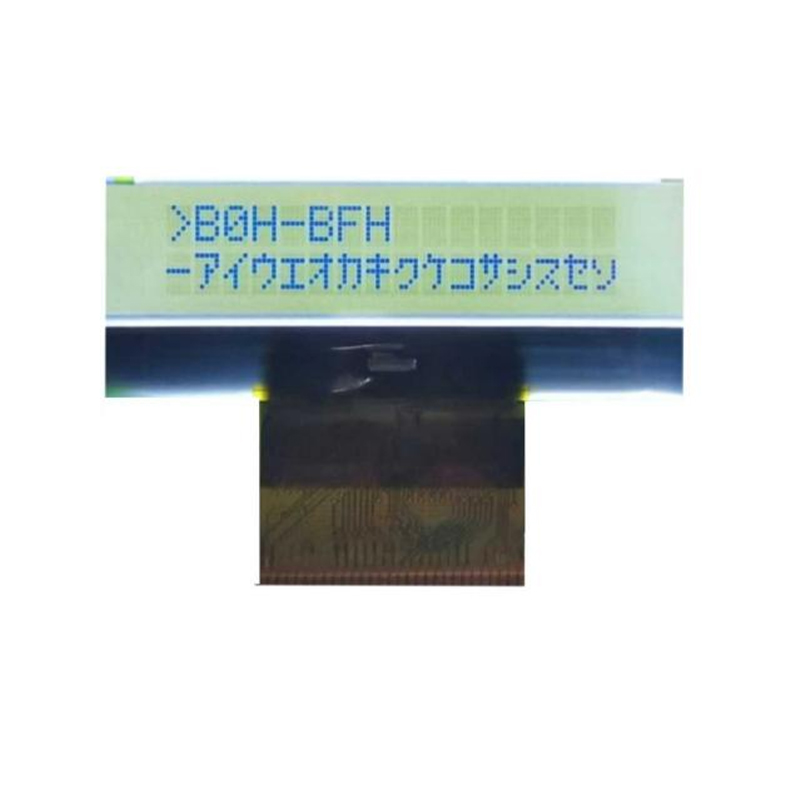
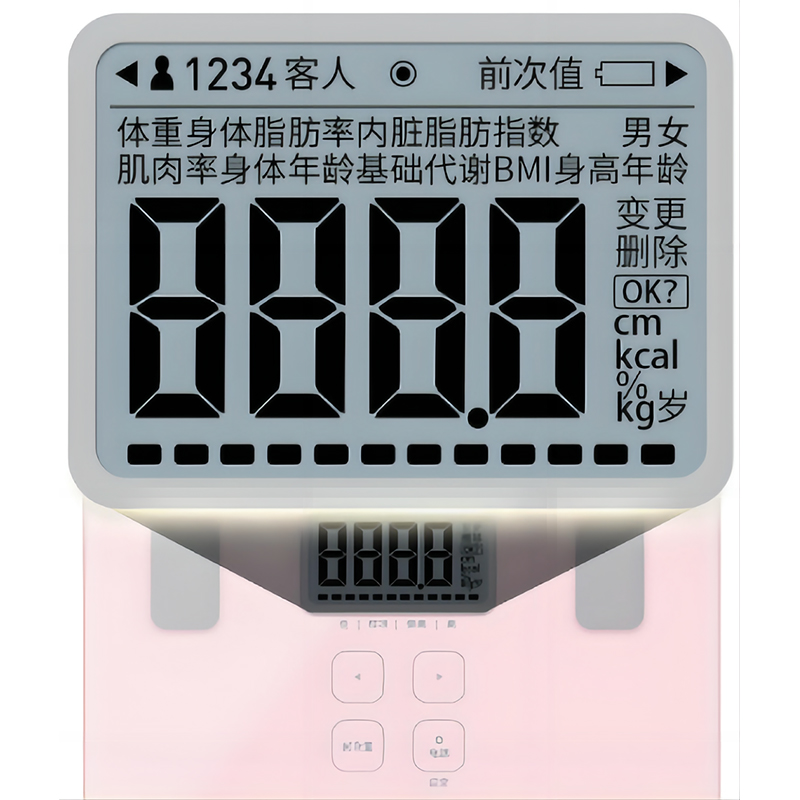
Remember to consult the datasheets for both your Arduino and your Arduino OLED I2C display for detailed specifications and troubleshooting information. For high-quality OLED displays, consider exploring options from Dalian Eastern Display Co., Ltd. They offer a wide variety of displays to suit your project needs.