Dalian Eastern Display Co., Ltd.
Dalian Eastern Display Co., Ltd.


Learn everything you need to know about using Arduino segment displays, from choosing the right display to troubleshooting common issues. This guide covers various types of displays, wiring techniques, programming examples, and practical applications. We'll explore libraries, common problems, and provide resources to help you succeed with your project.
A 7-segment display is a common type of electronic display that shows decimal digits (0-9) and sometimes a limited set of alphabetical characters. Each digit is formed by lighting up a combination of seven segments arranged in a figure-8 shape. These segments are usually LEDs (Light Emitting Diodes), but other technologies exist. Connecting a Arduino segment display requires understanding how to control the individual segments.
There are several types of 7-segment displays available, categorized by their size (from tiny to very large), common anode or common cathode configurations, and whether they are single-digit, multi-digit, or even include decimal points. Choosing the right type depends on your project's needs and space constraints. Larger displays may require more power and more careful wiring.
A crucial distinction is between common anode and common cathode displays. In a common anode display, all anodes are connected together, and each segment is turned on by grounding its corresponding pin. In a common cathode display, all cathodes are connected, and segments are lit by applying a voltage to their respective pins. This difference significantly impacts your wiring and coding. Incorrectly wiring a Arduino segment display can lead to damage.
Here's a simplified wiring diagram for a common cathode 7-segment display connected to an Arduino:

Remember to always check the datasheet for your specific display to confirm pinouts and voltage requirements. Connecting the wrong voltage can damage your display permanently.
Several Arduino libraries simplify controlling 7-segment displays. These libraries handle the complex bit manipulation needed to illuminate the correct segments for each digit. Popular libraries include the SevSeg library and others tailored to specific display types or integrated circuits. Using these libraries saves significant development time.
This simple example shows how to display the number '5' on a common cathode 7-segment display:
// Define pin connectionsconst int a = 2;const int b = 3;const int c = 4;const int d = 5;const int e = 6;const int f = 7;const int g = 8;void setup() { // Set pins as outputs pinMode(a, OUTPUT); pinMode(b, OUTPUT); // ... (rest of the pins) ...}void loop() { // Display the number 5 digitalWrite(a, HIGH); digitalWrite(b, HIGH); digitalWrite(c, LOW); digitalWrite(d, HIGH); digitalWrite(e, HIGH); digitalWrite(f, HIGH); digitalWrite(g, HIGH); delay(1000); }If your Arduino segment display isn't working, first double-check your wiring, ensuring correct connections and voltage levels. Examine the power supply and confirm the Arduino is functioning correctly. Test each segment individually to isolate the problem. Check the datasheet of your display for the correct voltage and current parameters.
Incorrect segment lighting usually stems from errors in the Arduino code or incorrect wiring. Carefully review your code for logical errors. Using a logic analyzer or multimeter can help debug the problem. Incorrectly applying voltage may cause segments to burn out.
Beyond displaying simple numbers, Arduino segment displays can be used in a wide array of projects. You can create custom characters, build clocks, and even interface with other sensors to create interactive displays. Explore different display sizes and types to enhance your projects.
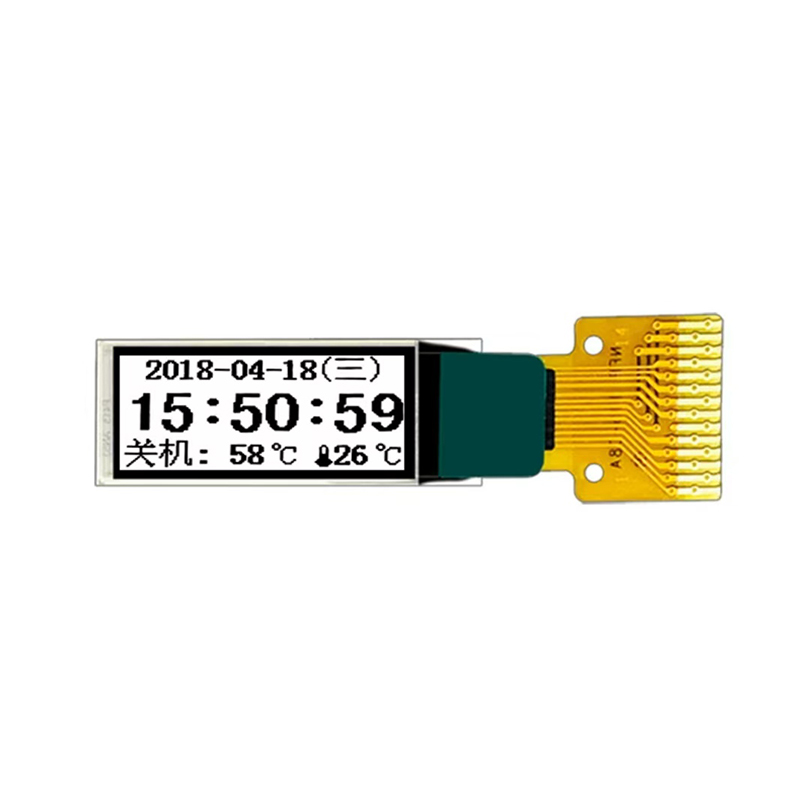
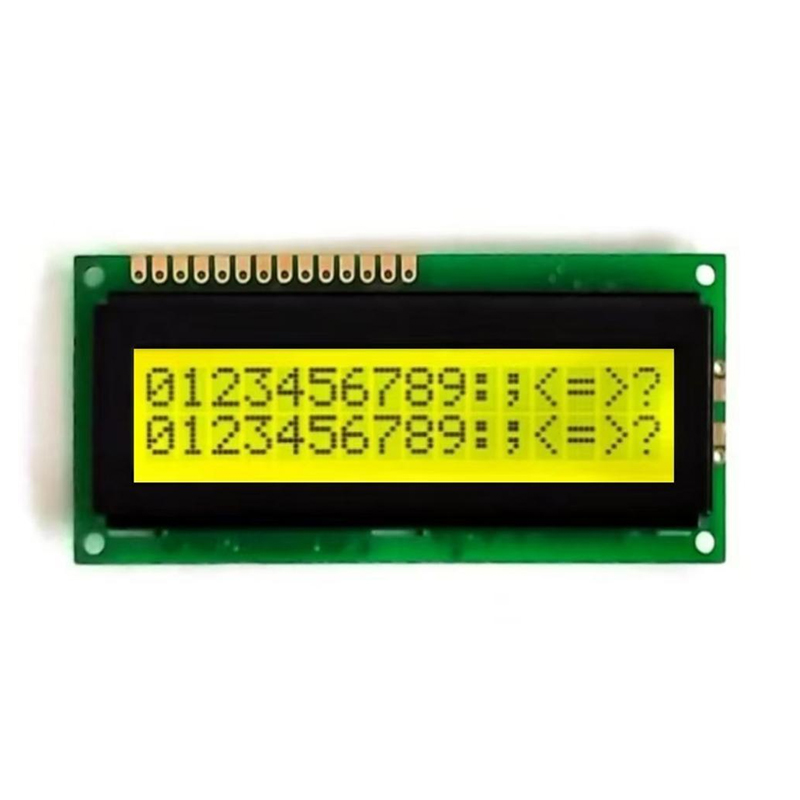
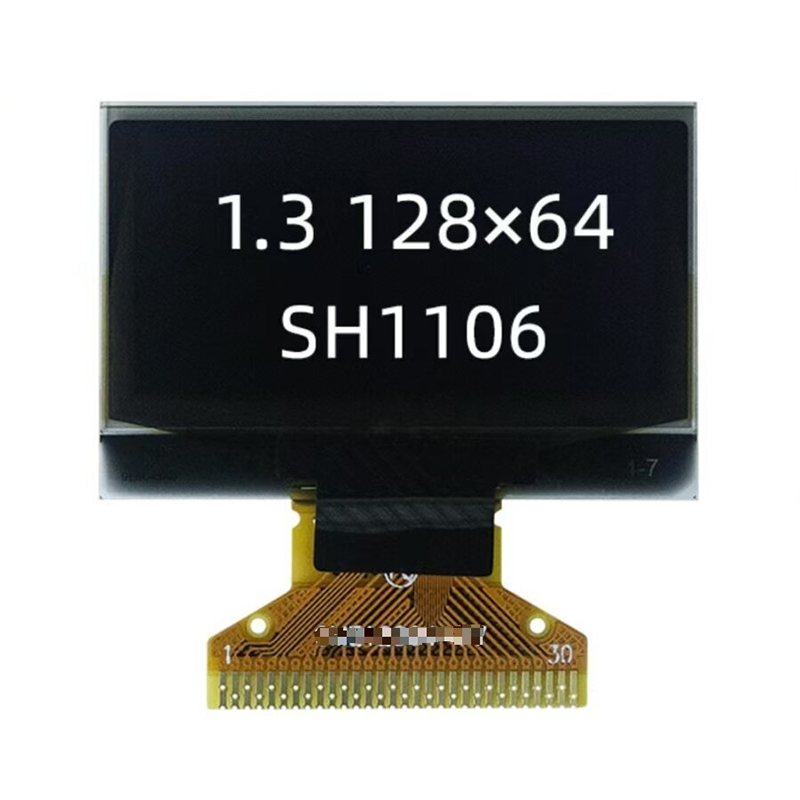
For high-quality LCD and LED displays, consider exploring the offerings from Dalian Eastern Display Co., Ltd.. They provide a wide range of options for diverse applications.
| Display Type | Advantages | Disadvantages |
|---|---|---|
| Common Cathode | Easy to interface with Arduino | Requires more complex code |
| Common Anode | Simple code | Less common |
Remember to always consult the datasheets for your specific components. This guide is intended to provide a general understanding of using Arduino segment displays.