Dalian Eastern Display Co., Ltd.
Dalian Eastern Display Co., Ltd.


This comprehensive guide helps you diagnose and resolve problems with your Arduino's SPI interface, providing practical solutions and troubleshooting steps for various scenarios. We'll explore common causes of Arduino SPI interface exit failures and offer effective strategies for restoring proper communication.
The Serial Peripheral Interface (SPI) is a synchronous, full-duplex communication bus used for connecting microcontrollers like the Arduino to peripherals such as sensors, displays, and memory chips. Understanding the basic principles of SPI—MOSI, MISO, SCK, and SS—is crucial for debugging Arduino SPI interface exit issues. Proper wiring and signal timing are essential for successful communication. Incorrect connections or signal interference can lead to unexpected behavior, including the Arduino SPI interface exit condition.
Several factors can contribute to problems with the SPI bus, ultimately leading to an Arduino SPI interface exit. These include hardware issues such as faulty wiring, damaged components, or incorrect voltage levels. Software errors, like improper initialization or incorrect SPI settings within your Arduino sketch, are also frequent culprits. Lastly, clock speed mismatches between the microcontroller and the peripheral can disrupt communication and result in the Arduino SPI interface exit.
Begin by thoroughly inspecting your hardware. Check all connections between your Arduino and the SPI device, ensuring secure connections and proper wiring. Verify that the voltage levels are within the specified ranges for both the Arduino and the peripheral. Use a multimeter to test for continuity and voltage if necessary. Faulty components, such as a damaged SPI chip on your Arduino or the peripheral itself, will require replacement. Consider using a logic analyzer to observe the SPI signals for any anomalies. This allows for detailed examination of the data and clock signals to identify potential issues.
Examine your Arduino sketch carefully. Verify that the SPI library is correctly included and that the SPI pins are correctly configured. Double-check the SPI settings, including clock speed (SPI_CLOCK_DIV), data order (SPI_MODE0, SPI_MODE1, etc.), and data mode. Incorrectly configured SPI settings are a primary reason for an Arduino SPI interface exit. Often, a simple mistake in the code can interrupt the communication process. Start with the basics: make sure your SPI communication is correctly initialized, and try a simple test to send and receive data between your Arduino and the peripheral.
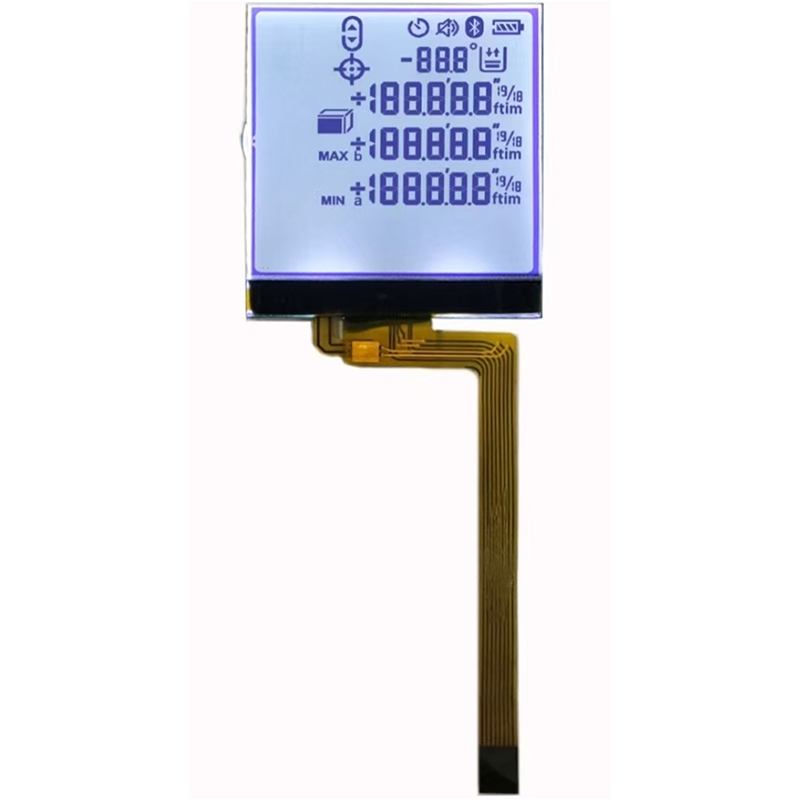
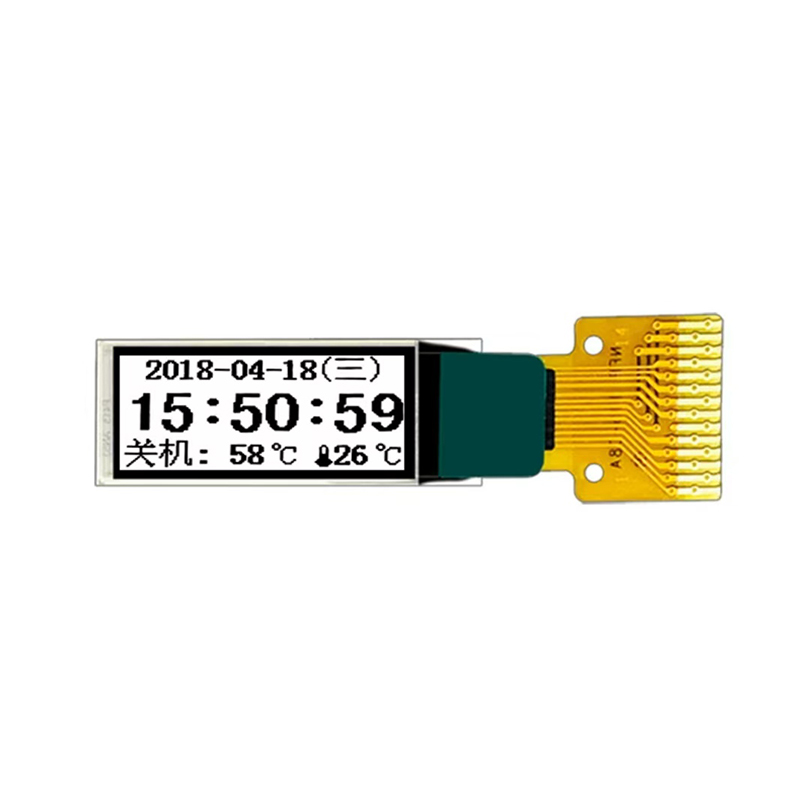
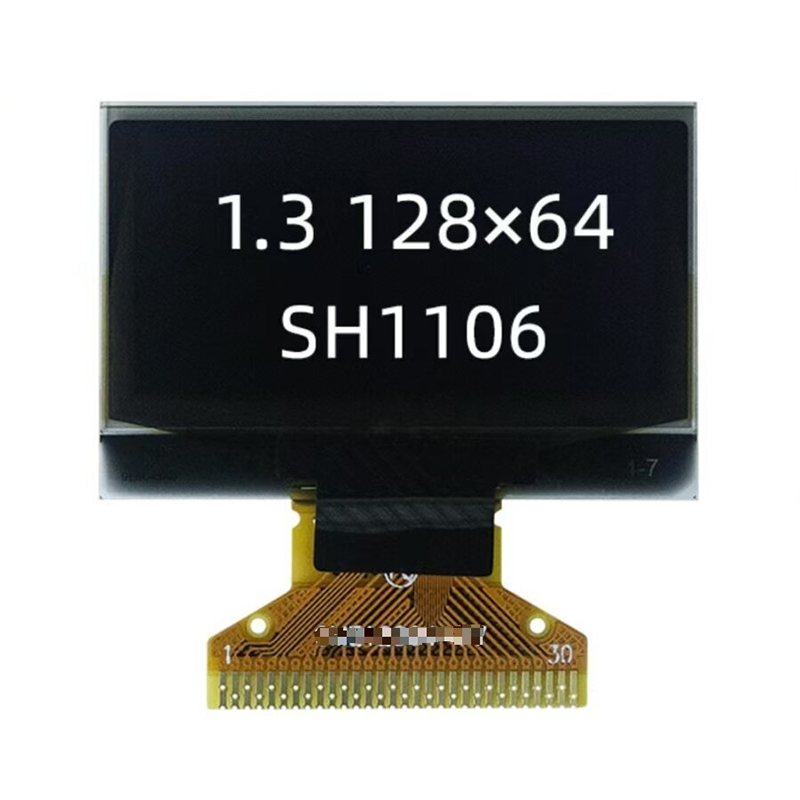
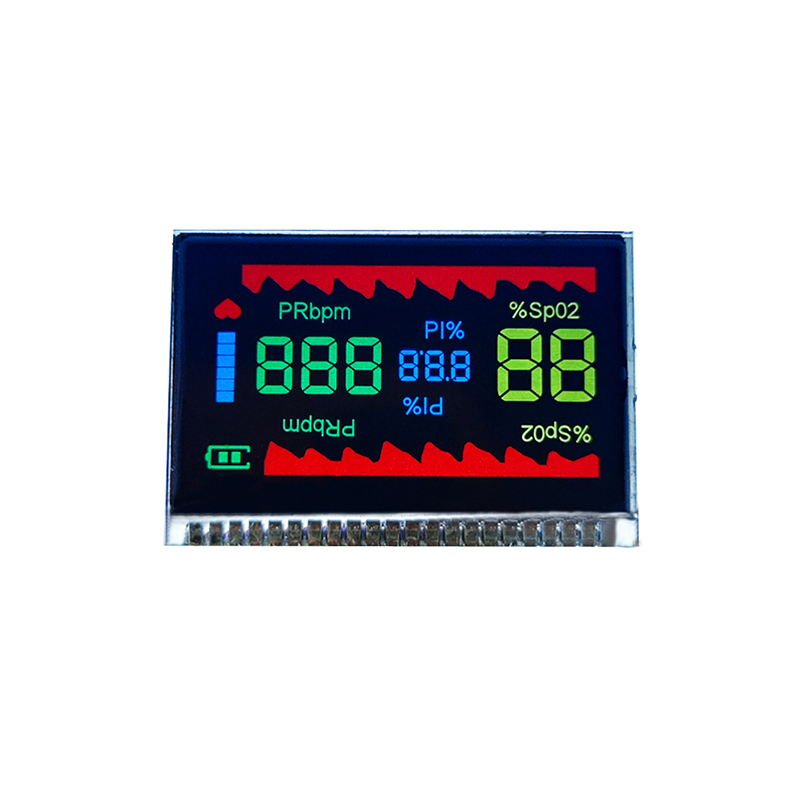
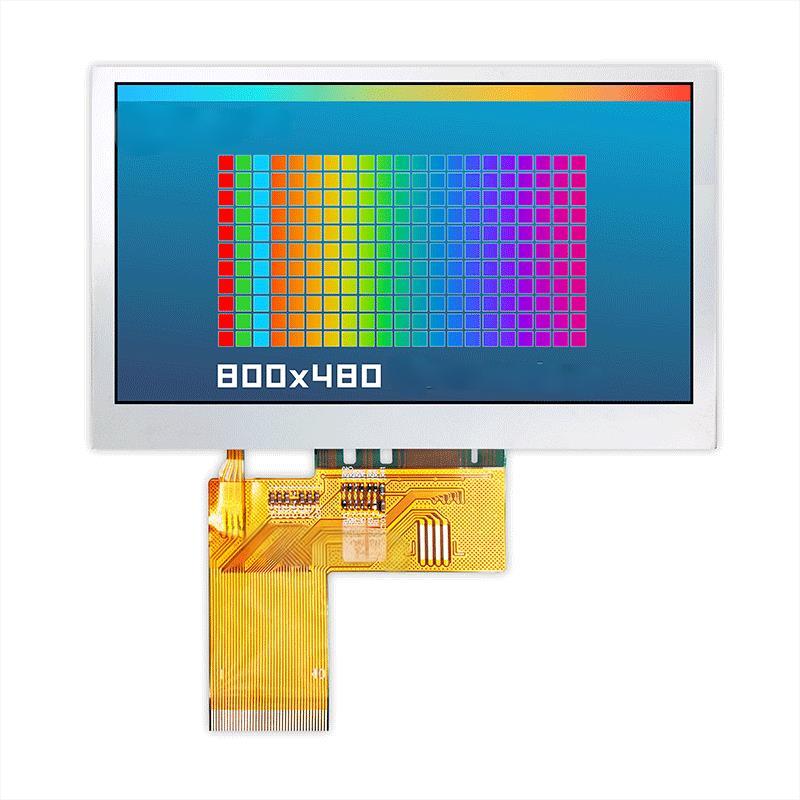
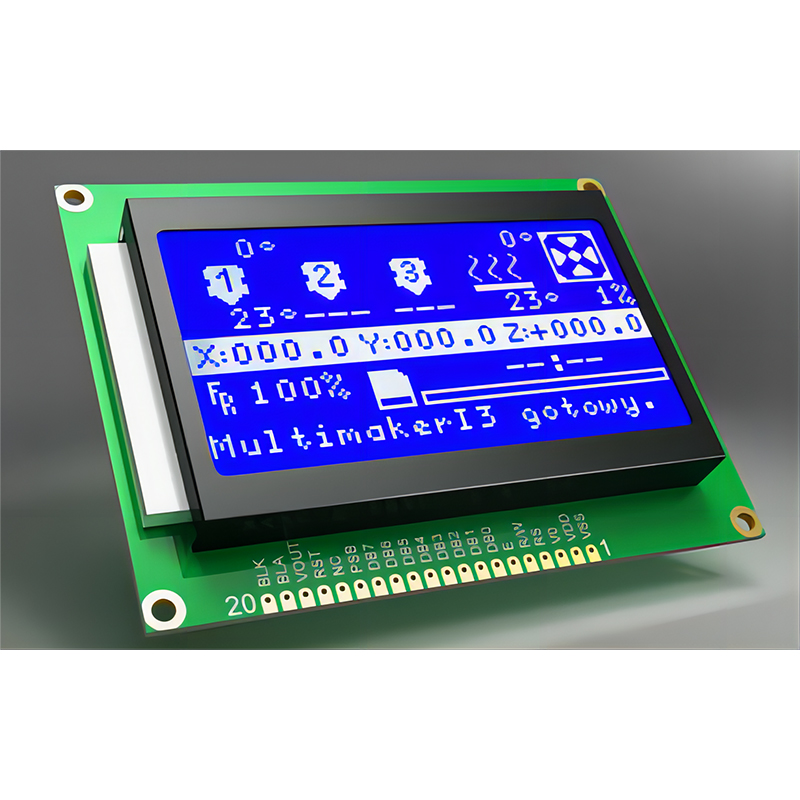
If you're experiencing problems with an SPI-based display (like an LCD screen from Dalian Eastern Display Co., Ltd.), ensure that the display's power requirements are met and that it's properly connected. In many cases, an incorrectly configured data order or clock speed is the reason for communication failure. Refer to the display's datasheet for the correct SPI settings.
When troubleshooting sensor communication via SPI, confirm that the sensor is correctly powered and connected. Many sensors have specific SPI settings, so consult their datasheets to ensure compatibility. Pay close attention to data rates and modes to avoid conflicts. A common issue is a mismatch in data order between the Arduino and the sensor, leading to incorrect data being interpreted.
If the basic troubleshooting steps don't resolve the Arduino SPI interface exit issue, you may need to employ more advanced techniques. These include using a logic analyzer to capture and analyze the SPI signals for timing discrepancies or errors, using a scope to check for any signal noise and interference, and using more sophisticated debugging tools to examine memory usage and program execution.
Remember that consistently consulting the datasheets for both your Arduino and the connected peripheral is crucial for successful troubleshooting and preventing future Arduino SPI interface exit problems.