Dalian Eastern Display Co., Ltd.
Dalian Eastern Display Co., Ltd.


This guide provides a detailed overview of Arduino TFT displays with I2C, covering various models, their specifications, and application examples. We'll explore the advantages of I2C communication, compare popular display options, and help you choose the perfect Arduino TFT display I2C product for your project. Learn about setup, troubleshooting, and best practices for integrating these displays into your Arduino projects.
Thin-Film Transistor (TFT) displays are LCDs that use TFT technology for addressing pixels individually, resulting in higher quality images compared to standard LCDs. Arduino TFT displays offer a vibrant way to visualize data from sensors, control interfaces, or display graphical information in your projects. Many models offer a variety of resolutions, color depths, and sizes.
I2C (Inter-Integrated Circuit) is a two-wire serial communication protocol that simplifies connectivity. Using I2C with your Arduino TFT display reduces the number of pins required on your Arduino board, making it ideal for projects with limited pin availability. This simplifies wiring and reduces complexity.
The market offers a wide variety of Arduino TFT display I2C products. Here are a few popular choices:
ILI9341-based displays are widely used due to their excellent performance and wide availability. They typically offer high resolution (e.g., 320x240 pixels) and vibrant colors. Many modules are readily available pre-assembled, simplifying integration with your Arduino.
ST7735 controllers offer a good balance between cost and performance. These displays often come in various sizes and resolutions, offering flexibility for different projects. Their relatively low cost makes them a popular choice for beginners.
Other controller ICs like SSD1331 and others are also used in Arduino TFT displays with I2C. Researching specific specifications is crucial to ensure compatibility with your project requirements. Consider factors such as resolution, color depth, and backlight type.
Selecting the right display depends on your project's needs. Consider these factors:
| Feature | ILI9341 | ST7735 |
|---|---|---|
| Resolution | Commonly 320x240 | Varies (e.g., 128x128, 128x160, 160x128) |
| Color Depth | 16-bit (65k colors) | 16-bit (65k colors) or less |
| Price | Mid-range | Often lower |
Table 1: Comparison of ILI9341 and ST7735 Displays
The process involves connecting the display to your Arduino using the I2C pins (usually SDA and SCL), installing the necessary libraries, and using the appropriate functions to control the display. Refer to the specific documentation of your chosen Arduino TFT display I2C product for detailed wiring diagrams and code examples. Many libraries are available to simplify the process, such as Adafruit_ILI9341 for ILI9341 displays.
Problems such as a blank screen or incorrect display output can arise. Check your wiring, ensure the correct I2C address is used, and verify the library installation. Online forums and community support can offer valuable assistance in troubleshooting specific issues with your chosen Arduino TFT display I2C product.
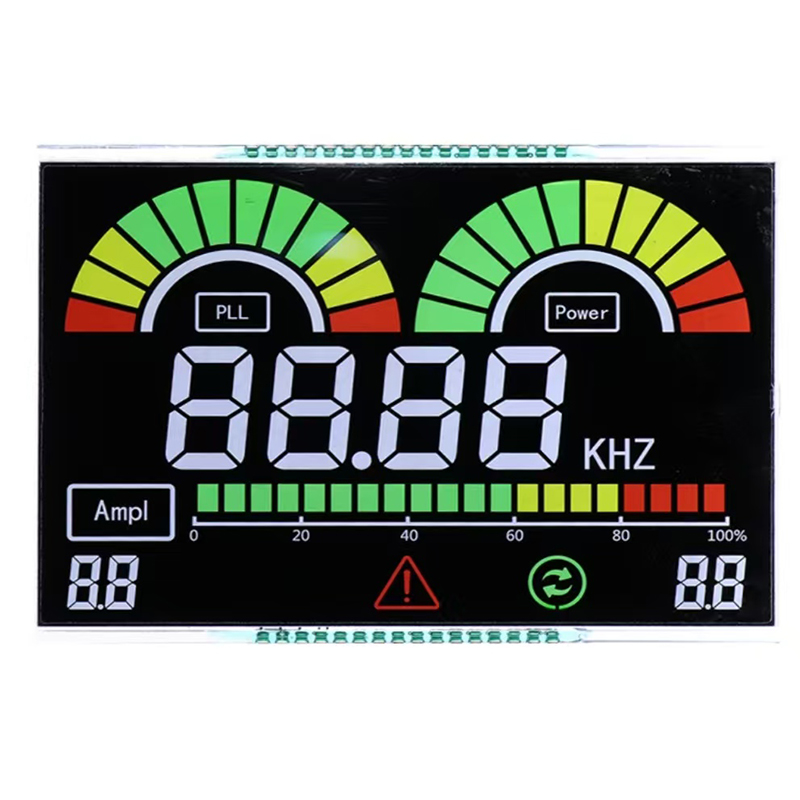
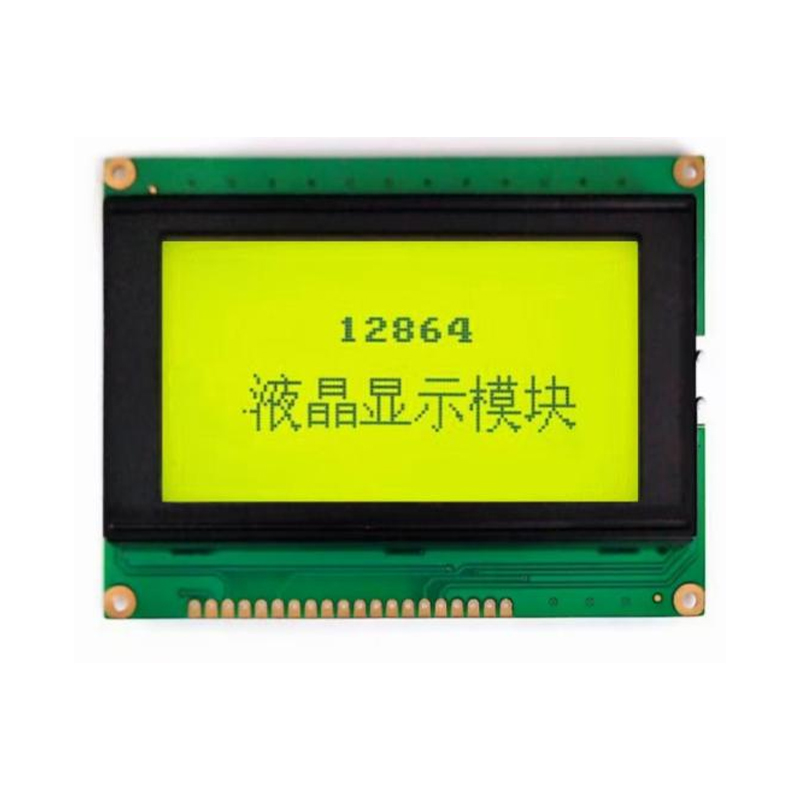
For high-quality LCD modules and displays, consider exploring the options available from Dalian Eastern Display Co., Ltd.. They offer a wide range of products suitable for various applications.
Remember to always refer to the datasheet provided by the manufacturer of your specific Arduino TFT display I2C product for the most accurate and up-to-date information.