Dalian Eastern Display Co., Ltd.
Dalian Eastern Display Co., Ltd.


This guide provides comprehensive troubleshooting steps and solutions for common issues encountered when working with Arduino TFT display projects. We'll cover everything from initial setup and wiring to advanced debugging techniques, helping you successfully integrate TFT displays into your projects. Learn how to identify and resolve problems efficiently, ensuring a smooth development process and functional displays.
Incorrect wiring is a frequent culprit. Double-check your wiring diagram against the specifications for your specific Arduino and TFT display model. Ensure you have the correct power supply, ground connections, and data lines securely connected. A multimeter can be invaluable for verifying connections and detecting shorts or open circuits. Common issues include incorrect pin assignments, loose connections, or faulty wiring.
Using the wrong library or having errors in your code can lead to display problems. Make sure you've installed the correct library for your TFT display (e.g., Adafruit_TFTLCD, ST7735). Carefully review your code for syntax errors, logical errors, or incorrect function calls. Using a serial monitor to print debug information can help pinpoint the source of errors in your code. Ensure your code is compatible with the library version you've installed.
Before jumping into complex troubleshooting, check the power supply. Make sure the TFT display is receiving the correct voltage and sufficient current. A simple way to verify this is to use a multimeter to measure the voltage at the display's power pins. If your display is not powering on, also inspect the fuses in your circuit to ensure they are not blown.
Corrupted images or glitches on the screen often indicate a problem with data transmission or the display itself. Check the data lines for any loose connections or shorts. If the issue persists, try updating the TFT display library or reflashing your Arduino. Sometimes, the issue could be related to the SPI communication settings (clock speed, data order).
The Arduino Serial Monitor is a powerful tool for debugging. Print out relevant variables and function outputs to the Serial Monitor to track data flow and identify issues in your code. This allows you to track the values being sent to your display and check if they are as expected. This real-time feedback greatly simplifies troubleshooting your Arduino TFT display projects.
Start with a simple sketch that just displays a single color or a basic shape. If this works, gradually add complexity to your sketch to isolate the source of the problem. This helps determine if the issue is with your code or the hardware.
Refer to your TFT display's datasheet for detailed specifications and troubleshooting tips. Many helpful resources and discussions on common problems can be found on online forums and communities dedicated to Arduino and TFT displays. Searching for similar error messages or symptoms can lead to solutions quickly.
The selection of a suitable TFT display depends on your project's specific requirements. Factors such as screen size, resolution, color depth, interface type (SPI, parallel), and power consumption should all be considered. Research different models and compare their specifications to find the best fit for your needs.
| Feature | Option A | Option B |
|---|---|---|
| Screen Size | 2.4 | 3.5 |
| Resolution | 320x240 | 480x320 |
| Interface | SPI | SPI |
| Color Depth | 16-bit | 18-bit |
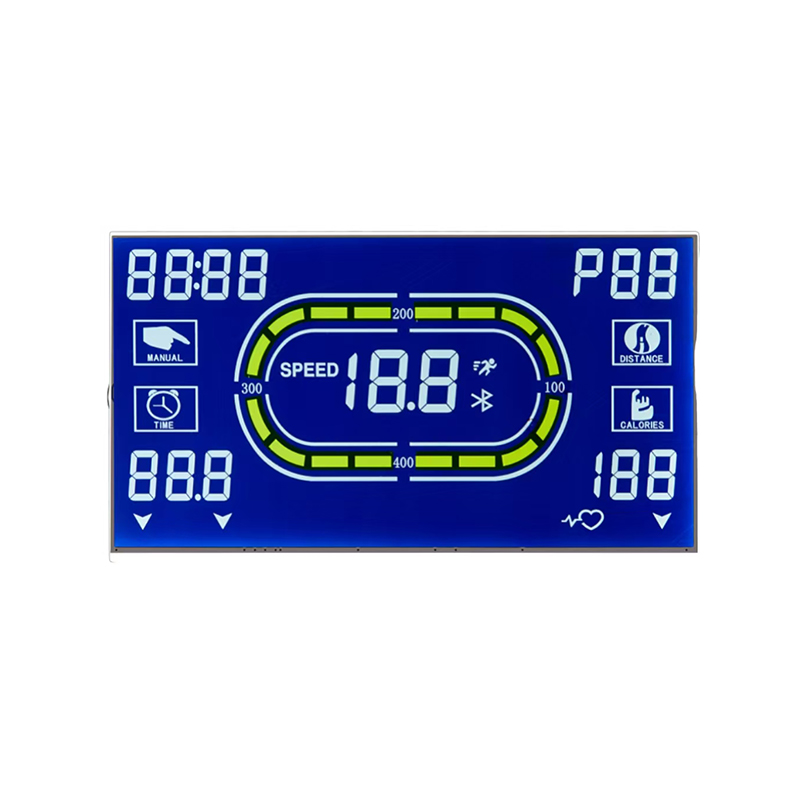
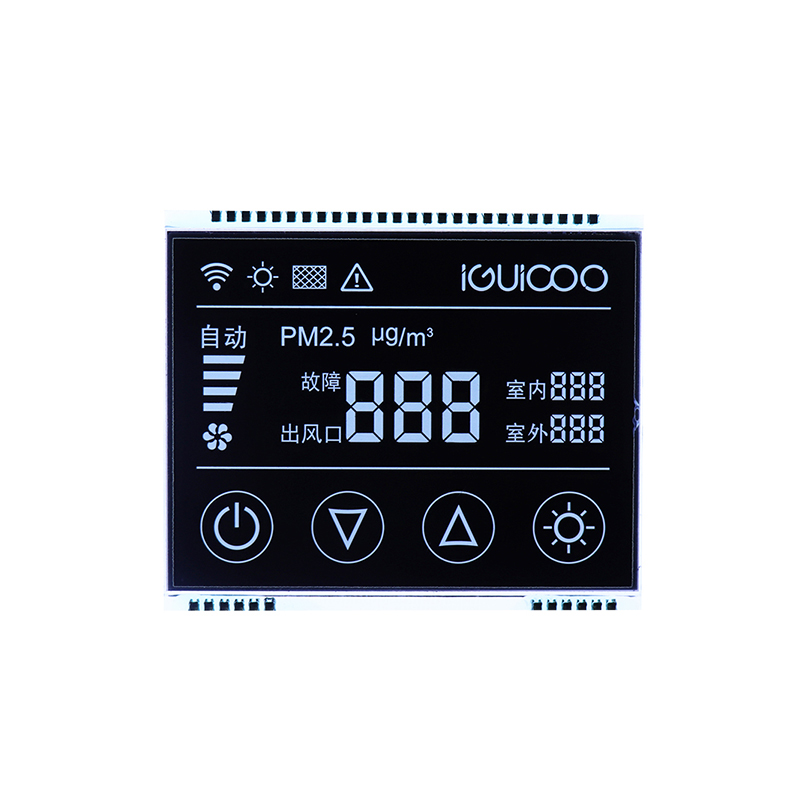
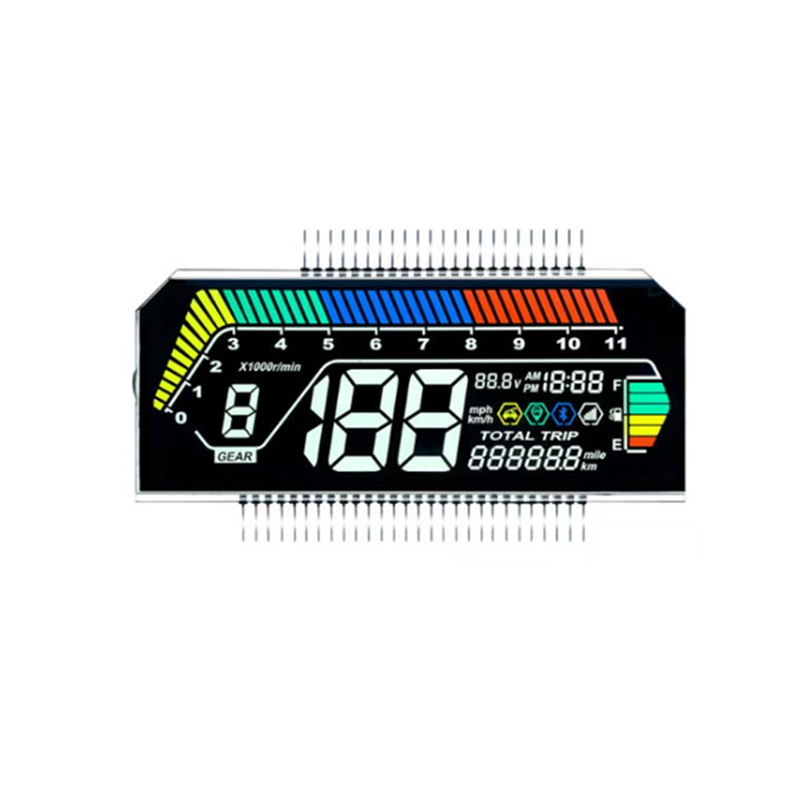
For high-quality displays and components, consider exploring options from reputable suppliers like Dalian Eastern Display Co., Ltd.. They offer a wide range of TFT displays suitable for various Arduino projects.
Remember to always consult the datasheets and documentation for your specific hardware and software components. Successfully completing your Arduino TFT display projects requires careful planning, attention to detail and persistent troubleshooting.