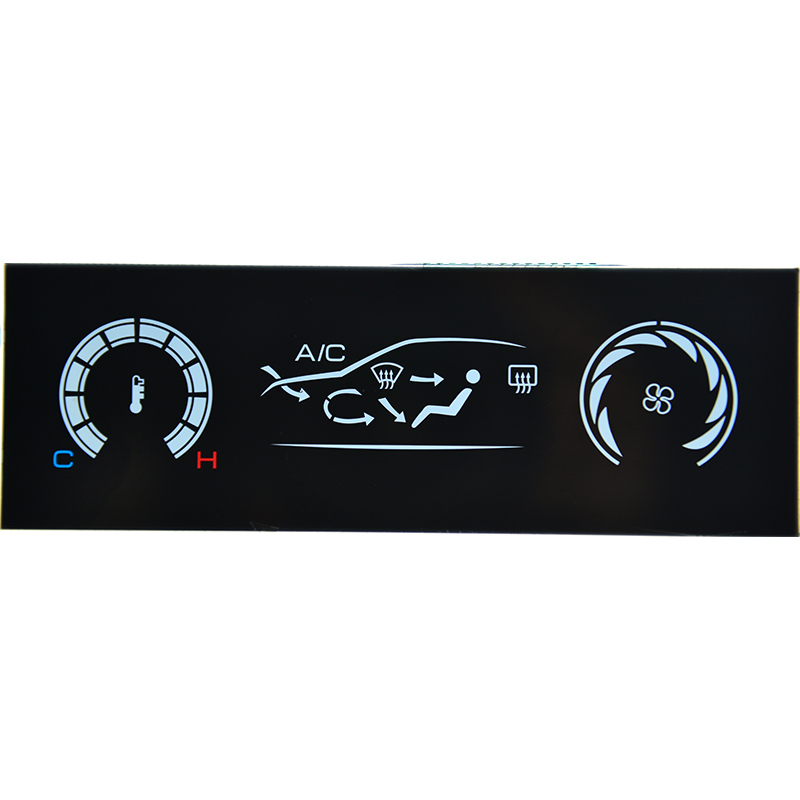
This comprehensive guide explores the exciting world of Arduino TFT display projects, providing practical insights, project ideas, and resources to help you build your next innovative creation. We'll cover everything from choosing the right display to implementing complex projects, ensuring you have the knowledge and tools needed to succeed.
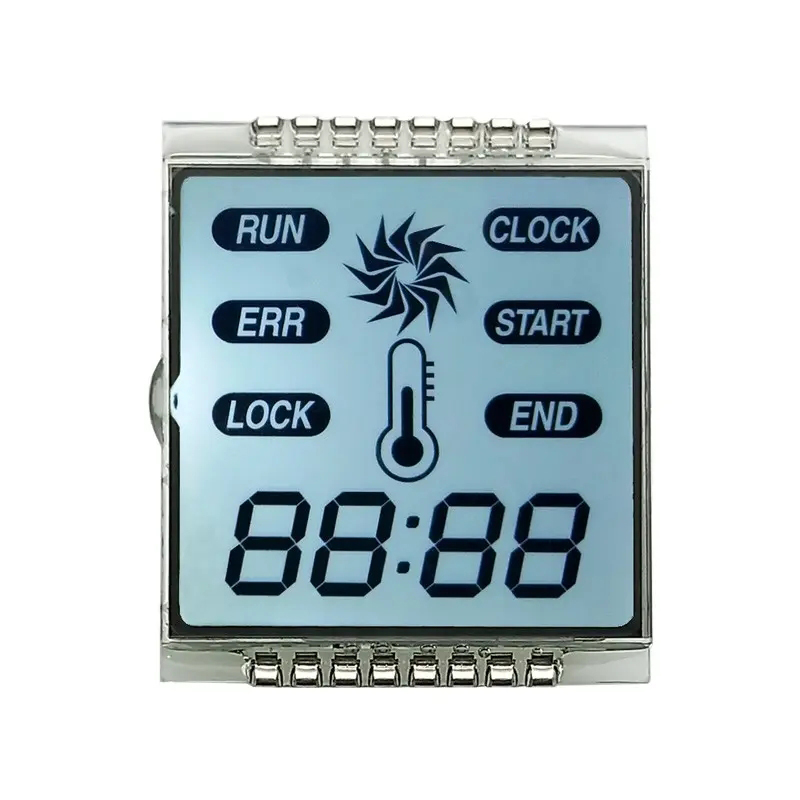
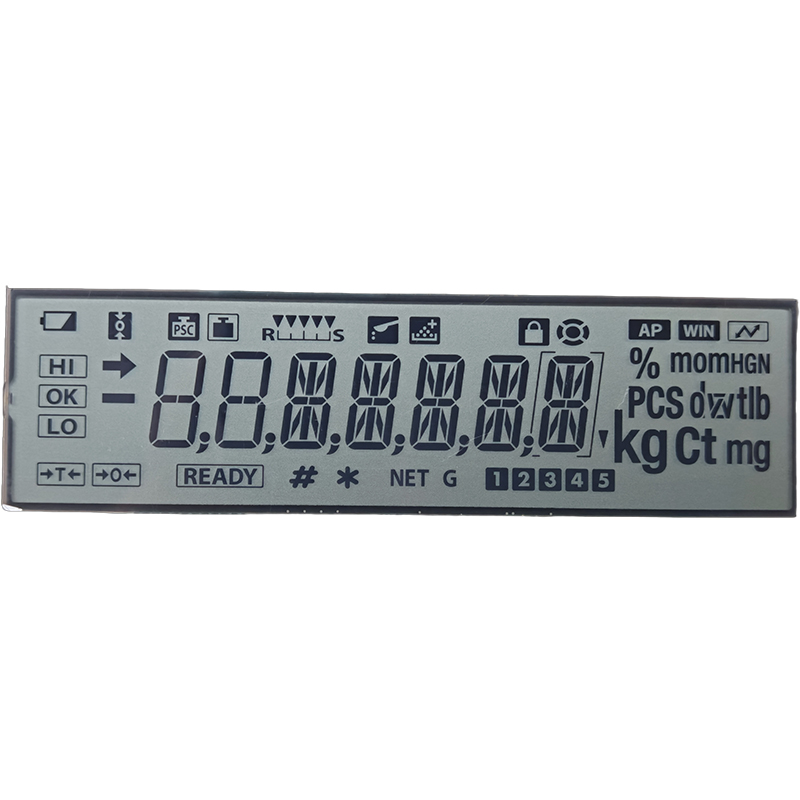
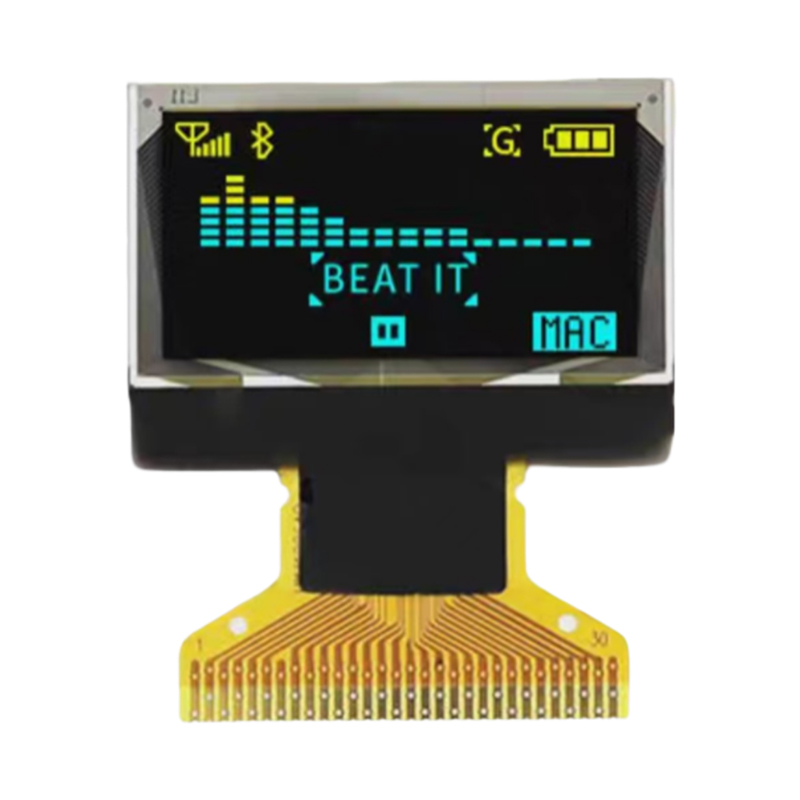
Selecting the appropriate Arduino TFT display is crucial for your project's success. Key specifications to consider include screen size (measured diagonally in inches), resolution (pixels), color depth (bits), interface type (e.g., SPI, parallel), and power requirements. Higher resolutions offer sharper images, while more color depth leads to richer visuals. The interface type dictates how the display connects to your Arduino. Consider the size and resolution needed for your project's visual requirements. For example, a small display might suffice for a simple data logger, while a larger, higher-resolution display is better suited for a complex graphical user interface (GUI).
Numerous Arduino TFT displays are available on the market. Some popular choices include displays from Adafruit, SparkFun, and Waveshare. These companies offer a wide range of sizes, resolutions, and features. Before making a purchase, carefully examine the specifications to ensure compatibility with your Arduino board and project needs. Remember to check reviews and compare prices before deciding.
Beginners can start with simple projects like creating a digital clock, a temperature sensor display, or a basic image viewer. These projects are great for learning the fundamentals of Arduino TFT display programming and hardware interfacing. Many tutorials are available online to guide you through these projects step-by-step. For example, a simple digital clock requires only a few lines of code and utilizes basic timer interrupts. Similarly, displaying sensor data is straightforward after properly configuring the sensor and display.
Once comfortable with the basics, move on to intermediate projects such as creating a graphical data logger, a touch-screen controlled interface, or a custom game. These projects will challenge your programming skills and allow you to explore more advanced features of your Arduino TFT display. Consider integrating additional sensors or actuators to enhance the interactivity and functionality of your project. For example, creating a simple game involves managing sprites, collision detection, and user input through buttons or a touchscreen.
Advanced projects might include building a real-time data visualization system, a custom control panel for robotics, or a smart home automation interface. These projects often involve more complex software and hardware integration. They require a deeper understanding of embedded systems programming and potentially the use of external libraries and frameworks. Advanced projects allow for highly customized solutions, limited only by your creativity and technical expertise.
Accurate wiring is paramount to avoid damaging your components. Double-check your connections before powering your circuit. Consult the datasheets of your chosen Arduino TFT display and other components for precise pin assignments and voltage requirements. Improper connections can lead to erratic behavior or even hardware failure. Using a breadboard is recommended for prototyping.
Leverage existing libraries and frameworks to simplify your coding process. Many libraries streamline the interaction with Arduino TFT displays, providing pre-built functions for common tasks like drawing shapes, displaying text, and managing touch input. These libraries often abstract away low-level details, making development faster and easier. Libraries for popular displays are widely available online.
Common issues include blank screens, incorrect display orientation, and glitches in image rendering. These issues can often be resolved by checking your wiring, updating your library, or adjusting display settings. Online forums and communities are excellent resources for troubleshooting tips and solutions.
Explore online resources for tutorials, examples, and support. Sites like Adafruit Learning System and SparkFun tutorials provide valuable information on Arduino TFT display projects. Remember to always refer to the official datasheets for your specific hardware components for detailed information and technical specifications.
| Manufacturer | Display Model | Screen Size | Resolution |
|---|---|---|---|
| Adafruit | ILI9341 3.5 TFT | 3.5 | 320x480 |
| SparkFun | 2.4 TFT Touch Screen | 2.4 | 320x240 |
| Waveshare | 2.8 IPS LCD | 2.8 | 240x320 |
For high-quality LCD displays and other components, consider exploring Dalian Eastern Display Co., Ltd. They offer a wide range of options to meet your project needs.
Note: Specific product availability and pricing may vary. Always check the manufacturer's website for the most up-to-date information.

