Dalian Eastern Display Co., Ltd.
Dalian Eastern Display Co., Ltd.


This guide provides a deep dive into Arduino TFT display shields, covering everything from choosing the right shield for your project to advanced usage techniques. We'll explore various models, common issues, and best practices to help you harness the full potential of these versatile components. Learn how to select the ideal shield based on your project's specific needs and effortlessly integrate it into your Arduino creations.
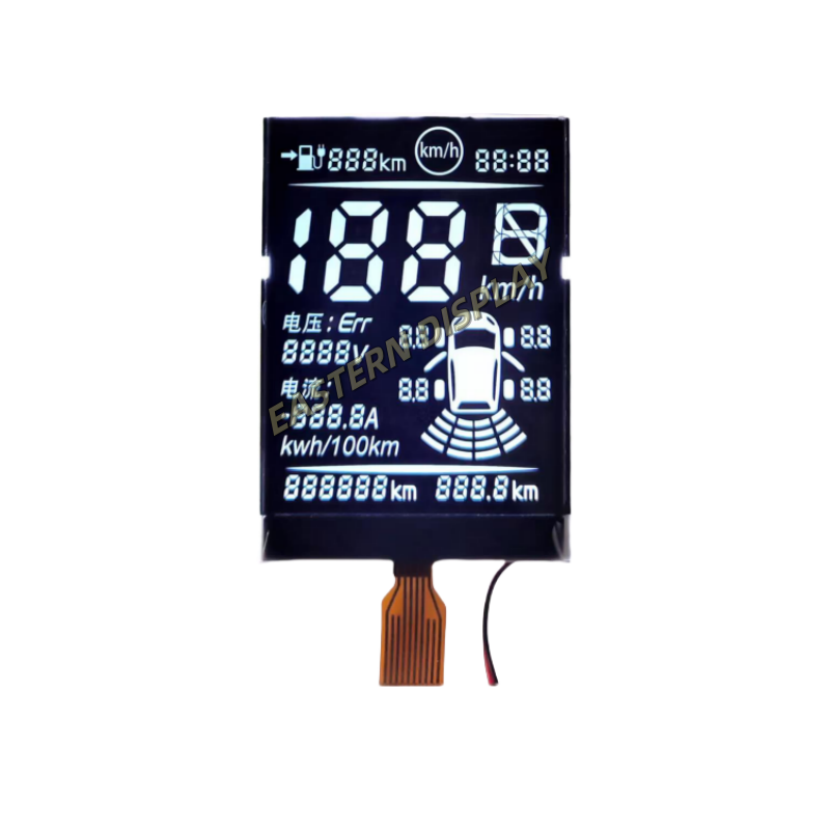
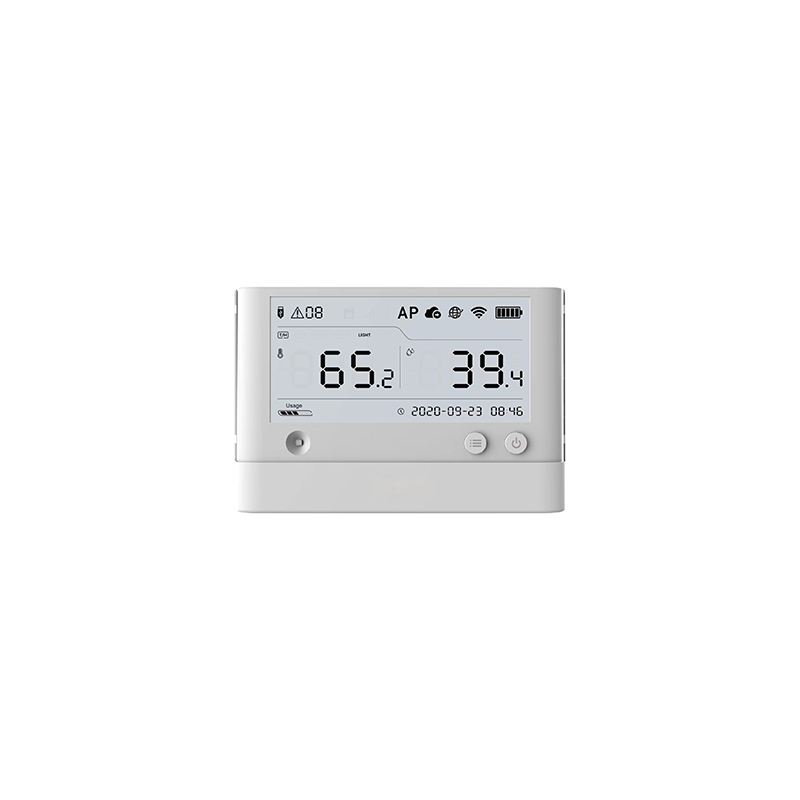
A TFT display shield is an add-on board for your Arduino that provides a vibrant, high-resolution color display. It simplifies the process of integrating a TFT LCD screen into your projects, eliminating the need for complex wiring and programming. These shields typically come with various features, such as touch screen capability, SD card slots for storing images, and built-in controllers to manage the display.
Selecting the appropriate Arduino TFT display shield depends heavily on your project's requirements. Consider factors such as screen size (ranging from 1.8 inches to 7 inches or more), resolution, touch screen functionality, and any additional features like SD card support. The availability of libraries and community support is also crucial for ease of development. Higher resolution displays generally offer better image quality but may require more processing power from your Arduino.
The Adafruit 2.8 TFT Touch Shield is a popular choice known for its relatively large screen size, decent resolution, and integrated touch screen. Its extensive library support makes it beginner-friendly. However, its size might be prohibitive for smaller projects.
Many Arduino TFT display shields utilize the ILI9341 controller chip. This controller is widely supported, offering a vast range of library options and making it easy to find tutorials and examples online. The specific features and screen size will vary depending on the manufacturer and model. Look for shields with good documentation and community support.
Several manufacturers produce high-quality Arduino TFT display shields. It's advisable to research different brands and compare specifications, pricing, and user reviews before making a purchase. Remember to check the compatibility with your specific Arduino board.
Connecting an Arduino TFT display shield is generally straightforward. Most shields are designed to simply stack directly onto the Arduino board. Refer to the specific instructions provided by the manufacturer. Ensure all connections are secure before powering on.
You'll need to install the appropriate library for your chosen shield in the Arduino IDE. The library usually provides functions to control the display, drawing graphics, and displaying text. Follow the library's installation instructions carefully. The library is usually available via the Library Manager in the Arduino IDE.
Once the library is installed, you can start experimenting with basic display functions such as writing text, drawing shapes, and displaying images. Many online tutorials and examples are available to guide you. Start with simple programs and gradually increase complexity as you gain experience.
If your display is not working, check the connections, power supply, and ensure the correct library is installed. Refer to the manufacturer's documentation for troubleshooting tips.
Artifacts or glitches on the display can be caused by various issues, including faulty wiring, power problems, or incompatible libraries. Troubleshooting this issue requires careful examination of each aspect of your setup.
Arduino TFT display shields offer a powerful and versatile way to add visual displays to your projects. By understanding the different options available and following the steps outlined in this guide, you can easily incorporate these shields into your Arduino projects and unlock a new level of functionality and user interaction. Remember to consult the documentation provided by your chosen Arduino TFT display shield manufacturer for specific instructions and support.
For high-quality LCD displays and other components, consider Dalian Eastern Display Co., Ltd.