Dalian Eastern Display Co., Ltd.
Dalian Eastern Display Co., Ltd.


This comprehensive guide delves into the intricacies of the Arduino Uno SPI interface, offering practical insights and real-world examples for developers, hobbyists, and those working in industrial settings. We'll explore the fundamental concepts, common use cases, potential challenges, and best practices for effectively utilizing this powerful communication protocol. Learn how to leverage the SPI bus for efficient data transfer between your Arduino Uno and various peripherals, significantly enhancing the capabilities of your projects.
The Serial Peripheral Interface (SPI) is a synchronous, full-duplex communication bus used for short-distance communication, primarily between a microcontroller (like the Arduino Uno) and peripheral devices. Key concepts include: MOSI (Master Out Slave In), MISO (Master In Slave Out), SCK (Serial Clock), and SS (Slave Select). Understanding these lines is crucial for successful Arduino Uno SPI interface implementation. The SPI bus offers high speed and efficiency compared to other communication protocols, making it ideal for applications requiring fast data transfer rates.
The Arduino Uno boasts a robust SPI interface, capable of supporting various data rates and communication modes. It's readily available through digital pins 10, 11, 12, and 13. Pin 10 is typically used for MOSI, pin 11 for MISO, pin 13 for SCK, and pin 12 for SS. However, you can modify these using the SPI library’s configuration functions. Remember to consult the Arduino Uno datasheet for precise details on its SPI specifications.
The Arduino IDE provides a built-in SPI library simplifying Arduino Uno SPI interface programming. Using the library functions like `SPI.begin()`, `SPI.transfer()`, and `SPI.setDataMode()`, you can easily configure and manage the SPI communication. Different data modes (0, 1, 2, 3) allow for flexible control over data transfer timing. Carefully choose the mode appropriate to your peripheral device's requirements. Incorrect data mode selection can lead to communication errors.
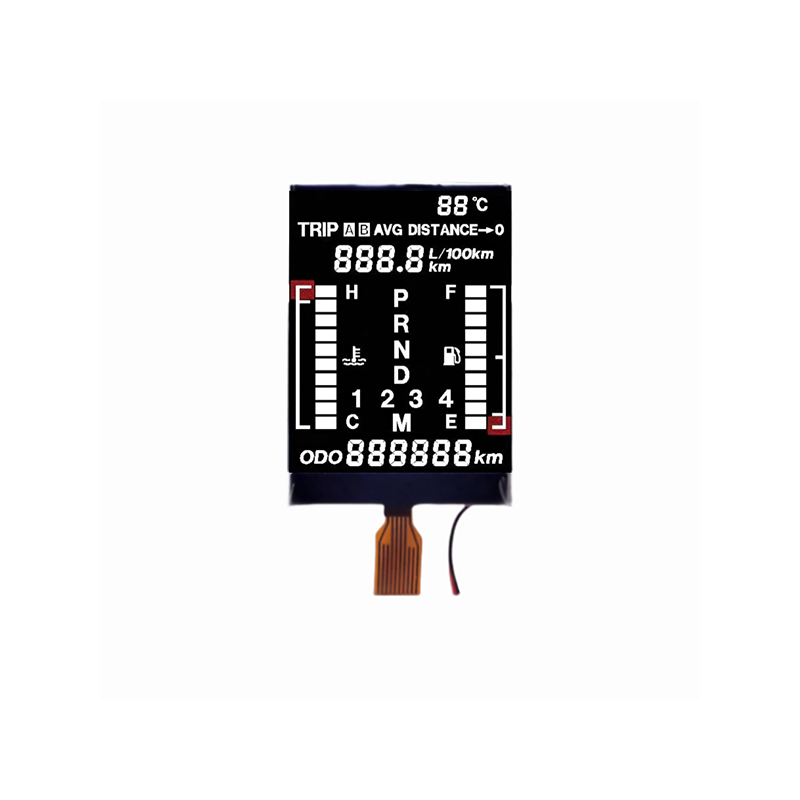
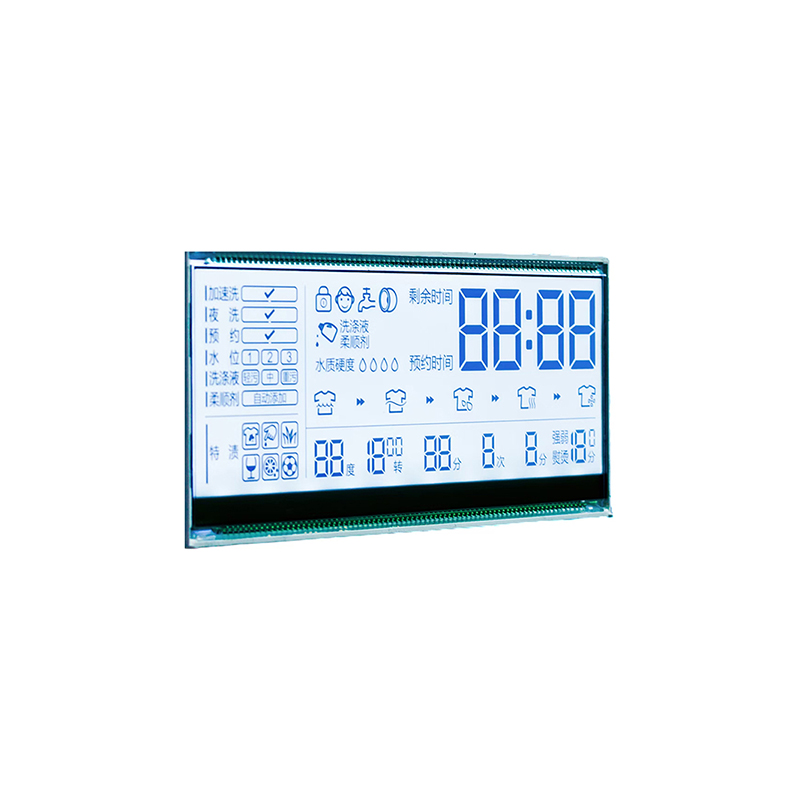
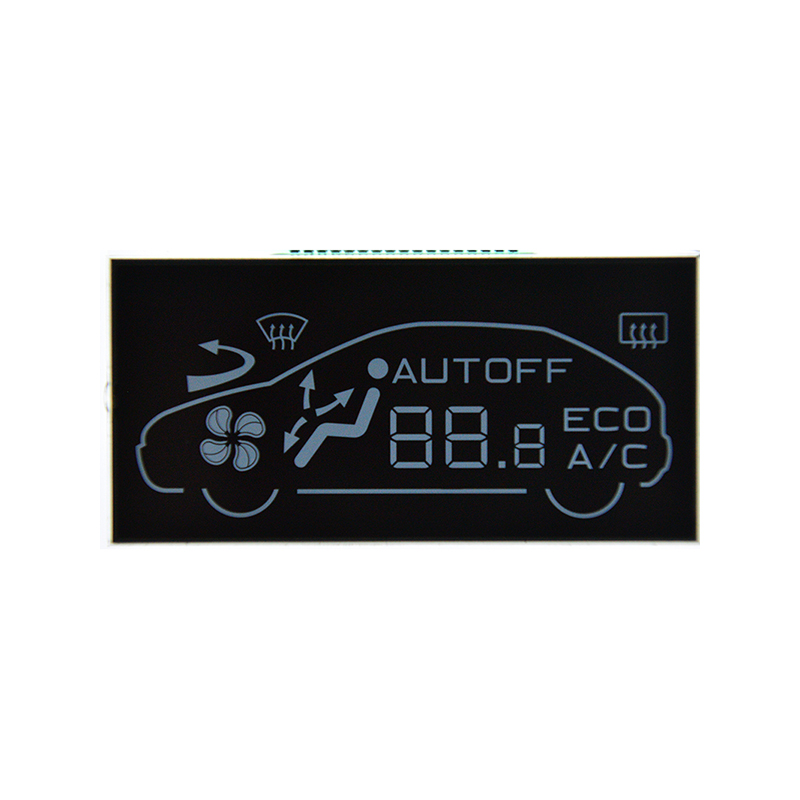
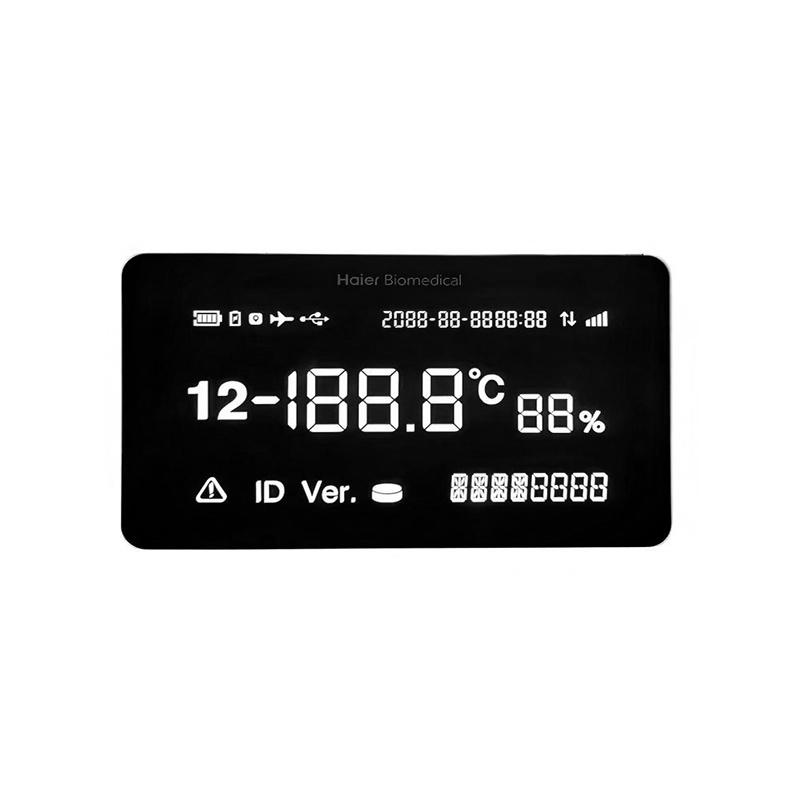
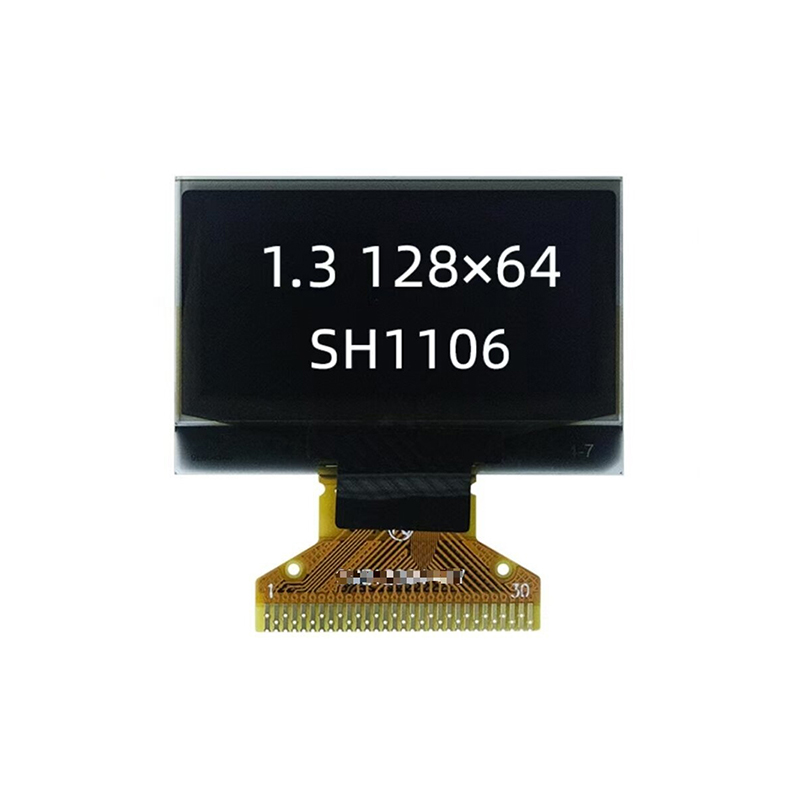
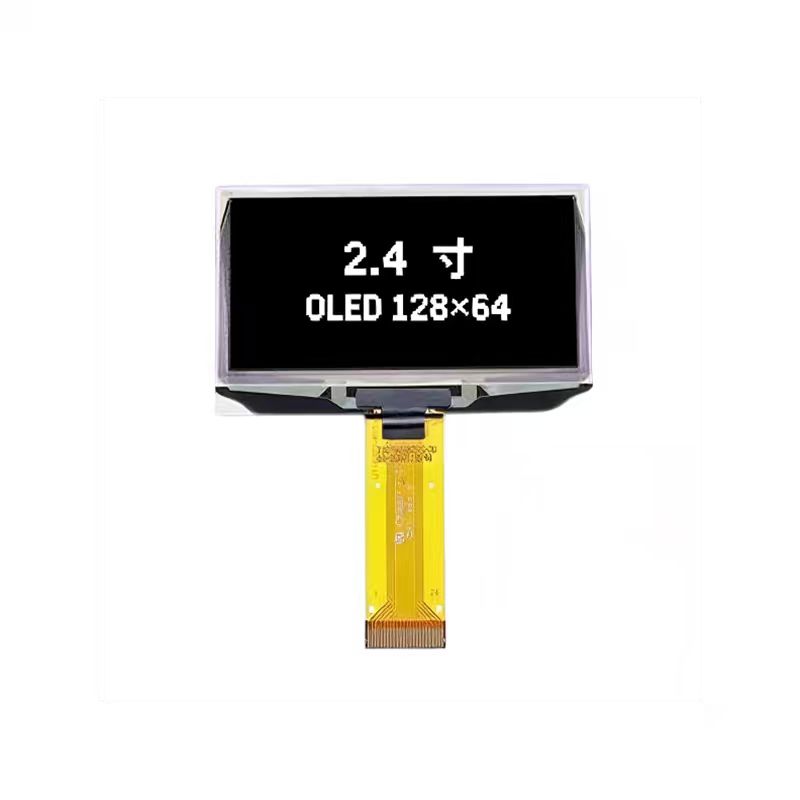
Numerous devices utilize the SPI interface, including sensors, displays, and memory chips. Each device has its specific register addresses and communication protocols. Before attempting communication, carefully review the device's datasheet for its SPI configuration parameters (clock speed, data order, data mode, etc.). For instance, connecting an LCD screen or a real-time clock (RTC) module will require specific instructions tailored to that device's datasheet.
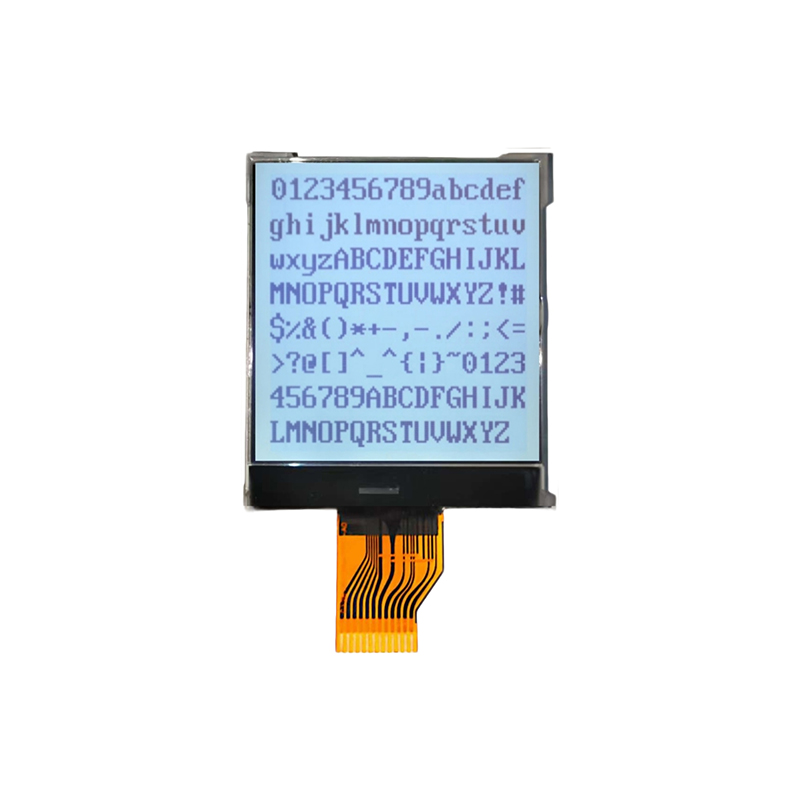
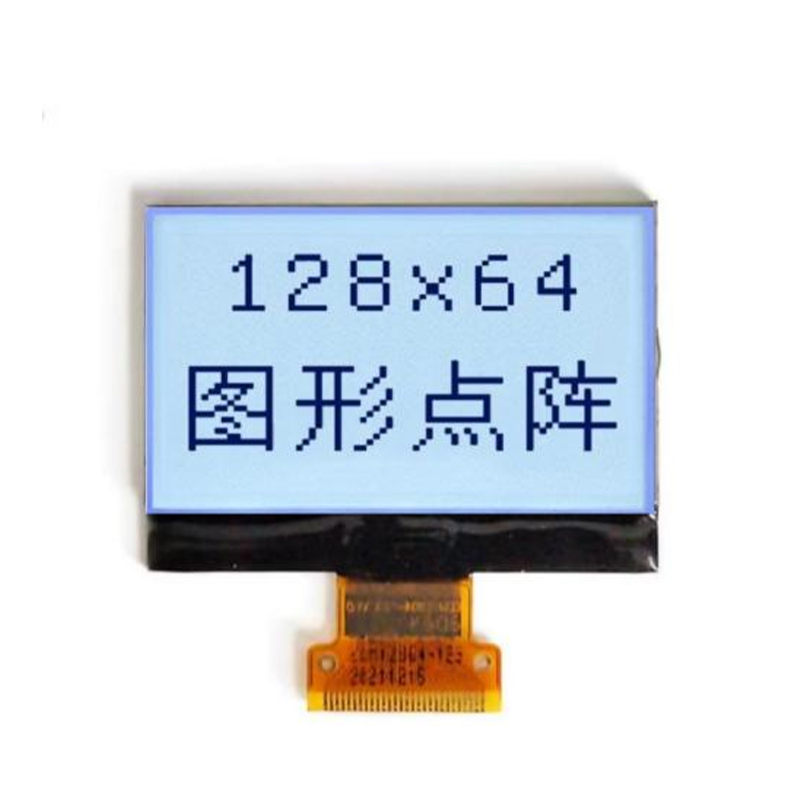
Let's imagine interfacing with a common SPI-based LCD screen, such as those available from numerous suppliers. The process would typically involve: initializing the LCD using its specific commands via the Arduino Uno SPI interface; sending commands to set the display's contrast, cursor position, and other properties; and subsequently sending data to display text or graphics on the screen. You'll need the correct library for your specific LCD model, and the setup will involve carefully configuring the SPI settings according to the LCD's datasheet.
Troubleshooting SPI communication issues often involves verifying the wiring, confirming correct SPI settings, and checking the device's data sheets to make sure your settings comply. Incorrect wiring is a common source of errors. Using a logic analyzer can help diagnose signal integrity issues. Improperly configured clock speed or data mode can also disrupt communication. Careful attention to detail is vital for successful SPI implementation.
For applications demanding high throughput, interrupt-driven SPI is a valuable technique. By using interrupts, the Arduino can handle other tasks concurrently with SPI communication, significantly increasing efficiency. However, implementing interrupt-driven SPI requires a more in-depth understanding of Arduino interrupts.
Mastering the Arduino Uno SPI interface is essential for building complex and efficient embedded systems. By understanding the underlying principles, employing the right tools, and troubleshooting effectively, you can unlock the full potential of this versatile communication protocol. Remember to always consult the datasheets for your chosen peripherals and leverage the comprehensive resources available online and within the Arduino community to further enhance your understanding. For high-quality LCD displays to integrate into your projects, consider exploring the range of solutions from Dalian Eastern Display Co., Ltd. Their expertise in display technology provides dependable components for a variety of applications.