Dalian Eastern Display Co., Ltd.
Dalian Eastern Display Co., Ltd.


This guide provides a step-by-step walkthrough on how to successfully connect and control a TFT (Thin Film Transistor) display with your Arduino. We'll cover choosing the right display, wiring, code examples, troubleshooting common issues, and exploring advanced features. Learn everything you need to know to bring your Arduino with TFT display projects to life.
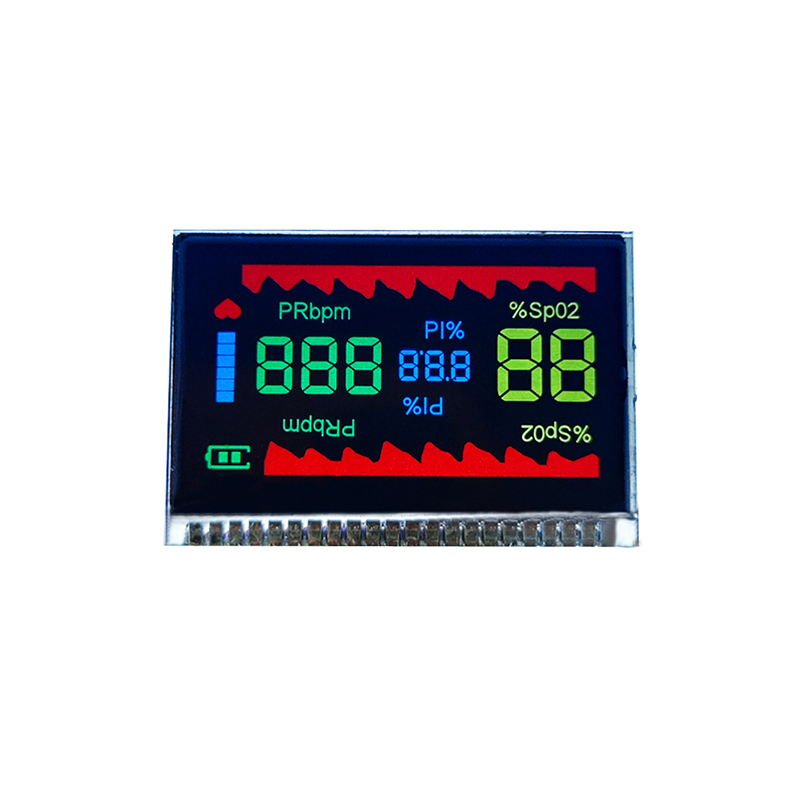
Selecting the appropriate TFT display depends on your project's needs. Key specifications include screen size (measured diagonally in inches), resolution (pixels), color depth (number of colors), interface type (e.g., SPI, parallel), and power requirements. Many displays utilize SPI communication, simplifying integration with Arduino.
Several manufacturers offer TFT displays compatible with Arduino. Popular choices include displays from Adafruit, SparkFun, and Newhaven Display. Consider the display's resolution, color depth, and form factor when making your selection. For instance, a smaller, lower-resolution display might suffice for a simple project, while a larger, higher-resolution display may be necessary for more complex applications. Remember to check the display's datasheet for detailed specifications and compatibility information.
Most TFT displays communicate with Arduino using the Serial Peripheral Interface (SPI) protocol. This involves connecting the following pins:
Always refer to your specific Arduino with TFT display's datasheet for accurate pin assignments. Incorrect wiring could damage your components.
You'll need a library compatible with your specific TFT display. Popular libraries include Adafruit_TFTLCD, UTFT, and ST7735. These libraries provide functions for controlling various aspects of the display, such as drawing shapes, text, and images. Install the appropriate library through the Arduino IDE's Library Manager.
The following example demonstrates displaying text on the screen using the Adafruit_TFTLCD library. Remember to adjust pin assignments according to your wiring.
#include // ... other includes and pin definitions ...void setup() { // ... initialization code ... tft.print(Hello, World!);}void loop() { // ... your main loop code ...} Beyond displaying simple text, you can use your Arduino with TFT display to display images, draw complex graphics, and even create animations. The libraries mentioned above provide functions for handling bitmaps, drawing shapes, and controlling screen refresh rates. The possibilities are vast!
Check your wiring, power supply, and ensure the correct library is installed and configured. If using a breadboard, check for loose connections. Verify that your power supply provides adequate voltage and current. Consult the datasheet for your specific display model for troubleshooting suggestions.
This can be due to incorrect pin connections, library issues, or even power supply problems. Try reseating the display and checking all connections carefully. Review your code to ensure it correctly handles data transmission. If you're still experiencing issues, consider updating your Arduino's firmware or trying a different library.
Successfully integrating a TFT display with your Arduino opens a world of possibilities for creating interactive and visually appealing projects. By understanding display specifications, wiring correctly, and using the appropriate libraries, you can create compelling projects tailored to your specific needs. Remember to consult your display's datasheet for specific instructions and compatibility information. Experiment, explore, and enjoy the creative freedom offered by this powerful combination!